

How would you like to take charge of your own entertainment experience, listening to your music and watching videos and movies at your own convinience with any device without much spending on data? If this is something you want for yourself, then you’re in the right place.
Sure there are plenty of ways of building your own home media center. With a basic computer, an external hard-drive and windows media center software, you’re off on the road to organizing and enjoying your home media. But if you want something that will wow your friends, then you have to use some of the tried and tested tools.
In this post, I’ll try to show enthuasiasts how to build their own home entertainement system. This system will allow you stream music and videos, share photos and files with family and friends at home at a low budget. You’ll need a low-budet computer which in this case we shall use the Pi, an enternal hardrive that houses your media files, a wireless router for connectivity, a TV for your viewing experience and Kodi, the most advanced free media center I know. In summary;
The Ingredients
| Item | Vendor | Price |
|---|---|---|
| Raspberry PI 3 | The Pihut | £30.00 |
| Toshiba 500GB Portable External HDD | Jumia | Ugx 246,500 |
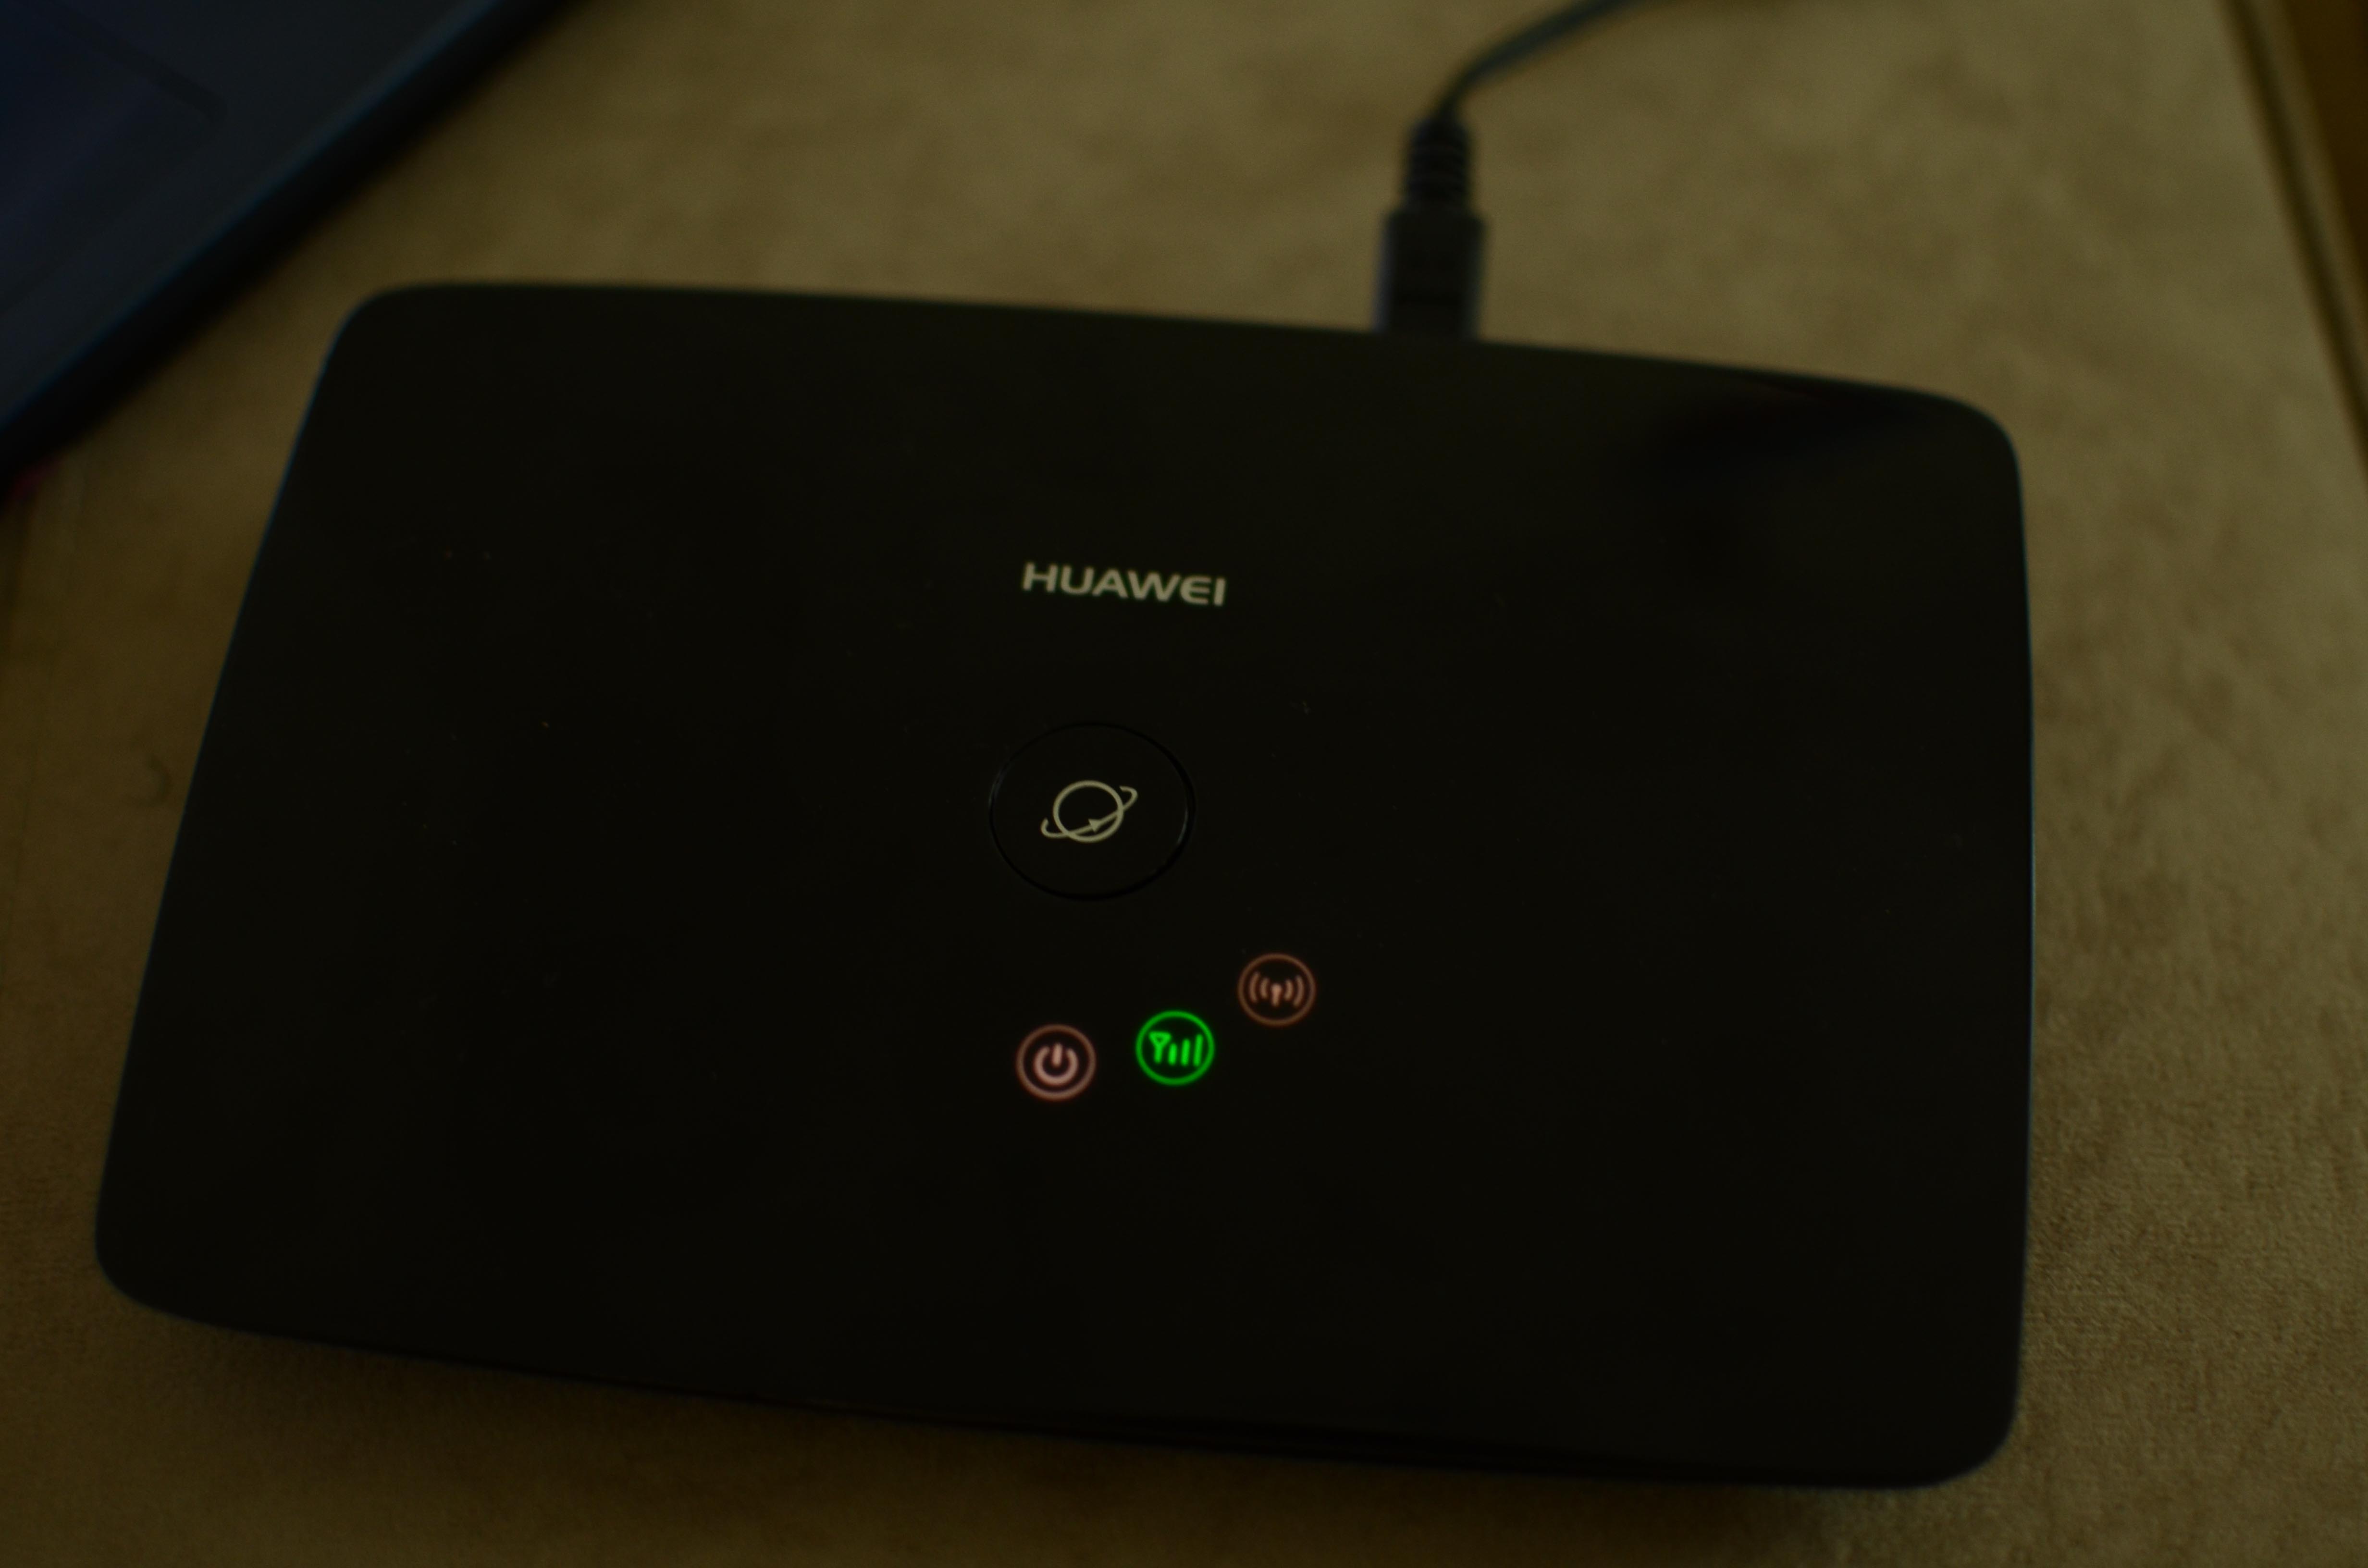
| Huawei B310 4G LTE CPE Router | Africell Uganda | Ugx 299,000 |
| Samsung UA32J4003 Full HD LED TV - 32" | Jumia Uganda | Ugx 996,500 |
| Kodi Home Theater Software | XBMC Foundation | Free |
With knowledge of the different components that you’ll need, now we shall dig deeper each of them.
Raspberry PI
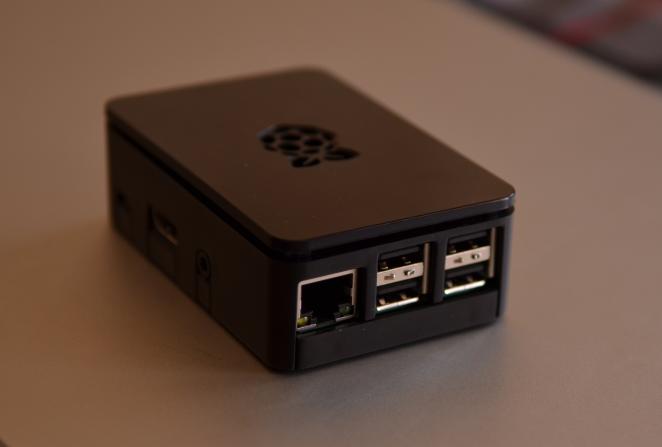

This little (officially) $35 device is an incredibly powerful and capable computer. I’ve been a fun of the PI ever since its inception four years ago. Produced by the Raspberry Pi Foundation, UK-based charity organization, the PI comes with quad-core ARM processor, 1GB of RAM, 4 USB ports, Full HDMI port, Ethernet Port. It also has a MicroSD card slot, Combined 3.5mm audio jack and composite video, Camera interface (CSI), Display interface (DSI). The Pi3 which is the latest release is twice as fast its predecessor, the Pi2.
The Pi3 comes with a 1.2GHz 64-bit quad-core ARMv8 CPU which is twice as fast as that of the Pi2, inbuilt 802.11n Wireless LAN (which is lacking in the Pi2) and Bluetooth 4.1.
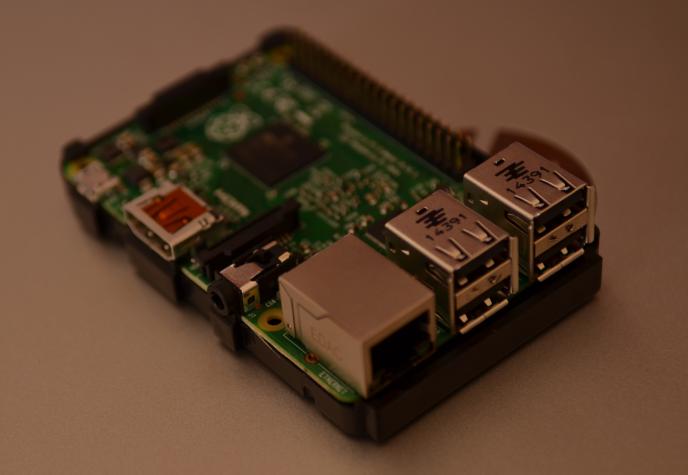

The Pi is sold as a single-board device. But for the purposes of using it as a media center, you need to purchase a good casing, at least an 8GB SD card with “New Out of Box Software” (NOOBS) operating system. However, if you’re an advanced user, you can install Raspbian, OSMC, OpenELEC among other OSes that can run on the PI on just about any SD card out there.
The Pi is a low-power consuming device, so you can afford to leave it running without having to power it on and off. This is befitting for a home media center since you want to always access your media whenever you want from whatever device at home without having to power on the Pi.
External HDD
Next, you’ll need a big storage device which will store all your cat videos, music, movies, photos among others. This will be storage for the Pi.
For the ordinary user, we recommend a 500GB external drive. But if your media library is big, then you can go for a 2 TB external HDD. Power users want to go for a 4TB beast. There are plenty of External HDDs to choose from these days, but we recommend models from Seagate, Western Digital, Hatachi, Transcend or Toshiba.
Related post: It’s about time to replace your DVD/CD player with a USB External Hard Drive
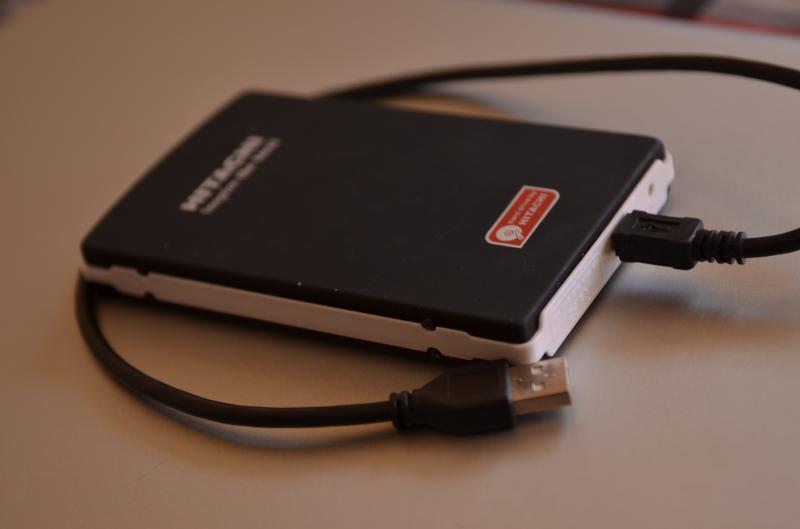

We recommend that you get an HDD that’s powered by an external power source from your wall socket. That way, the Pi doesn’t have to supply power for your drive. Also having an HDD powered by wall socket means you won’t be tempted to move with it which might increase the risk of it being damaged or stolen, losing your data.
Wireless Router
A home media center couldn’t be complete without a wireless router. The router provides wireless connectivity of the PI to your other home devices. The faster your router is, the better streaming experience you will have. Basic routers support 802.11b/g/n with speeds starting from 11Mbps upto 300 Mbps.
Ordinary users are fine using their Mi-Fis as wireless routers. Since Mi-Fis don’t have LAN ethernet ports, you’ll need your Pi to have a Wi-Fi adopter (for the pi2) or better still get yourself the Pi3 which comes with onboard Wi-Fi chip.
Related Post: Want a MiFi? Here are the top 5 MiFi deals in Uganda with prices and where to buy

If your library contains some full HD movies (1080p), then you’ll experience some buffering with these kinds of routers. 4K video just won’t stream with these routers. Power users might consider going with a Gigabit wireless router that support 802.11ac. These such as Asus RT-AC88U Router boast speeds of up to 3, 167 Mbps.
Related post: Huawei B683 HSPA+ 3G wireless gateway: serve internet to all your devices at home or office
For better user-experience, we recommend you connect the Pi to the router via LAN ethernet cable instead of connecting them through Wi-Fi. LAN Ethernet is stable and won’t be affected by interference, so that guarantees that the Pi will always be connected to the router which is very important. Those using their Mi-Fis where this option is not possible, make sure your Mi-Fi is in close proximity with the Pi for maximum performance and connectivity.
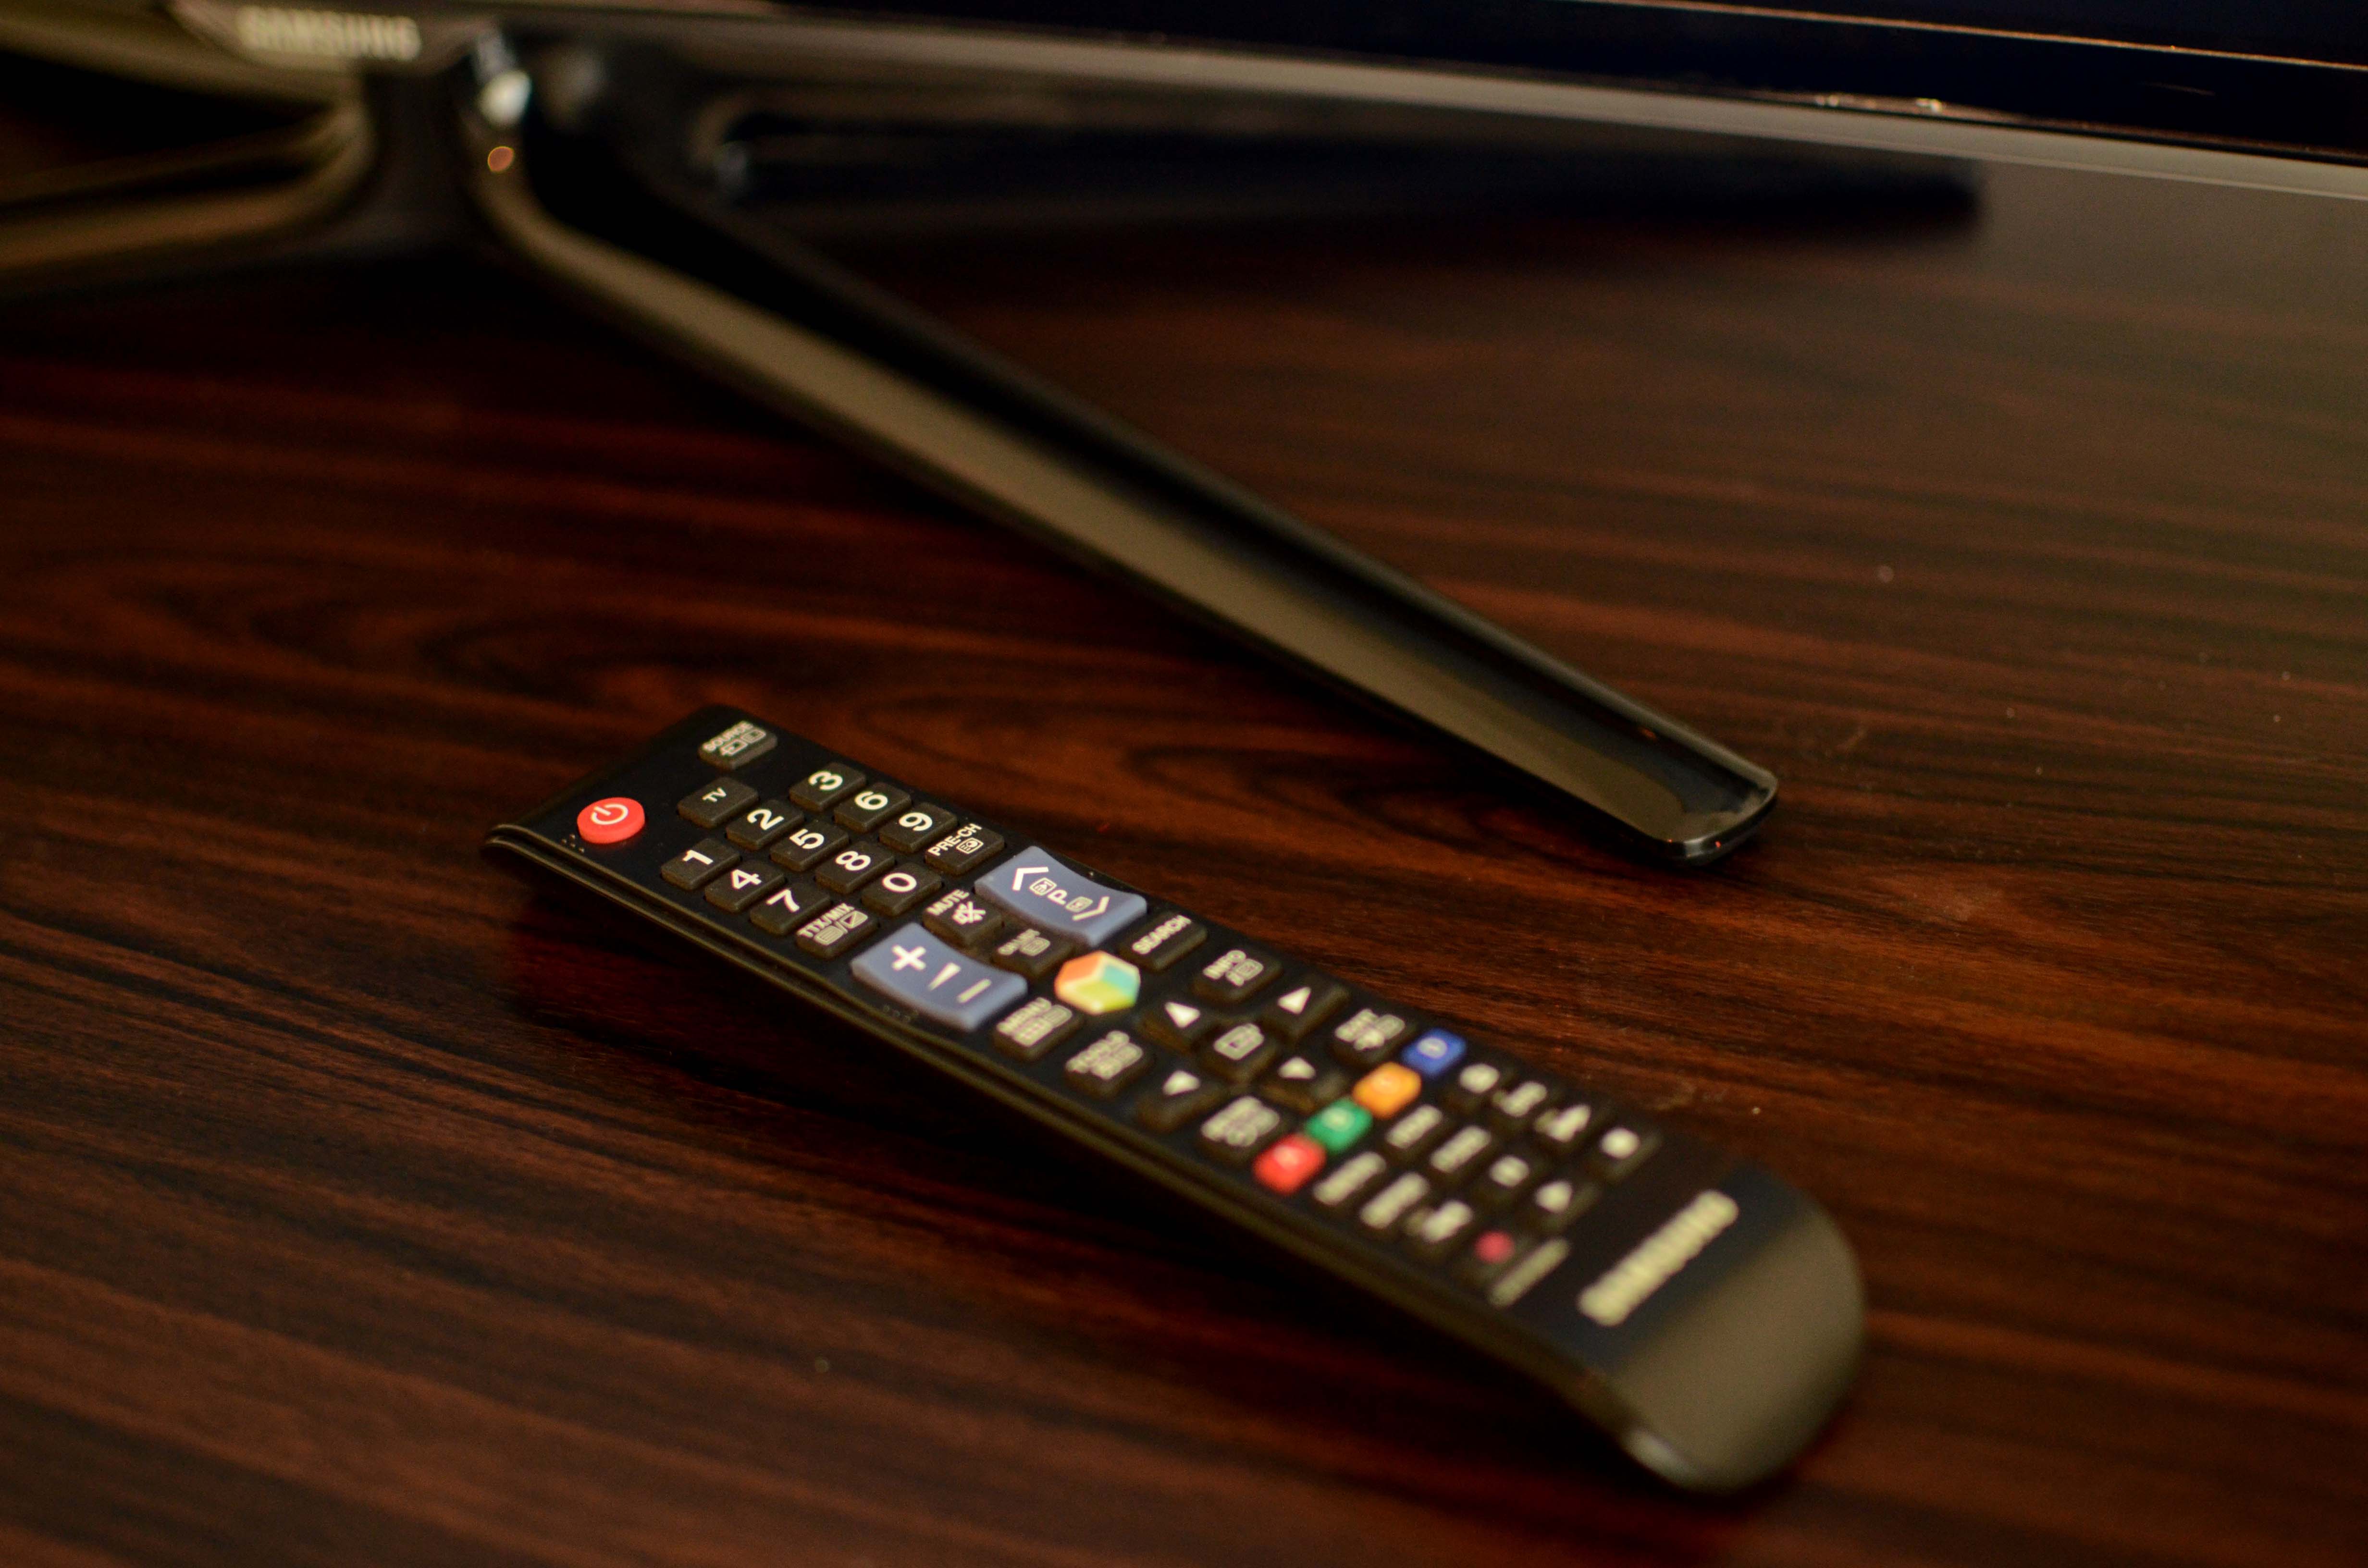
TV set
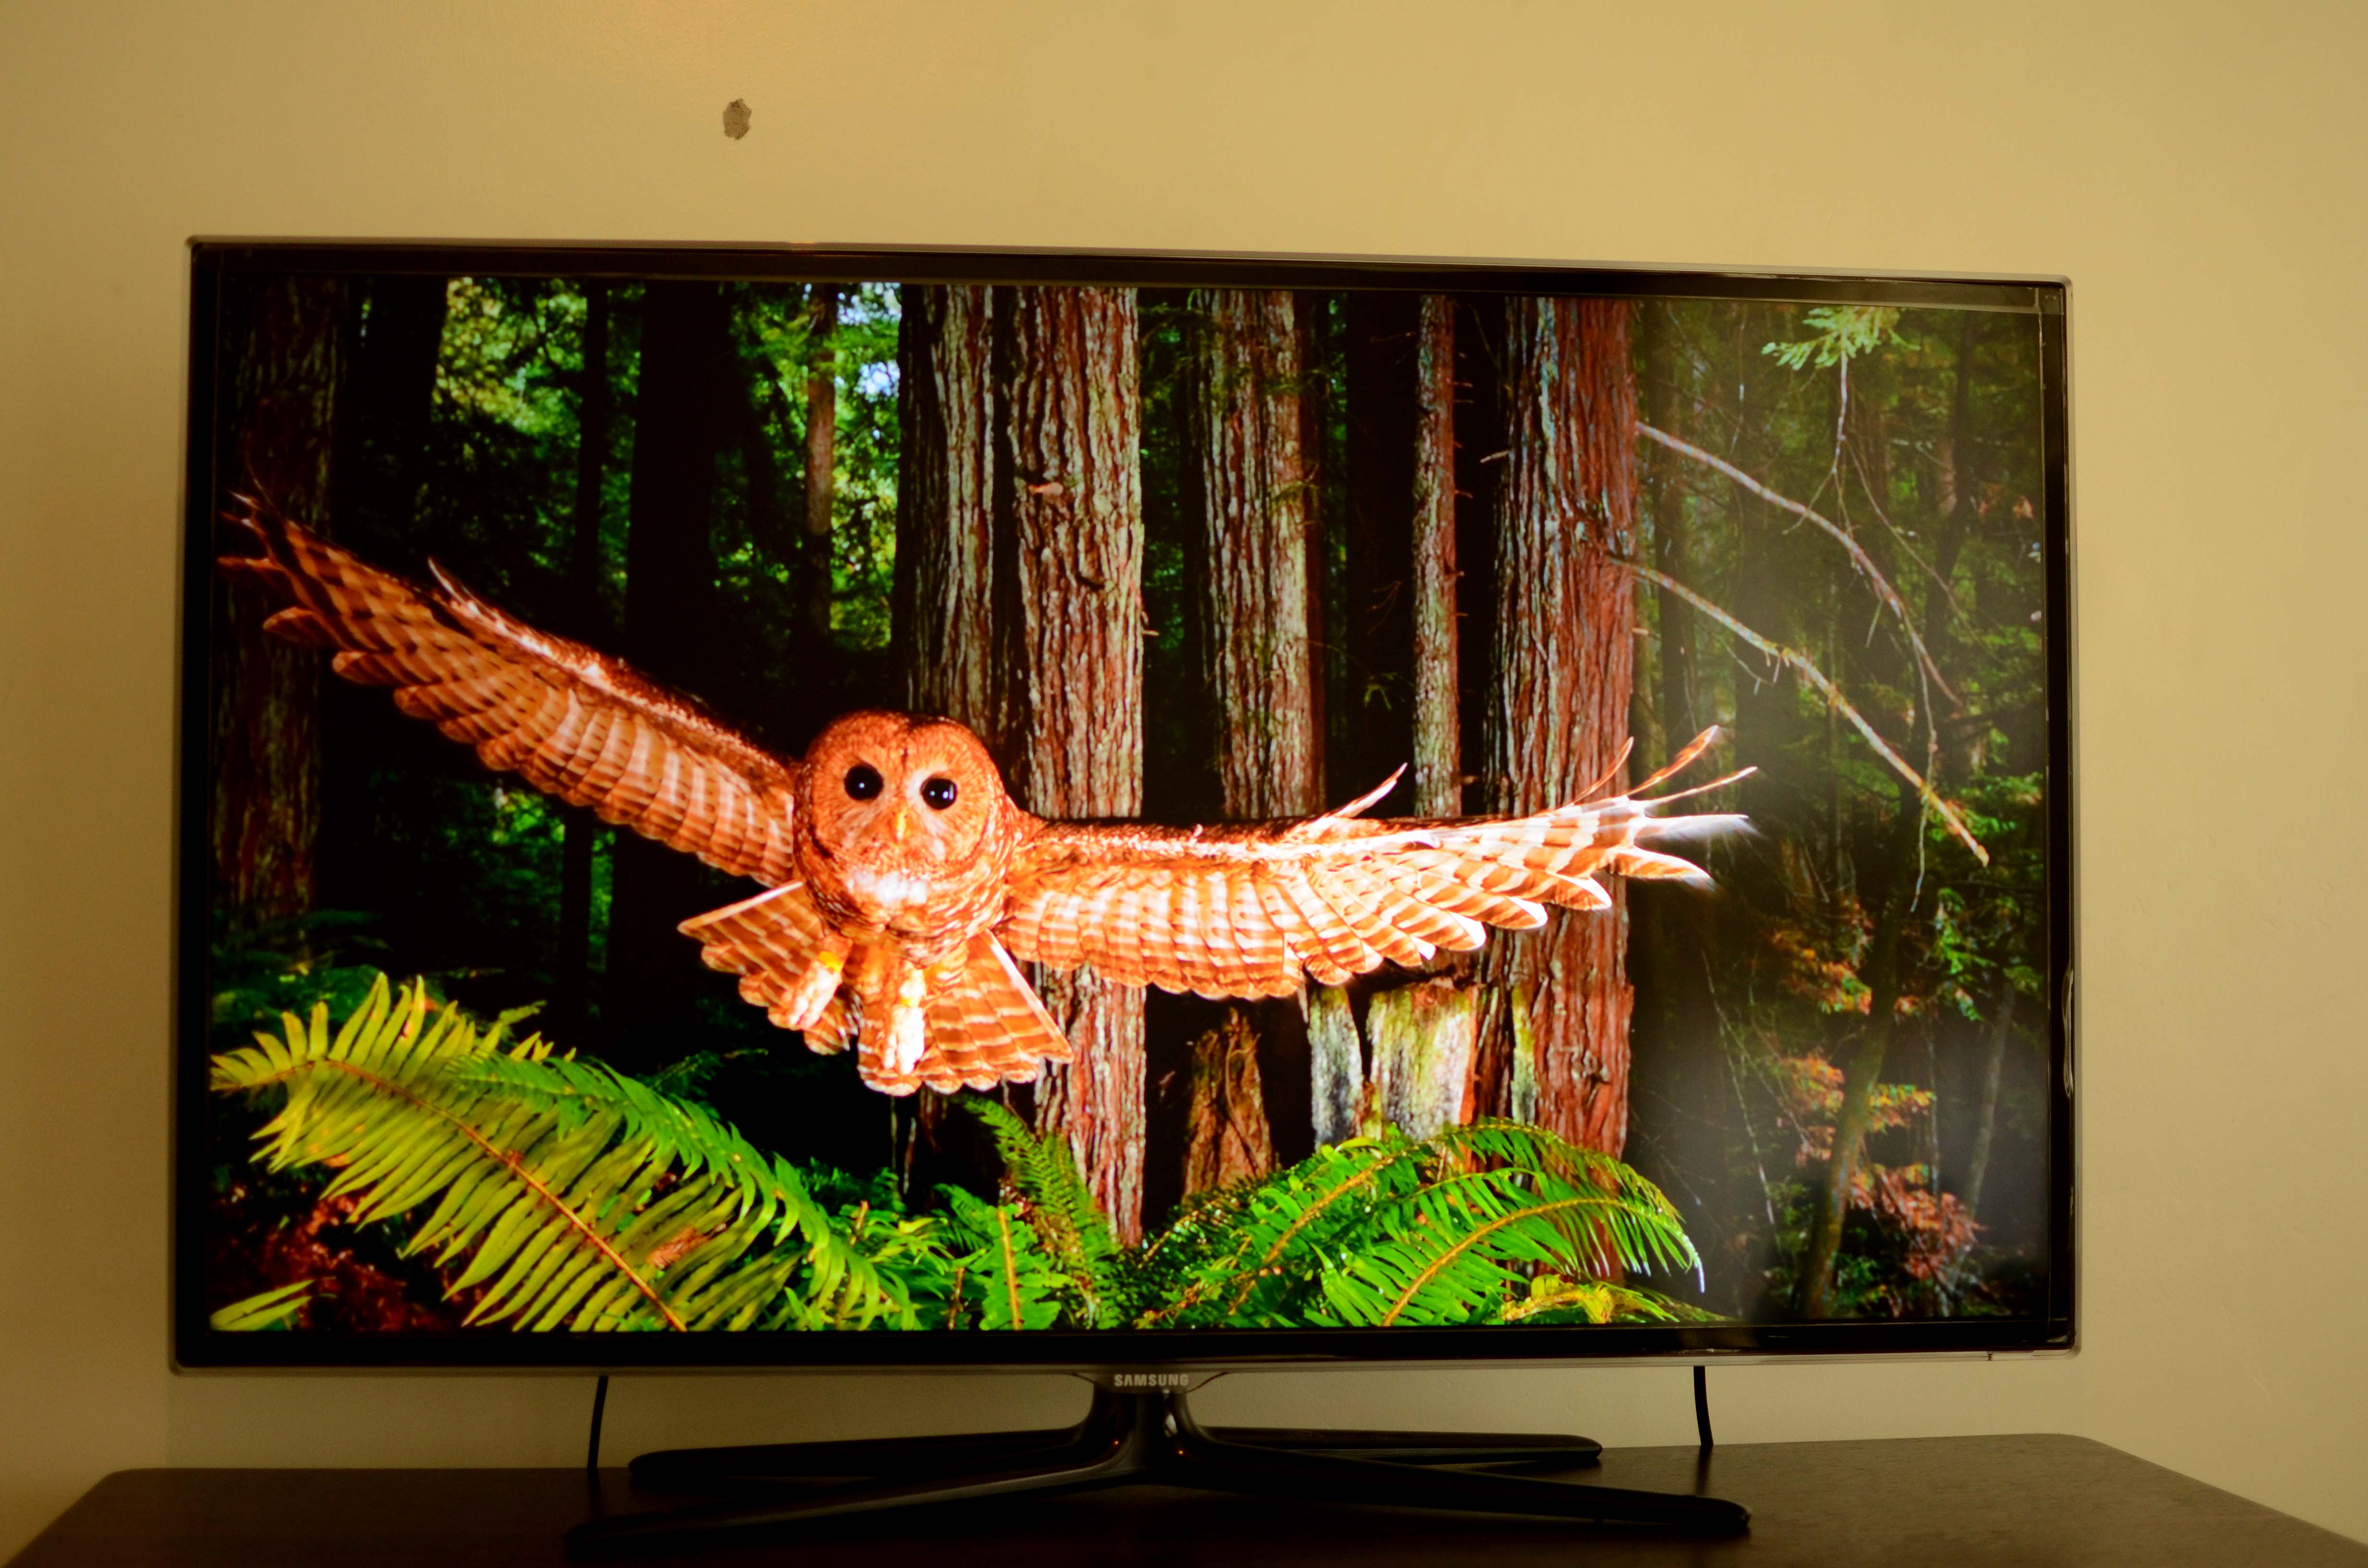
We all love the lean-back experience that our TVs offer. While some of us watch movies on our little laptops, nothing beats the living room TV set where you can watch movies, videos with everyone at home.
You can hookup your TV in two ways; either directly through HDMI cable. In this case, your TV must have an HDMI port which is the case with most digital flat screen TVs. However, if you still own those CRT tube TVs, then you can use composite video (banana pins) although we’ve not tried it out.
Related post: These are the best Flat screen and Smart TVs with their prices in Uganda
The other way you can stream media from the Pi to your TV is via wireless through the DNLA/UPnP standard. However, your TV must have a Wi-Fi wireless LAN chip. This is mostly with advanced Smart TVs which are very expensive now. The advantage with this setup is that your living room can stay clean of messy cabling. If you’ve an entertainment unit, then you can stuck everything well, so cabling might not be an issue.
Once your TV and Pi are connected, you can use your TV’s remote to control playback and other navigation elements.
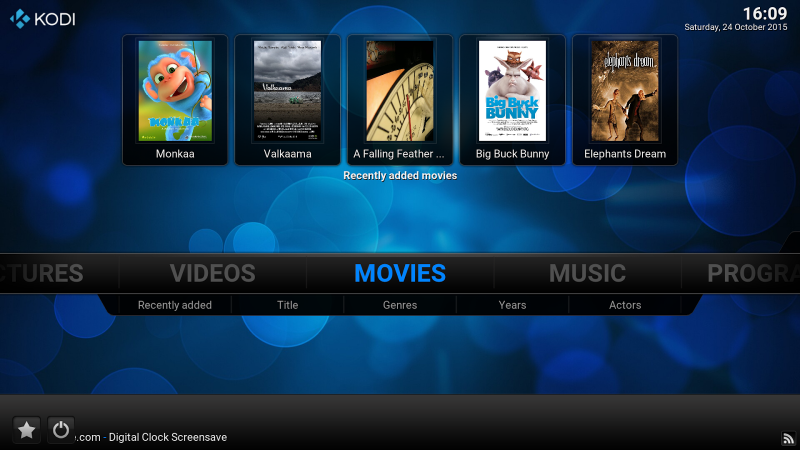
Kodi
Finally, a home entertainment center wouldn’t be complete without (arguably) the most popular home media center software out there. Kodi (formerly known as XBMC) is a free media center for playing videos, music, pictures, games, and more. It runs on Linux, OS X, Windows, iOS, and Android. Since Pi operating systems are based on Linux, works flawlessly well with the Pi.

Kodi allows you to play and view most videos, music, podcasts, and other digital media files from local (on the PC) and network storage media. Kodi can play all your music including AAC, MP3, FLAC, OGG, WAV and WMA formats. Kodi can do movies too! Supporting all the main video formats and sources, including streamable online media, ISOs, 3D, H.264, HEVC, WEBM. Kodi allows you to watch and record live TV all from the GUI interface. It is really powerful.
This media center supports add-ons which extend the functionality of Kodi even further. You can for instance install an add-on for lyrics so you can do Karaoke on the big screen. You can install add-ons that pull meta-data for your media. For instance your movies could be well-catalogued with movie reviews from IMDB, Metacritic, rotten tomatoes, cast info, director and the plot. There are add-ons that pull album art for your music, stream Internet-video-streams like YouTube, Hulu, Netflix, and Veoh, and play Internet-radio-stations .
We are big fans of Chorus, a web interface to Kodi which enables you stream your media library from any Web browser.
Finally, Kodi comes with variety of skins to customize the look and feel of your media center the way you like. It supports hundreds of major remote controls, including app-based remotes. It’s absolutely awesome.
Complete list of Kodi Supported formats:
- Physical digital media: Blu-ray Disc (unencrypted), CDs, DVDs, DVD-Video, Video CDs (including VCD/SVCD/XVCD), Audio-CD (CDDA), USB Flash Drives, and local Hard Disk Drives.
- Network protocol clients: AirPlay/AirTunes,UPnP / DLNA (Digital Living Network Alliance), SMB/SAMBA/CIFS, AFP, DAAP, Zeroconf/Avahi/Bonjour, NFS, HTTP, HTTPS, WebDAV, FTP, RTSP (RTSPU, RTSPT), MMS (MMSU, MMST), Podcasting, TCP, UDP, SFTP, RTP and RTMP (including RTMP, RTMPT, RTMPE, RTMPTS, RTMPTE, RTMPS, DHCP, NTP.
- Network protocol servers: JSON-RPC server, D-Bus server, Web server, FTP Server, and UPnP AV media server, and a multi-protocol Event Server.
- Container formats: AVI, MPEG, WMV, ASF, FLV, MKV/MKA (Matroska), QuickTime, MP4, M4A, AAC, NUT, Ogg, OGM, RealMedia RAM/RM/RV/RA/RMVB, 3gp, VIVO, PVA, NUV, NSV, NSA, FLI, FLC, DVR-MS and WTV.
- Video formats: MPEG-1, MPEG-2, H.263, MPEG-4 SP and ASP, MPEG-4 AVC (H.264), HEVC (H.265), HuffYUV, Indeo, MJPEG, RealVideo, RMVB, Sorenson, VP8, VP9, WMV, Cinepak.
- Audio formats: MIDI, AIFF, WAV/WAVE, MP2, MP3, AAC, AACplus (AAC+), Vorbis, AC3, DTS, ALAC, AMR, FLAC, Monkey’s Audio (APE), RealAudio, SHN, WavPack, MPC/Musepack/Mpeg+, Shorten, Speex, WMA, IT, S3M, MOD (Amiga Module), XM, NSF (NES Sound Format), SPC (SNES), GYM (Genesis), SID (Commodore 64), Adlib, YM (Atari ST), ADPCM (Nintendo GameCube), and CD-DA.
- Digital picture/image formats: RAW image formats, BMP, JPEG, GIF, PNG, TIFF, MNG, ICO, PCX and Targa/TGA.
- Subtitle formats: AQTitle, ASS/SSA, CC, JACOsub, MicroDVD, MPL2, MPlayer, MPsub, OGM, PJS, RT, SMI, SRT, SUB, RealText, VOBsub, ubViewer, VPlayer.
- Metadata tags: APEv1, APEv2, ID3 (ID3v1 and ID3v2), ID666 and Vorbis comments for audio file formats, Exif and IPTC (including GeoTagging) for image file formats.
So there you have it; how to build a home media center with the iconic raspberry Pi and Kodi. If you enjoyed this post, lets us know in the comments your thoughts and if we should follow this up with more detailed posts on the subject.