Our smartphones are getting smarter, and one of the best things to have ever happened to these gadgets is the introduction of biometric authentication, particularly the fingerprint sensor. Aside from being on the rear and front of our phones, the fingerprint sensor is now high-tech and now being embedded in and under phone displays (see how in-display fingerprint sensor works).
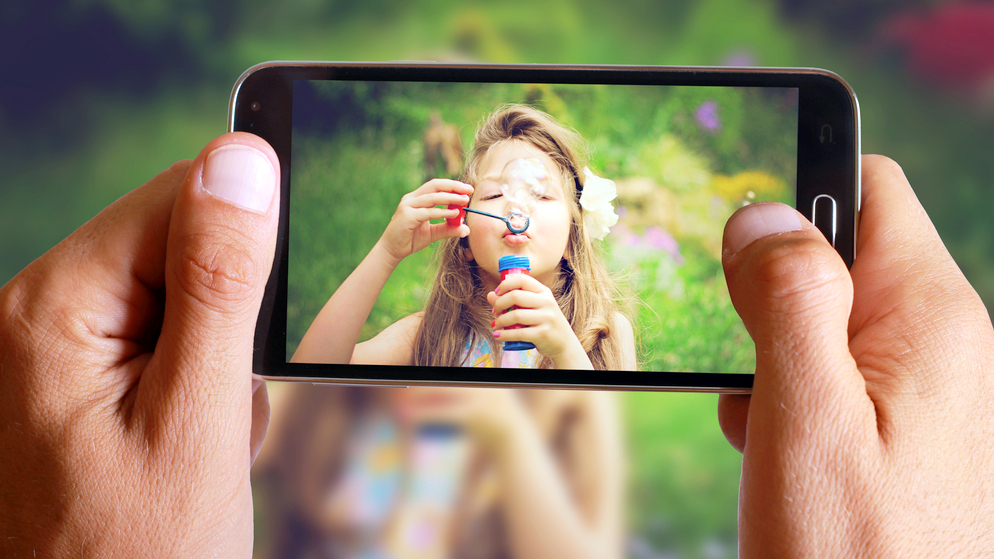
Equally, the purposes of the fingerprint scanner have grown beyond just smartphone unlock. The sensor can now be used as a verification instrument when making payments on your phone or upon logging into third-party apps like Banking apps among other things. Another application of the fingerprint sensor that many aren’t cognizant of is its ability to be used as a shutter button for taking pictures and selfies.
This shutter button functionality of the fingerprint sensor is comes as a default feature on some smartphones like Google Pixels and certain Huawei flagships. However, if your smartphone doesn’t have this extra fingerprint functionality built-in, there is a hack around it. Find out below.
How to Take Photos Using Fingerprint sensor on Android
1. Head over to the Google Play Store and type in ‘Dactyl’ into the search box.
2. You’ll be presented with two options; a trial app which is available for free, and the paid version.
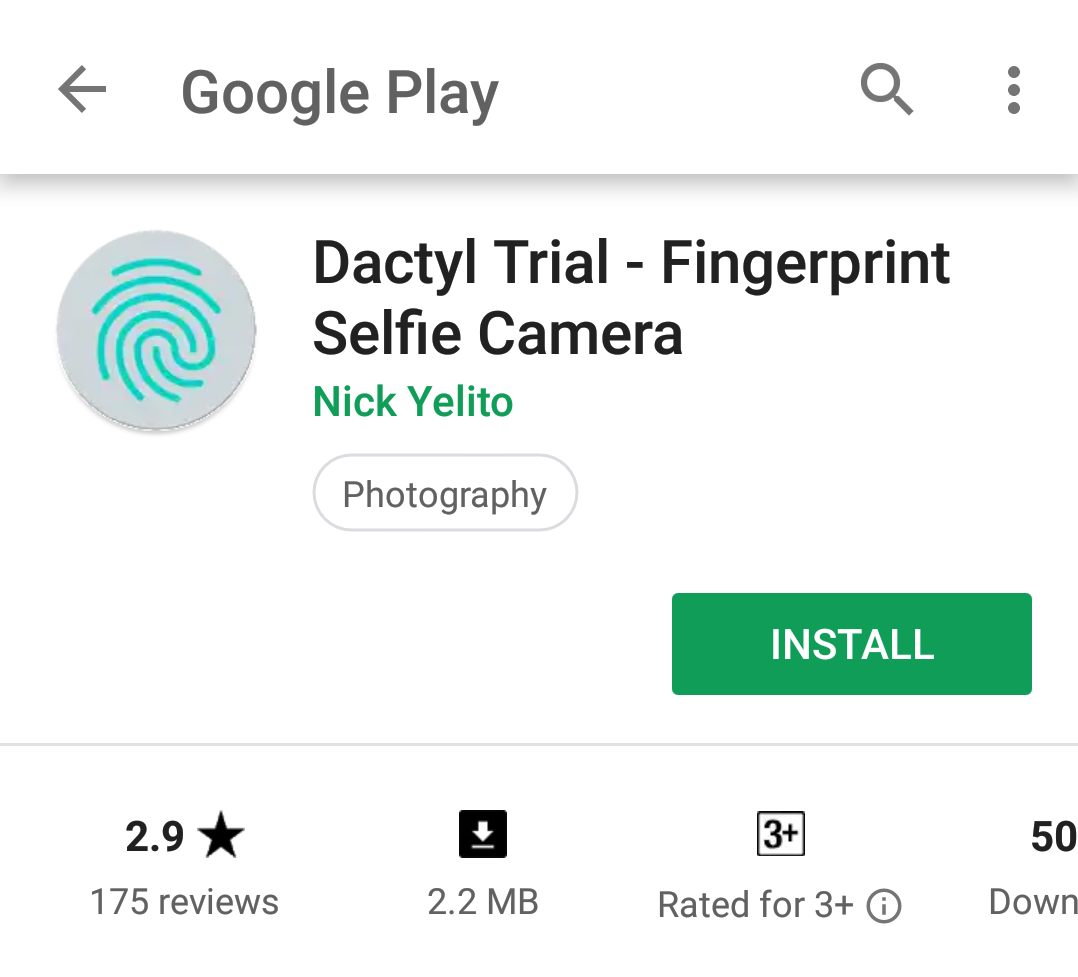
The trial version allows your use the fingerprint-shutter functionality of the app for a maximum of 10 times while the premium version comes with unlimited usage.
3. Download/purchase whichever version you deem fit and install it on your smartphone.
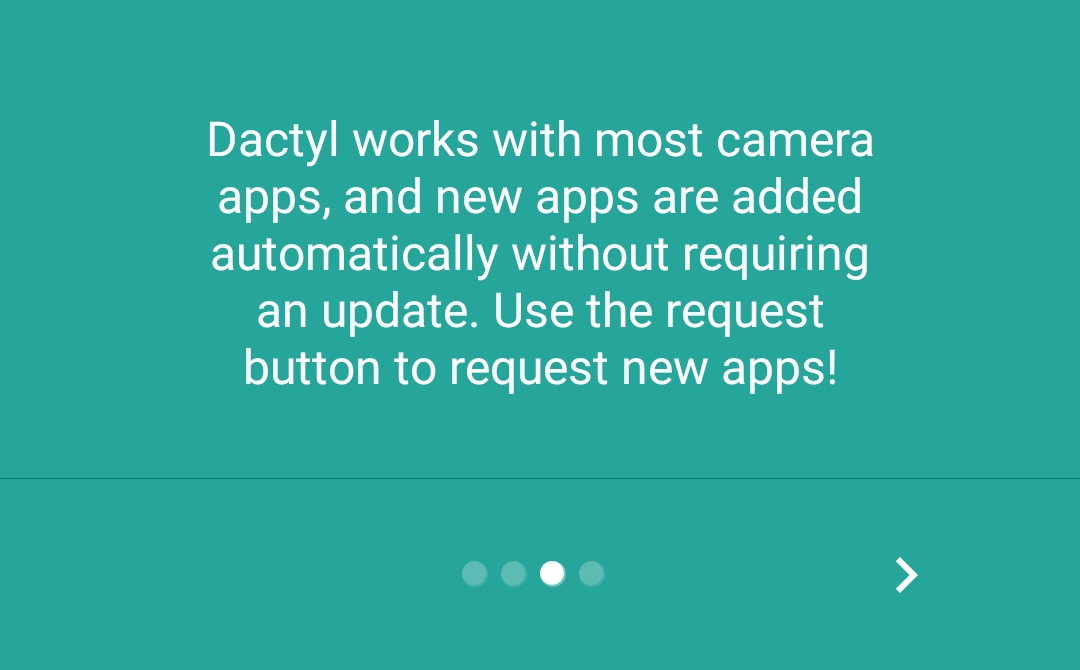
4. Opening the app for the first time after installation will take you to the “Open Settings” page where you’ll be prompted to grant the app accessibility permission.

5. After granting permissions, you’ll be taken back to the app settings menu to see a list of applications that the fingerprint shutter functionality will work for. In addition, you can also configure which apps uses the features.
6. All is now set for your to take pictures with your fingerprint sensor.
7. Whenever your device’s camera is launched within a supported app, you’ll see a ‘Dactyl Service Running’ notification right above the shutter button.
This means you can place your hand in the fingerprint sensor to start taking photos.
If your device doesn’t have the feature built-in, this is a neat trick to try out. You can install the trial version of the app first to see how the fingerprint-shutter functionality works before proceeding to purchase the premium version. But remember, the free/trial version has a maximum usage limit of 10 image capture.
This app works perfectly as long as your smartphone is fingerprint-enabled i.e has fingerprint sensor either on the rear or front. At the moment, there is no support for smartphones with in-display fingerprint sensors.


2 thoughts on “How to Take Photos Using Your Phone’s Fingerprint sensor (Android)”