

A form is one of the internet’s most used tools. A form can be used when you need to gather information to create a contact, a checkout page, a survey or a directory. Thanks to Google Drive’s “Forms” feature, you can easily create a Google Form.
Google Forms is a survey administration app that is included in the Google Drive office suite along with Google Docs, Google Sheets, and Google Slides. It is a web-based app used to create forms for data collection purposes.
Here is how to create a form using Google Drive.
Opening Google Forms
Open your preferred browser. Google Forms are accessible through Google Drive; any created Google Forms will stay in Google Drive.
Navigate to your Gmail account. You will need to enter your email address and password if you aren’t already logged in.
Click the Google apps menu and then click the “Drive” option. This will open your Google Drive account.
Click the “New” button. This is on the top left side of your Drive page, right above the “My Drive” option.
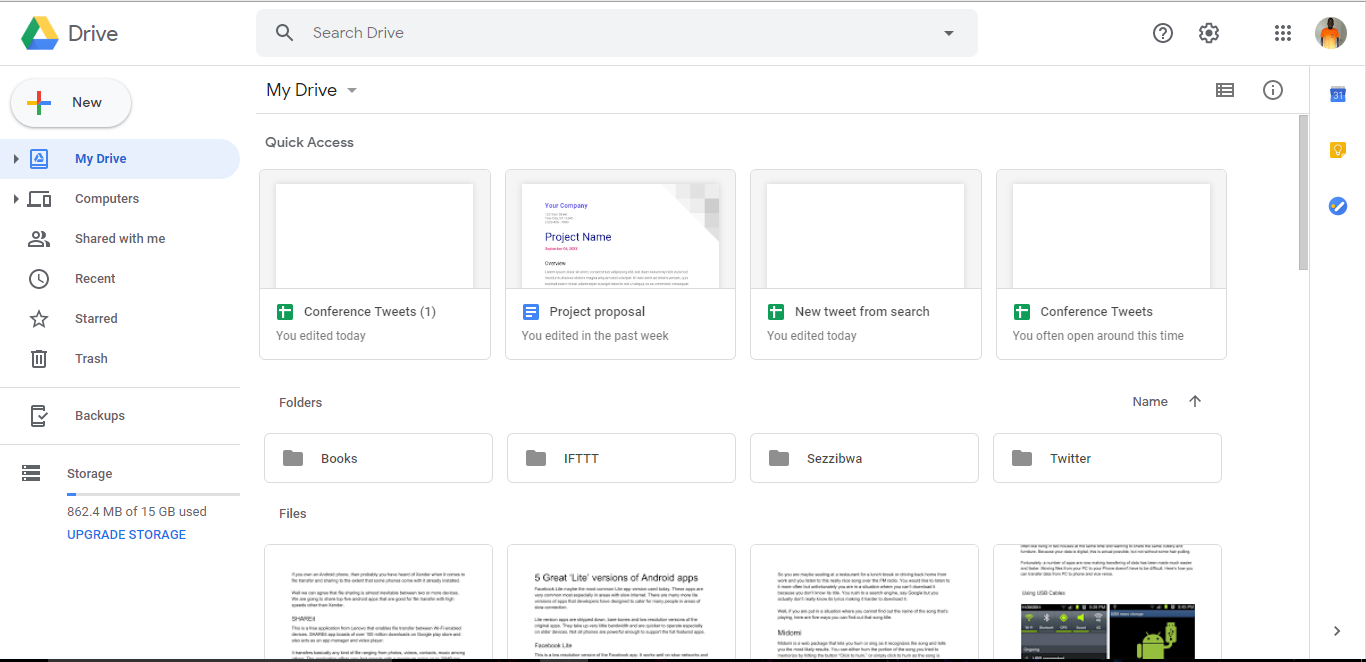

Hover over “More”, then click “Google Forms”. This will open a new, untitled Google Form!

If you need to open a new form from the Google Forms home page, click the “+” button on the left side of the form templates.
Making Changes to Your Form
Take note of what the purpose of your Google Form is. This will help you when deciding on formatting, step style, among others.
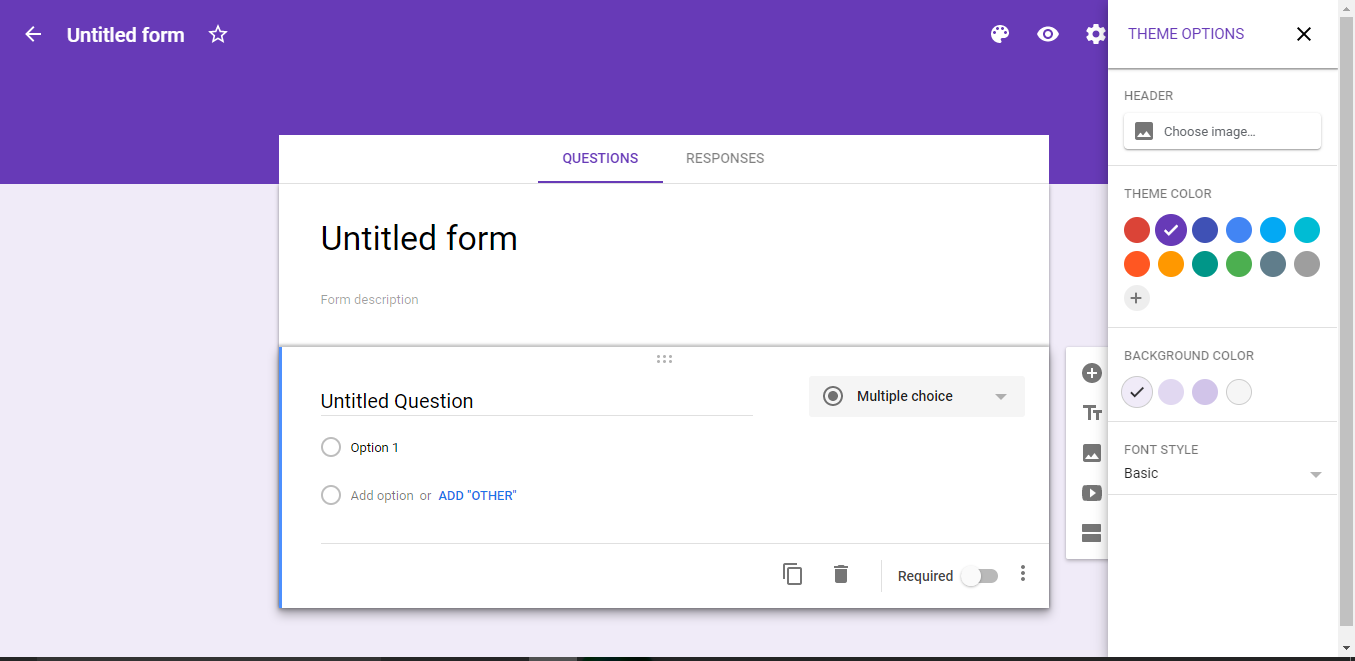
Change your form’s color. Simply click the paintbrush palette icon to the left of the “Send” button, then selecting a color from the drop-down menu. Or, click the image icon next to the colors for a nice theme to use instead of selecting an individual color.

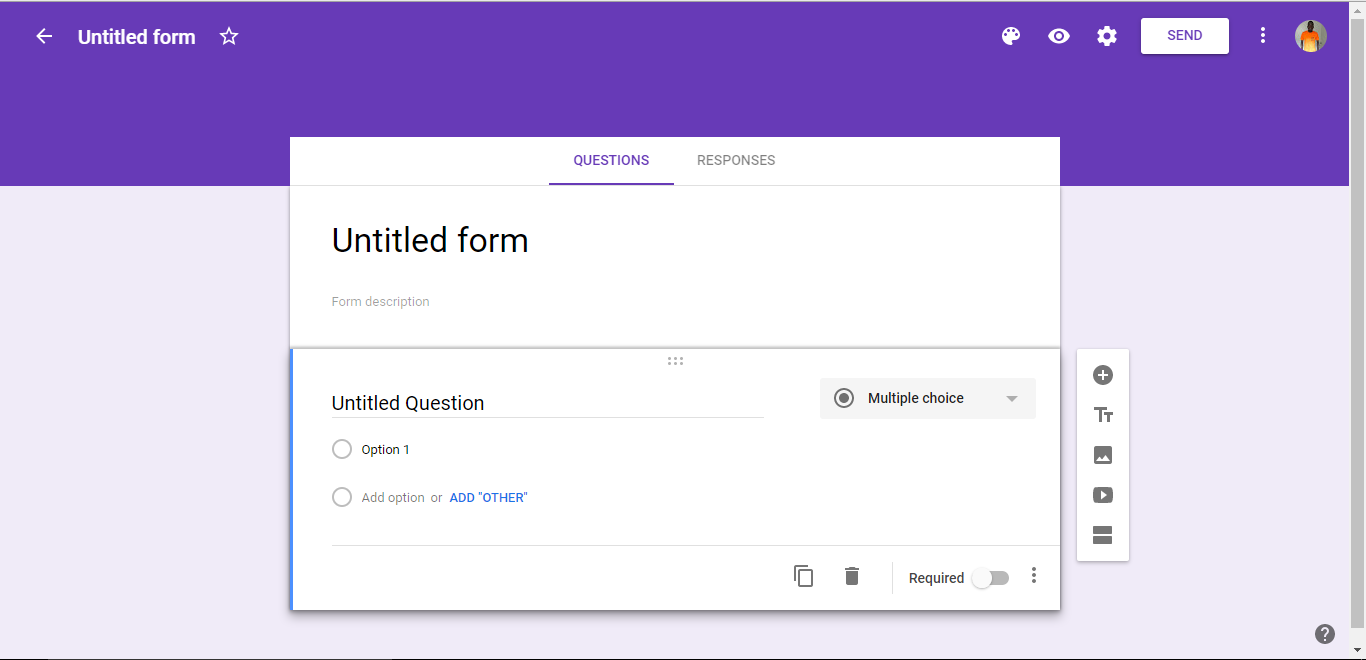
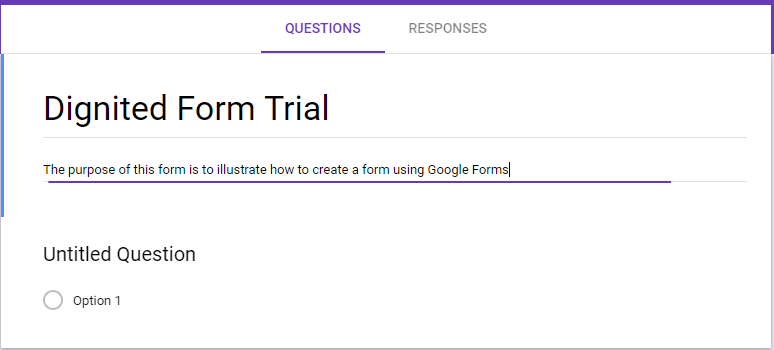
Give your form a title. This option is at the top of the screen; you’ll need to click the “Untitled Form” or “Form Title” text to type in this field.
Add a description to your form. Your respondents will be able to see this below the form title. Enter this information directly below the title field.

Add a question to your form. Respondents will answer these in whichever style you present them. To add a question:
Click the “+” icon in the right-hand menu. Type your question text into the “Question” field. Replace the “Option 1” text with an answer.
Tap the “Required” switch in the bottom-right corner for mandatory questions.
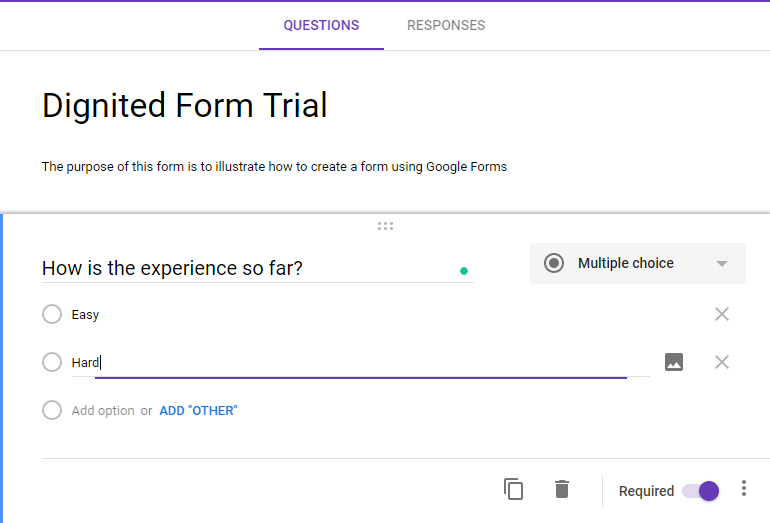

You have several ways in which you can display your questions. To change your type of question: Click anywhere on a question card, Click the drop-down menu to the right of the question text and then make a selection between “Multiple Choice”, “Checkboxes”, or “Drop-Down”.
In case you need to re-order your questions, you can click the grid of six dots at the top of a card, then drag it up or down and releasing it in its new location.
You can then review your question card options. You can do this in many ways:
- Click the “Duplicate” button (two overlapping cards) to duplicate your current question card.
- Click the trash can icon to delete your current question card.
- Click the portrait icon next to an answer. This will allow you to add a photo; you’ll need to hover over the question for this option to appear.
- “Description” – Add a clarifying description to your question card.
- “Go to section based on answer” – Link different question cards to different answers. You’ll do this from drop-down menus next to each answer on a card.
- “Shuffle option order” – Shuffle the answers for your current card.
Click on the “Preview” option( eye-shaped icon in the top right screen toolbar) to proofread your Form.
Related Article: How to use Google Drive Offline
Sharing Your Google Form
Perform a review of the form settings. You can do this by clicking on the gear icon in the top right corner of the screen. Your form settings menu includes the following criteria:
- “Requires Sign-In” – Require respondents to sign into Google rather than being anonymous. Click the “Limit to 1 response” to enable this feature.
- “Respondents can…” – “Edit after submits” and “see summary charts and text responses” are your options here. These let respondents change their answers and view form results after submitting.
Also, you will need to review your presentation settings. These can be found in the settings menu; switch from “General” to “Presentation” by clicking the pertinent option at the top of the settings window.
- “Show progress bar” – Displays a metric that tells respondents how close they are to completing the form.
- “Shuffle question order” – Varies the question order from user to user.
- “Show link to submit another response” – Creates a link to re-complete the form. This is ideal for invoice forms.
- “Confirmation message” – Customize your form’s completion message by typing your preferred message into the field below this text.
You can now click the “Send” button which will bring up a “Send form” menu with several different sharing options through which you can cycle from the top of the window.
Assess your sharing options depending on your form’s purpose. The sharing option can be:
- Email – Choose this option to send an email to your contacts directly from the Forms site. To use this option, Add a contact to the “To” field, a subject to the “Subject” field, and a brief message to the “Message” field. Click the “Include form in an email” option to embed your form directly into the email.
- Link – Choose this option to get a link to copy-and-paste. To use this option, Right-click (or two-finger click) the link field and select “Copy”. You can then paste this link in an email or on your preferred social media site.
- Embed HTML – Only use this option if you’re placing this form directly on your website. To use this option, Right-click (or two-finger click) the HTML field and select “Copy”. You can then paste this text into your website’s HTML processor. Note that you can edit the width and height values of the form from here.
- Google+, Facebook, or Twitter – These are quick-share options in the top right corner of your “Send form” menu.