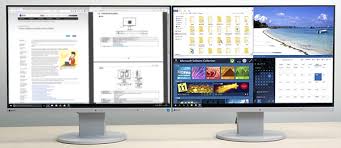
Do you want to do two, three or four things at a time on your Windows 10 PC? You can do that with the Snap Assist feature built into your Windows that allows you to easily divide your screen and utilize the space you’ve got more efficiently. Using Snap Assist’ only allows you to split your screen into four at maximum (right-top corner, right-bottom corner, left-top corner, left-bottom corner).
You can do this easily with just a few steps depending on the number of parts you want to divide your screen into.
Read More: How to restore Windows 10 PC to factory settings
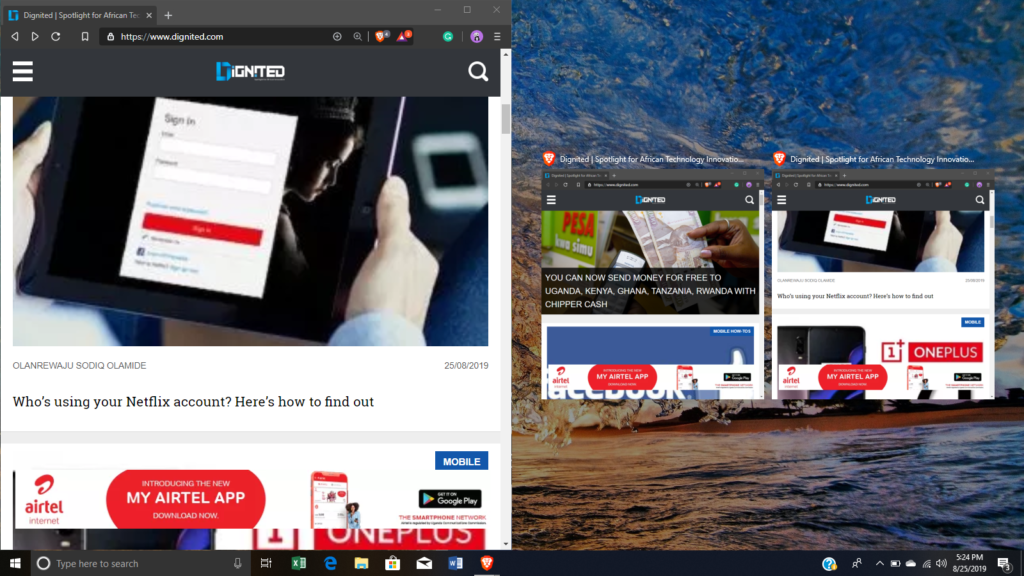
To split your screen into two, drag one window by the title bar to the right or to the left side of the screen until you see a sort of transparent demarcation overlaying the side you are dragging it to then release. Do the same to the opposite side and you will have successfully split your screen.

In addition, to split your screen into three, you will have to drag the title bar of the windows to the bottom or top corner of either side of your screen leaving one half with two windows and the other with one.

Moreso, to split your screen into four, you will have to drag the title bar of the windows to the bottom and top corner of both sides of your screen one after the other.

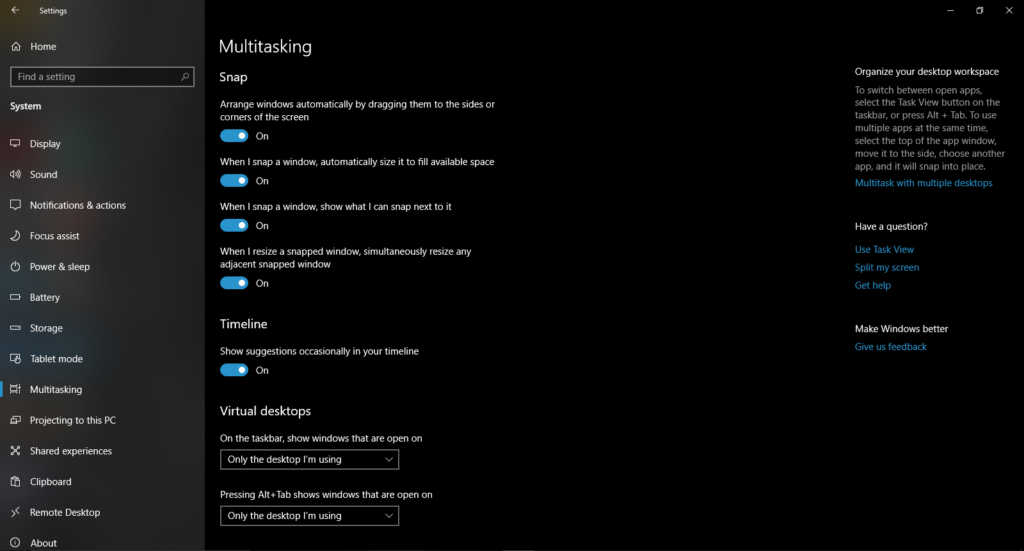
Furthermore, you can manage how your split-screen will be or turn it off in the multi-tasking menu below (Settings-System-Multitasking).