

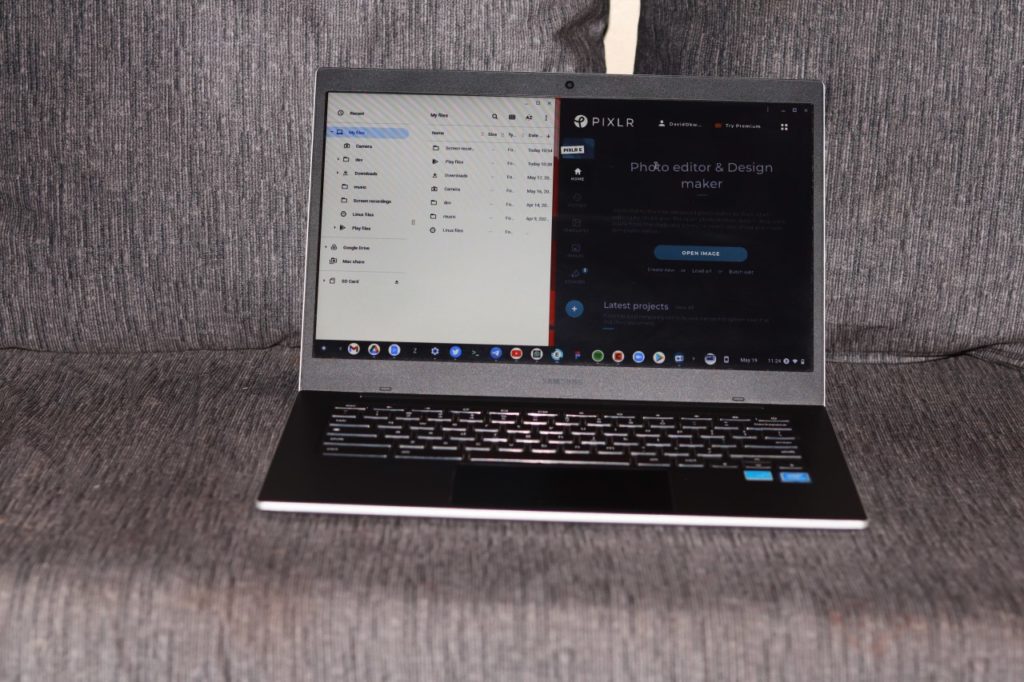
The split-screen mode has been available on Chromebooks for some time now. This mode allows you to view two different windows at once. It’s one of the best features on the Chromebook and comes in handy when you need to reference something or want to get work done faster with less jumping between tabs.
There are a few ways to split your screen and in this article, I will share different ways to do that on a Chromebook.
By resizing tabs
This is one of the simplest ways to split your screen on a Chromebook. Minimize one of the apps, then drag it to one side of the screen. You can then open the other app you want to use and then resize it to fit on the other half of the screen.

By dragging and dropping
Select the window you want to split-screen and drag it by the menu bar to the left or right edge of your screen. You’ll then see an outline of the tab that shows how it will be displayed. Let go of the mouse, and the window will fill half of the screen.
Related Article:
Using the maximise button on windows
Click and hold the maximise button located in the top-right corner of the app window. You’ll see two arrows pointing to the left and right of the maximise button. Move over one of them while still holding down the mouse button, and you’ll see an outline. Release the mouse, and the window will move to one side of the screen.

Using shortcuts
What is computing without shortcuts? You can use keyboard shortcuts to access the Chromebook split-screen mode. Press Alt + [ to move the open window to the right. Alt + ] will move the window to the left side of the screen.
Chromebooks are a great piece of technology that saves you time and money, and they can save you even more if you know how to use them right. The Chromebook split-screen Mode is one of my favorite features. Do you have any questions about the split-screen mode? Let me know in the comments section.