

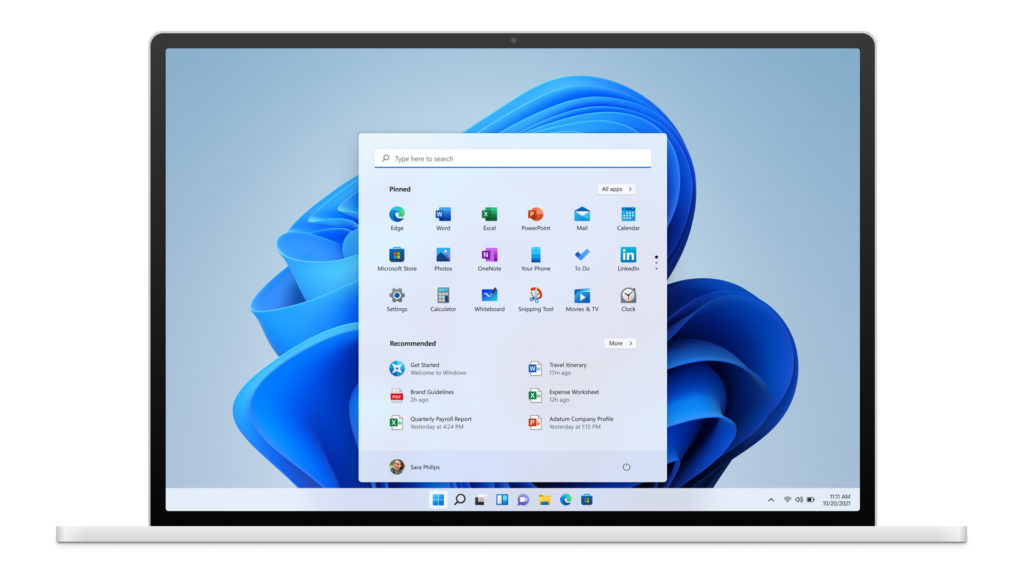
The Start Menu has been a vital part of the Windows operating system’s user experience since the early days. The failed Windows 8 full-screen Start menu, for instance, is a perfect example of how important the Start menu is to users: the tiles weren’t interactive, and the full-screen effect wasn’t helping.
Microsoft, however, quickly moved on from that to launch Windows 10 with a much more interactive Start menu. With Windows 11, however, Microsoft has made a couple of changes. The major one is the position of the Start button (Moved from the left to the middle).
It also doesn’t come with the tiles we’ve gotten used to on Windows over the years. Even with these changes, you can still customize the Start Menu in numerous ways; move it back to the left, pin app shortcut, etc. We will be showing you how to do this, in this article.
Move the Start Menu Around
If you’ve gotten used to how the Start Menu has been set up over the years (on the left), upgrading to Windows 11 and using the Start Menu button from the center of your tools bar might feel weird. The good thing is, Microsoft lets you move it around. Here’s how:

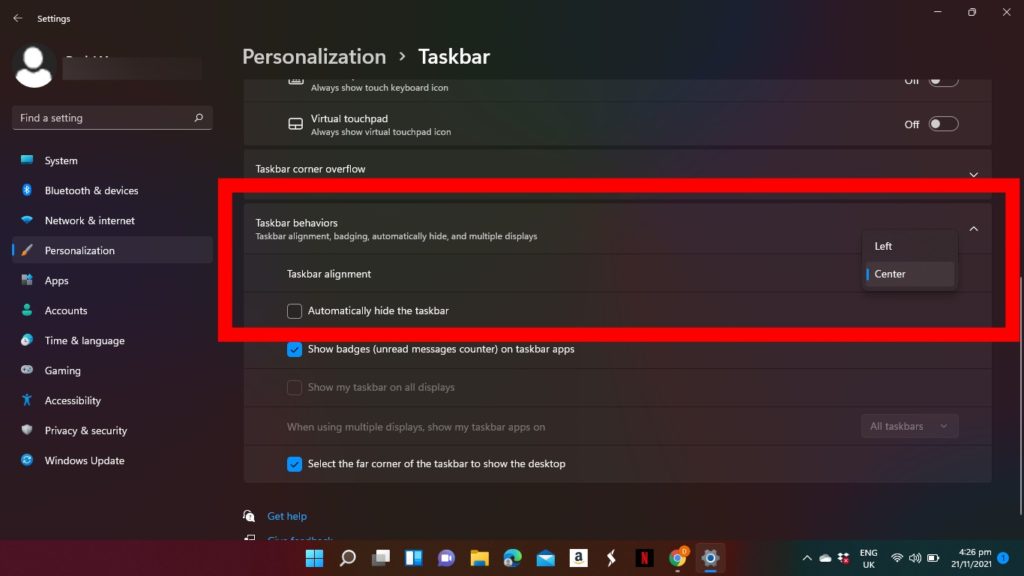
- Click on the Start icon and select Settings to bring out the window.
- Then, select Personalization
- Select Taskbar from the list of options.
- Under Taskbar, double-click Taskbar behaviors
- Select Left from the Taskbar alignment drop-down menu. Once you do that, your Start menu will be left-aligned.
Pin App Shortcuts to the Start Menu
The top of the Start Menu window has got a couple of apps pinned to it. You can pin and unpin any app, at any time. You should do this for the most essential apps on your computer. Here’s how:
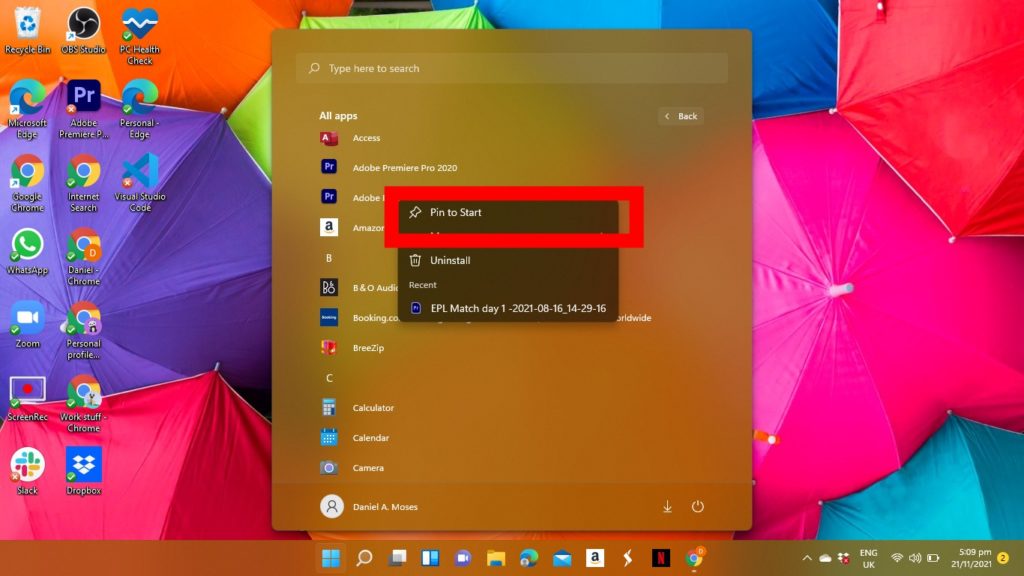
- Click the Start Menu icon to open the Start window.
- Tap the All apps button at the top.
- Then, right-click the app you intend to pin to the Start window, and select Pin to Start.
Add Folders
To make access to your files/documents easy, you can add folders to the bottom of the Start menu.
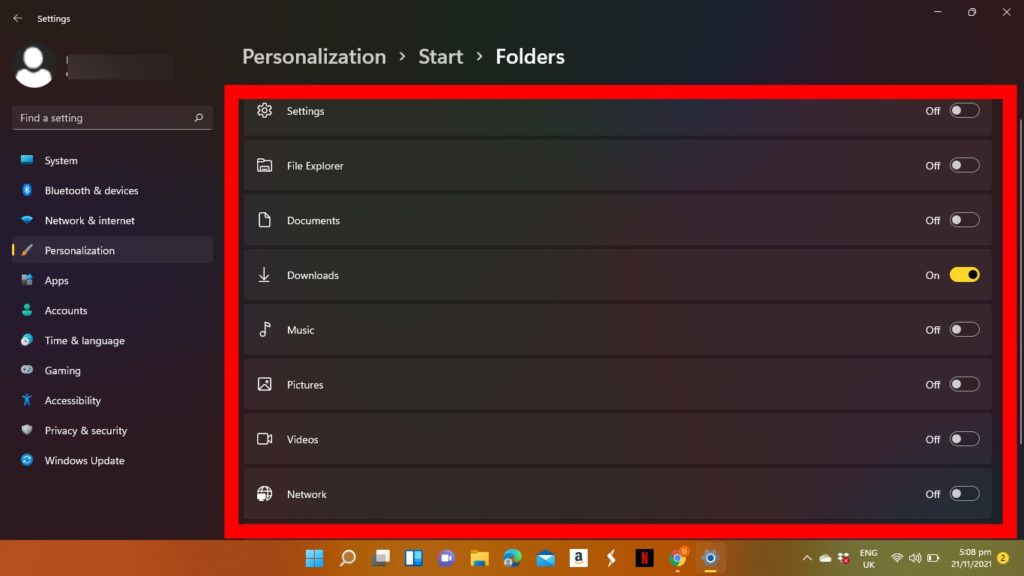
- First, open Settings, then Personalization
- Select Start and then Folders
- Next, turn on the switch next to any folder you’d like to see next to the power icon.
Change the Start Menu’s Color
By default, the Start Menu comes in dark mode, however, you can choose to change the color to your preferred color. A color palette is made available to you and you can select a variety of different colors from it.
- First, select Settings on the Start menu.
- Then go to Personalization tab.
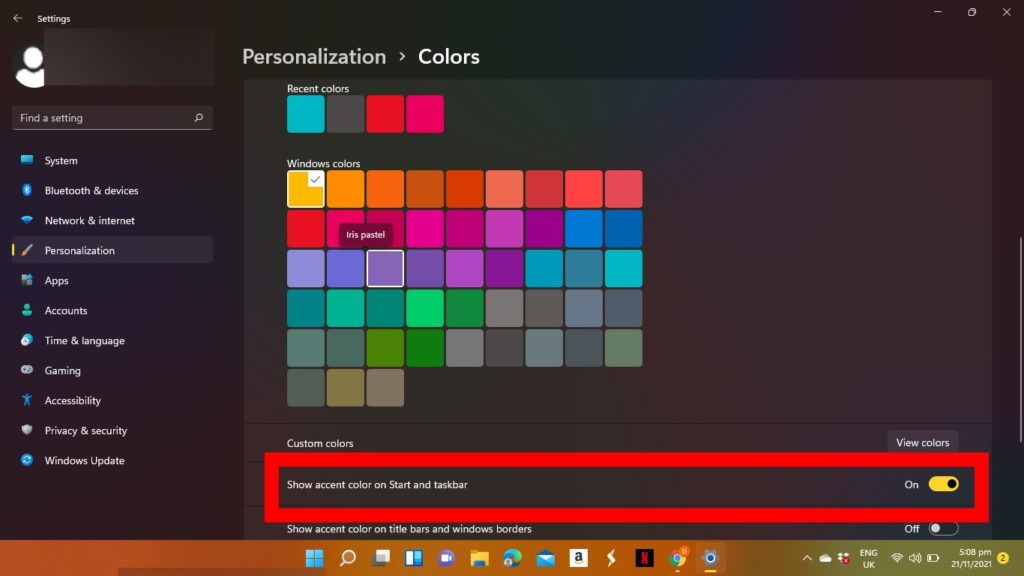
- Click Colors on that tab
- Next, scroll down and toggle on Show accent color on Start and taskbar option.
- From the Accent color section, choose the different colors you intend to use for the Start Menu and Taskbar.
There you have it. That’s how to customize your start menu in Windows 11 to suit your taste. You should also check out How to Customize Your Windows 11 Taskbar for improved productivity.