

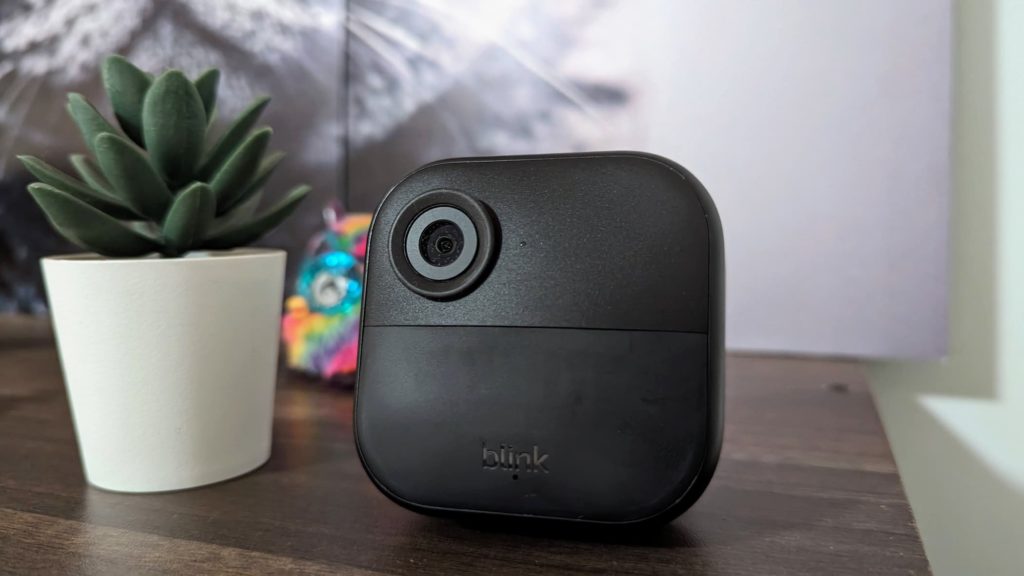
The Blink Outdoor 4 is a popular wireless security camera and a product from Amazon. However, its setup process might seem unconventional compared to some other wireless cameras. For that reason, we’ve created a comprehensive step-by-step guide that covers everything from initial setup to configuring your camera settings. But before diving into the setup process, let’s explore how your Blink Outdoor Camera 4 actually works. The system consists of two key components:
The Blink Camera: This captures video footage and sends it to the Sync Module.
The Blink Sync Module: This acts as the bridge between your camera and your Wi-Fi router, allowing you to access your security feed from anywhere. Each Sync Module can handle up to ten devices and operates on a 2.4 GHz Wi-Fi connection.
Blink Outdoor Cameras themselves don’t have built-in Wi-Fi. Instead, the Sync Module acts as a middleman, relaying information between your camera and your router. This is crucial for setting up your camera and using it with the Blink app.
Set Up the Blink Sync Module 2

- Download and create an account with Blink.
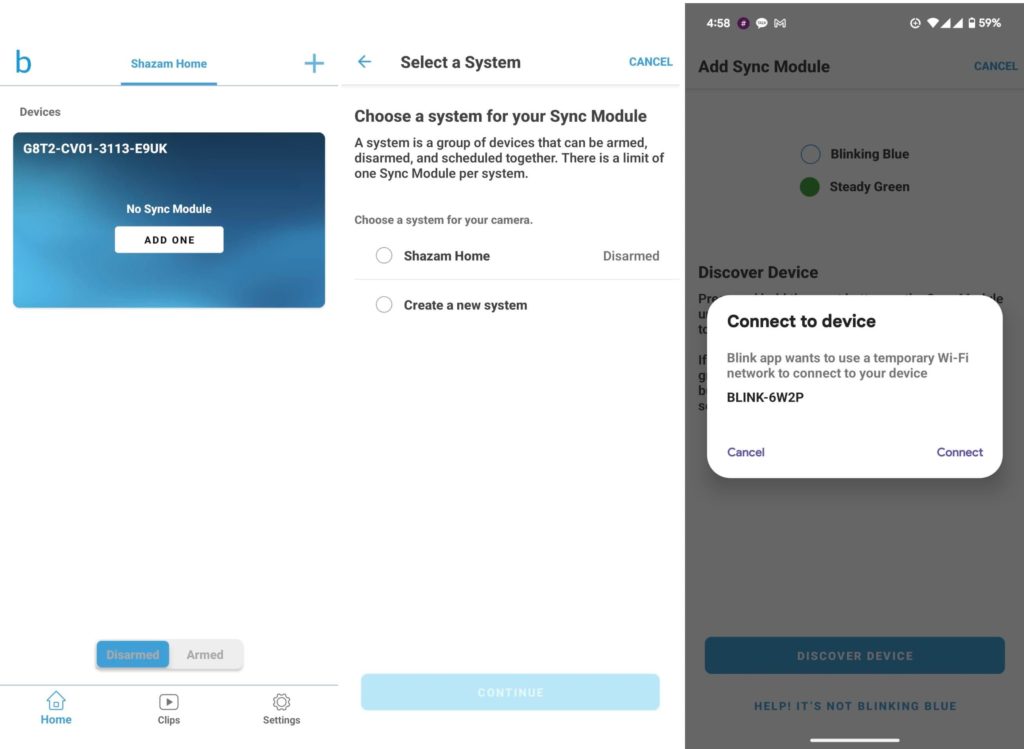
- Open the Blink App: Under devices, tap on No Sync Module: Add one. Alternatively, tap the + icon in the top-right corner and choose “Sync Module”
- Scan or Enter Code: Scan the QR code on the back of your Sync Module or manually enter the serial code.
- Name Your System: Give your Blink system a name and tap Done.
- Wait for Lights: The Sync Module will flash blue with a steady green light. Tap “Discover Device” when this happens.
- Join Wi-Fi: Tap “Join” on the Blink network that appears (starts with BLINK-XXXX).
- Connect to Home Network: Choose your Wi-Fi network, enter your password, and wait for the connection to establish.
- Module Added: You’ll receive a notification confirming the Sync Module is added. Tap “Done.”
Note: If you have a Sync Module 2, you don’t need a Blink subscription plan to record motion clips. You can add local storage using a pen drive/ flash drive. However, a Sync Module 1 requires a subscription since it lacks local storage.
2. Add Cameras to Your System

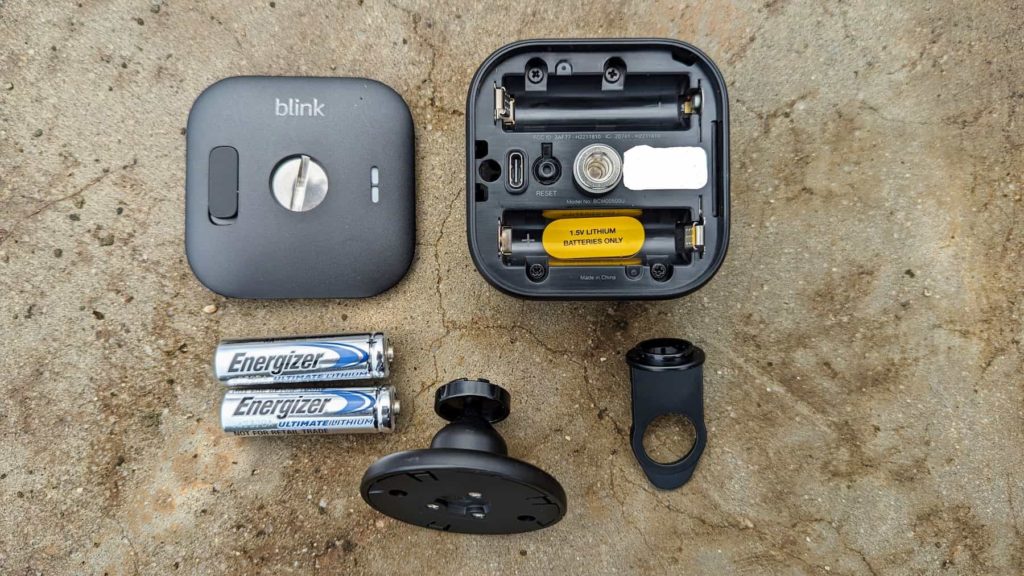
- Insert Batteries: Unscrew the back panel of the camera and insert the included batteries. Use the provided tool or a flat-head screwdriver or cutlery if you must.
- Add New Device: Tap the + icon in the Blink app and choose “Wireless Cameras.”
- Scan QR Code: Open the battery compartment and scan the QR code inside. Screw the backplate back on securely.
- Select System: Choose the system you want to add the camera to.
- Camera Added: The app will notify you if the camera is found and added successfully. Tap “Next.”
Read more:
- YI 1080P Home Camera Review: an affordable subscription-free security camera
- Xiaomi Mi Home Security Camera 360 1080P Review
- Mi 360 Home Security Camera 2K Pro Full Review
3. Mount Your Camera
- Choose Location: Blink’s suggestions can help you choose the best location for your camera.
- Mounting Options: The camera includes mounting hardware for screwing or using the no-drill method.
- No-Drill Option: Slide the no-drill mount onto the camera. Hang the camera on a hook or in between slats.
- Screw Mount: Screw the mount into place and then slide the camera onto the bracket.
4. Customize Settings
- Open the Blink App: Select your camera and access the settings menu.
- Adjust Motion Detection: Adjust sensitivity, zones, and recording duration.
- Set Notifications: Choose how you want to be notified about motion events.
- Live View and Two-Way Audio: View the live feed, talk to visitors, and listen to audio.