Sharing your Wi-Fi password is easy, but kicking unwanted guests off without changing it for everyone requires a different approach. Maybe a neighbor overstayed their welcome, or you suspect an unknown device is hogging bandwidth. While changing the password works, it forces you to reconnect all your own devices. Instead, you can use your router’s built-in tools to specifically block devices you don’t want on your network.
This guide shows you how to use MAC Address Filtering to block specific devices from accessing your Wi-Fi network.
Understanding MAC Addresses and Filtering
Every network-capable device (phone, laptop, smart TV, etc.) has a unique hardware identifier called a MAC (Media Access Control) address. Think of it like a permanent serial number for its network connection. Routers can use these addresses to control network access through a feature called MAC filtering.
MAC filtering typically works in two modes:
- Allow List (Whitelist): Only devices with MAC addresses added to this list can connect. All others are blocked. (More secure, but requires adding every trusted device).
- Block List (Blacklist): Devices with MAC addresses added to this list are specifically denied access. All others are allowed. (Easier for blocking a few specific unwanted devices).
For kicking someone off without changing the password, we’ll focus on using the Block List (Blacklist) method.
How to Block a Device Using MAC Filtering
The process involves finding the unwanted device’s MAC address and adding it to your router’s block list.
Step 1: Access Your Router’s Admin Interface
- Find your router’s IP address (Gateway address). On Windows, open Command Prompt (type
- Open a web browser on a device connected to your Wi-Fi (preferably via Ethernet cable).
- Type your router’s IP address into the browser’s address bar and press Enter.
- Log in using your router’s administrator username and password. (Check the router’s label or manual if you haven’t changed the defaults. It’s highly recommended to change these defaults for security!)
cmd in search) and run the command ipconfig. Look for the ‘Default Gateway’ address (often 192.168.1.1, 192.168.0.1, or similar). On macOS, go to System Settings > Network > Wi-Fi > Details… > TCP/IP tab, and find the ‘Router’ address.Step 2: Identify the Unwanted Device and its MAC Address
- Once logged into your router’s interface, look for a section named ‘Connected Devices’, ‘Attached Devices’, ‘DHCP Clients’, ‘Wireless Clients’, or similar. This list shows all devices currently connected to your network.
- Identify the device you want to block. The list usually shows device names (which can sometimes be generic, like ‘android-device’), IP addresses, and critically, their MAC addresses (often formatted like
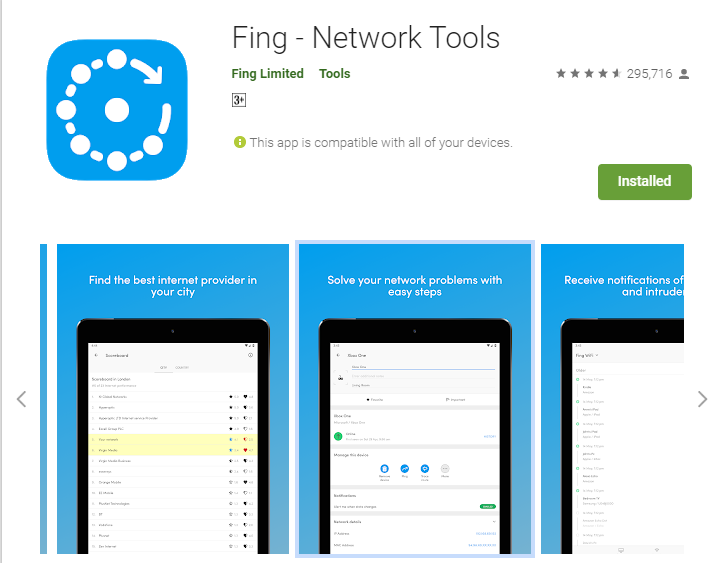
XX:XX:XX:XX:XX:XXorXX-XX-XX-XX-XX-XX). - Tip: If device names aren’t clear, you can use a network scanning app like Fing (available for iOS and Android) while connected to your Wi-Fi. Fing scans your network and provides more details about connected devices, helping you match an IP or device name to the physical device and its MAC address.
- Carefully copy or write down the exact MAC address of the device you want to block.
Step 3: Configure MAC Address Filtering (Block List)
- Navigate to your router’s Wireless Settings, Security Settings, or Advanced Settings section.
- Look for an option specifically named MAC Filtering, Wireless MAC Filter, Network Access Control, or similar.
- Enable the MAC Filtering feature.
- Select the ‘Block’, ‘Deny’, or ‘Blacklist’ mode (the terminology varies by router manufacturer).
- Find the area to add MAC addresses to the block list.
- Add the MAC address of the device you want to block. You might need to enter it manually or select it from a dropdown list of currently connected devices.
- Save or Apply the changes. The router may reboot.
Once saved, the device associated with that MAC address should no longer be able to connect to your Wi-Fi network, even if it has the correct password.
Important Caveat: MAC Spoofing
While MAC filtering is effective against casual users or accidental connections, it’s not foolproof against determined individuals. It’s possible for a technically savvy user to change their device’s reported MAC address (called ‘MAC spoofing’) to mimic a permitted device or bypass the block list entirely. For stronger security, always use a strong WPA2 or WPA3 password and consider changing it periodically, especially if you suspect persistent unauthorized access.
Alternative Tools (Use with Caution)
Some mobile apps like NetCut or WiFiKill claim to kick users off Wi-Fi. These typically use ARP spoofing techniques to disrupt a device’s connection rather than blocking them at the router level. They often require root access on Android, can cause network instability, and don’t provide a permanent block. Using your router’s built-in MAC filtering is the standard and more reliable method.
Keeping unrecognized devices off your network helps protect your bandwidth and enhances your security, as compromised devices on your network could potentially access shared files or monitor traffic.
About Olanrewaju Sodiq Olamide
Sodiq Olamide is a tech writer based in Nigeria, covering the latest reviews, how-tos, and news on consumer tech trends with a unique African perspective. Whether analyzing emerging technologies or offering practical guides, Sodiq brings a deep understanding of how technology shapes lives across the continent.
Discover more from Dignited
Subscribe to get the latest posts sent to your email.