HEIC (High-Efficiency Image Container) is Apple’s format for images and it is based on HEIF (High-Efficiency Image File Format) which is a standard developed by MPEG (Moving Picture Expert Group). In other words, HEIC is a variation of HEIF using HEVC (High-Efficiency Video Coding by MPEG) also known as h.265. This compression makes a HEIC image take half the space a JPEG of the same quality will take.
In fact, HEIC is not really a format but a container that is used to store HEVC encoded HEIF file format. This is why in Live Photos, multiple images can be stored in a HEIC container and the same for dual-camera images as well. This container format makes it easy to edit images and even undo changes made to an image because of its ability to store different image data (like auxiliary image items, multiple individual images, and image derivations) on the image(s) in one container.
SEE: Image File Formats Explained: JPEG, GIF, PNG, TIFF
There’s is support for HEIC on macOS High Sierra and higher, iOS 11 and higher, Android 9 (Pie) and higher, Ubuntu 20.04 and higher. However, for Windows 10 version 1803 and later you will have to download the HEVC Video Extensions and HEIF Image Extension from the Microsoft Store to be able to view HEIC images. Also, Windows 11 is expected to natively support HEIC image format but it has not been confirmed yet.
How to convert HEIC to JPEG on Windows
The easiest way to do this is by downloading CopyTrans HEIC for Windows. You can only use this if you are using Windows 7 or later.
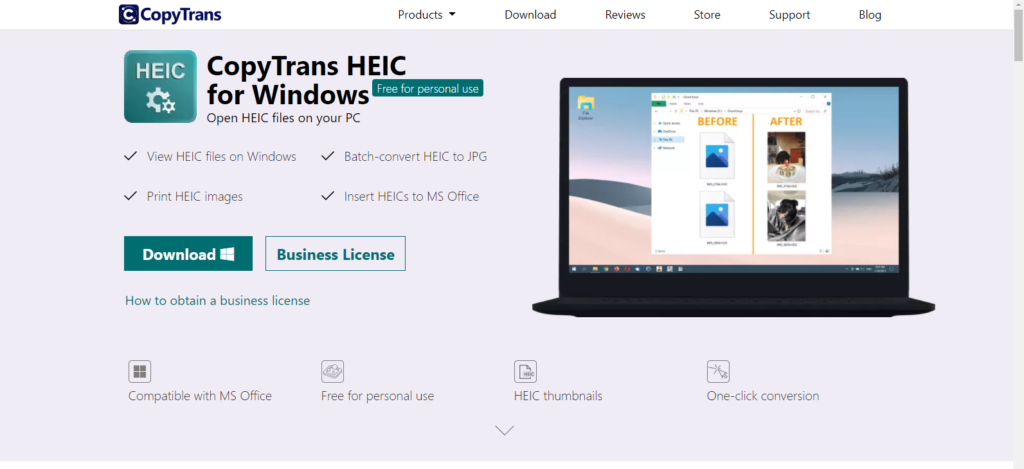
- Once you’ve downloaded CopyTrans HEIC, go ahead and install it.
- After that is completed, right click on the HEIC image(s) and select ‘Convert to JPEG with CopyTrans’ and a JPEG format of that image will be made.
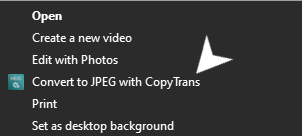
- This also works for batch HEIC image conversion to JPEG has you can select multiple images and convert at once.
Read More: MP4, MKV, AVI: Video file formats explained
How to convert HEIC to JPEG on MacOS
- Open the HEIC image with Preview App.
- Click on File from the menu bar and select Export.
- In the tab that pops up, change format to JPEG and choose location where you want it to be and click save.
You have succesfully converted your HEIC image to JPEG in 3 simple steps.
Currently, no browser natively supports HEIC and it is highly unlikely that any e-form that you’re filling that requires an image upload will support a HEIC format either. Due to the lack of ubiquitous support, it is sometimes imperative to convert HEIC images to JPEG.
Discover more from Dignited
Subscribe to get the latest posts sent to your email.


