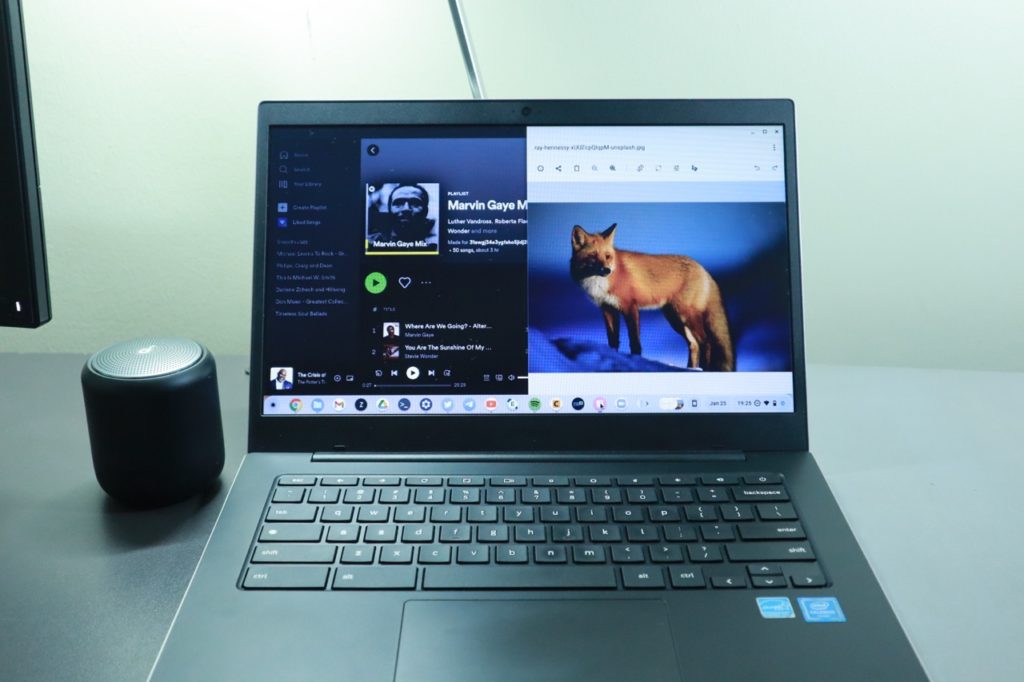
You can change the look and feel of your Chromebook by changing the wallpaper, screensaver, theme, or keyboard shortcuts. Chromebooks are truly customizable fast machines just like a Windows computer or a Mac. Alright, without further ado, here’s my top tips on how to personalize your Chromebook.
Change the Wallpaper
Perhaps, the first thing anyone will do to personalize their new shiny computer is to change the wallpaper. The wallpaper adorns your computer’s desktop. You can turn a beautiful picture your just took using your smartphone into a wallpaper, or an image you downloaded from the internet or you can choose from a wide selection of wallpapers provided by your Chromebook.
To turn any image into a wallpaper, simply right-click on the image file and select “Set as wallpaper”. If you wish to use any of the pre-installed options, right-click on the desktop and select “Set wallpaper & style”. Alternatively, you can go to Settings > Personalization > Set wallpaper & style. Now select “Wallpaper” from the first section.
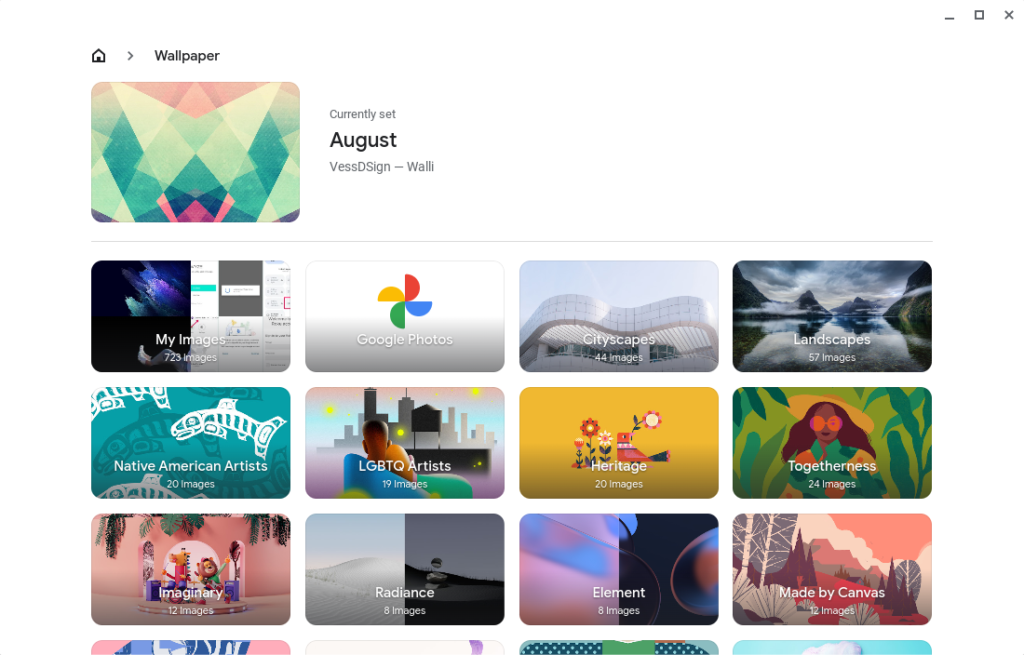
You can now choose from a wide selection of wallpaper options grouped in various categories such as Landscapes, Cityscapes, Solid colors etc. You can also choose a wallpaper from your Google Photos. Simply click on any particular photo and it’ll be set as your Chromebook’s wallpaper.
Read more: How to Change the Wallpaper on Your Chromebook
Change your Screensaver
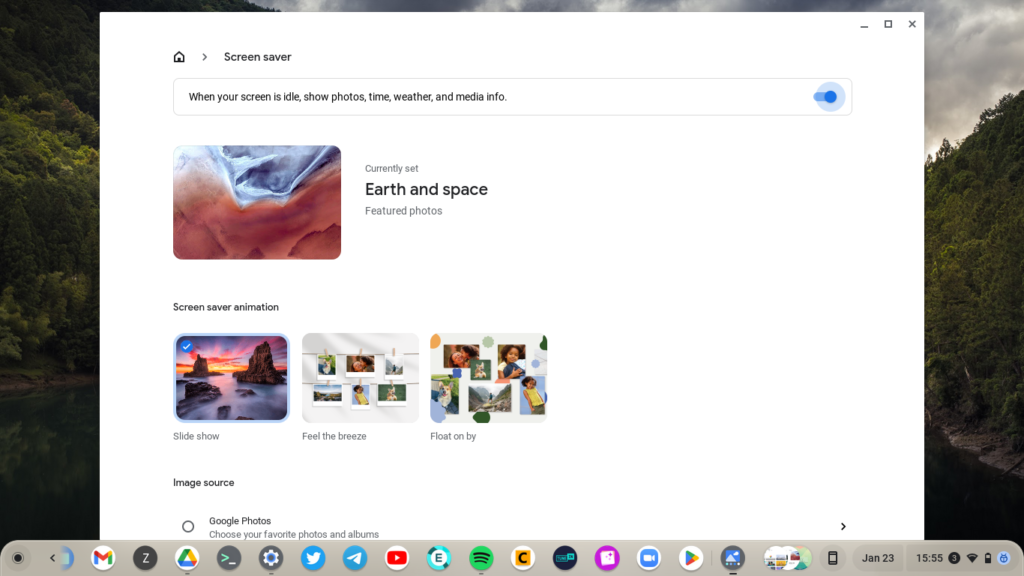
Another great way to personalize your Chromebook is to change the screensaver. The screensaver automatically sets in when your Chromebook is idling or becomes inactive after some time. By default, the monitor will simply shut off showing a black screen. That’s too boring.
Changing the screensaver is similar to setting the wallpaper. Simply right-click on the desktop and select “Set wallpaper & style”. Alternatively, you can go to Settings > Personalization > Set wallpaper & style. Now select “Screensaver” from the second section. Now you can set your Chromebook to create a screensaver from images on your Google photos account or from curated artwork and images.
Turn on dark mode or Light mode
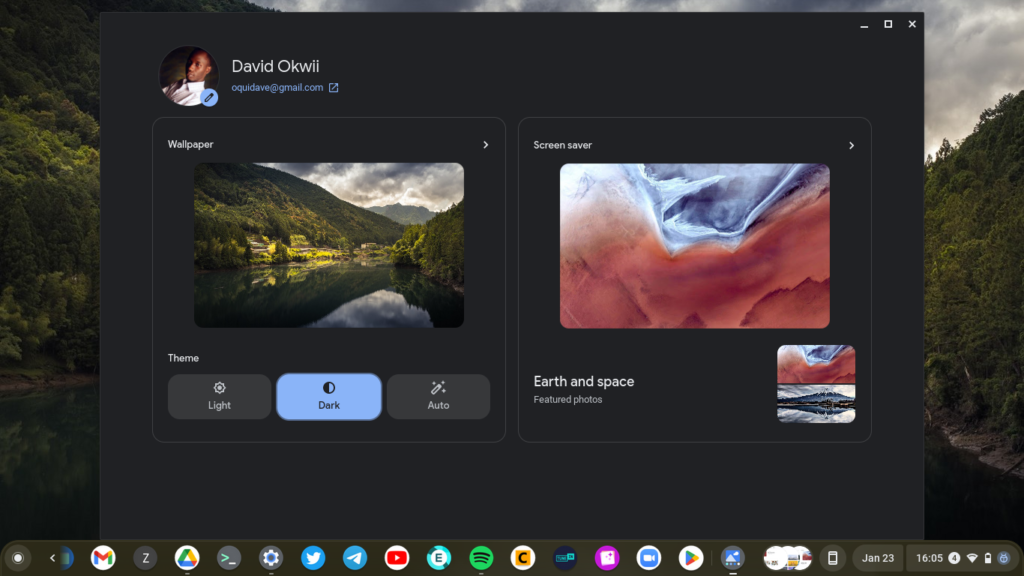
Dark mode has in recent years become very popular. Almost every operating system or consumer device now supports Dark mode and Chromebooks aren’t left out. Dark mode sets the color scheme of your Chromebook into darker accents which are easier on your eyes especially in the night or in a dark room.
To turn on dark mode on your Chromebook, again go to Settings > Personalization > Set your wallpaper & Style. Then under Theme, you have three options; Light, Dark and Auto. Selecting Dark immediately turns on Dark mode, but selecting Auto schedules dark mode to automatically turn on at sunset and turn off at sunrise.
Change the theme(of the Chrome browser)
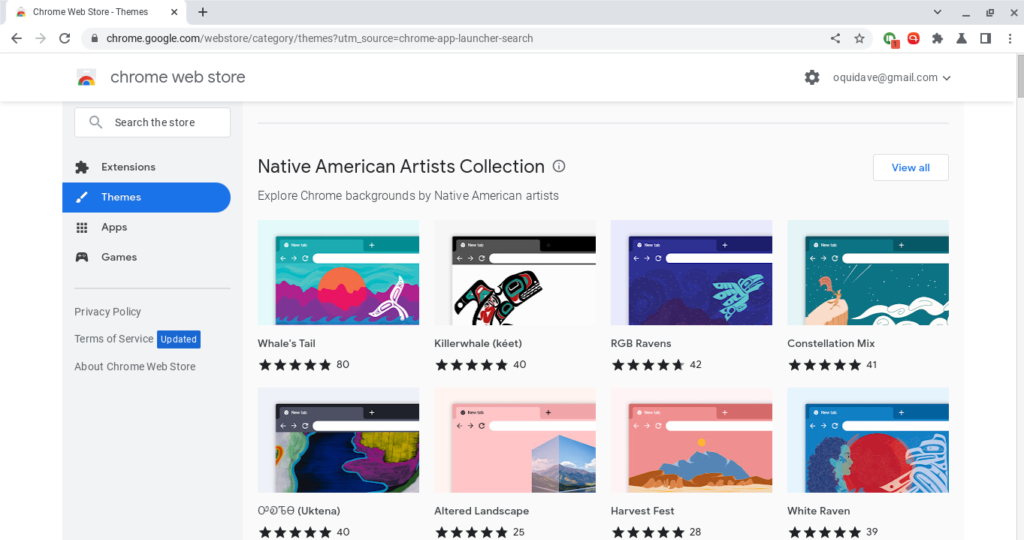
Another way to personalize your Chromebook is by changing the Theme of the Chrome browser. The Chrome browser is very central to the experience of Chrome OS and so tweaking its theme gives it a different personality. Now the browser theme appears around the border of the browser and as the background when you open a new tab.
Related post: Top 20 Chromebook Tips and Tricks to get the most out of your Chromebook
To change the theme of the Chrome browser, go to the Chrome web store. You can search for “Chrome Web store” from the launcher to open it. It’ll open the Chrome browser itself. Click on Themes on the top left panel. Browse through a collection of themes and choose what works for you. Then select “Add to Chrome” to install your preferred theme.
Move or hide the shelf
The Chromebook shelf works like Windows taskbar or MacOS dock. It has a shortcut to your favorite apps. So you can quickly launch an App from the shelf without going through the tedious task of searching for it from the launcher. You can move the shelf’s position from the default position which is at the bottom of the desktop to either the right or left. To do that, right-click on the Shelf, then select “Shelf position” and then select either Right or Left.
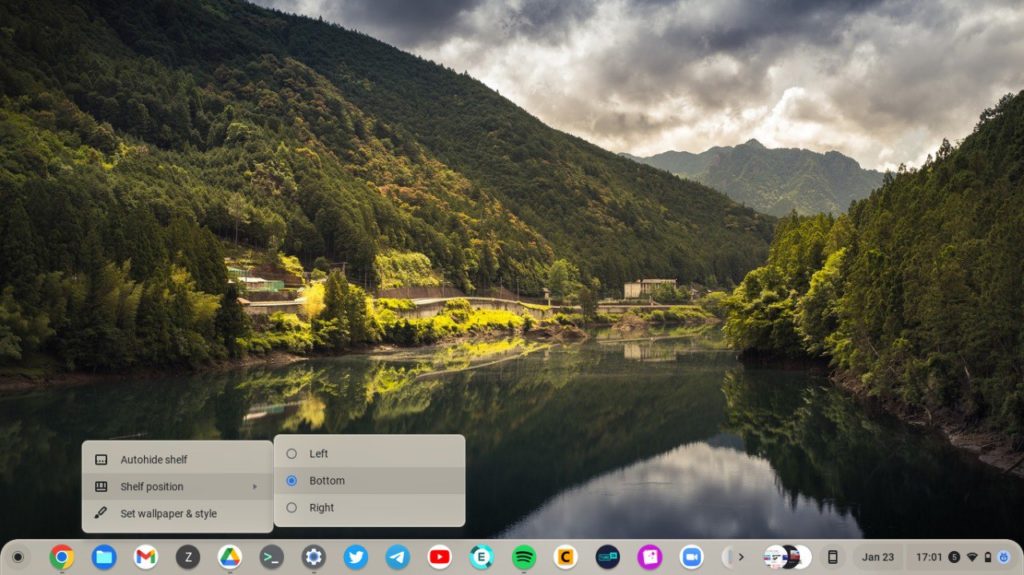
You can also make the Shelf to automatically hide and reappear when you hover the mouse over the bottom of the desktop. You can do this by again right-clicking on the Shelf, then selecting “Autohide shelf”.
Pin App to shelf
Pinning an App to the shelf makes it easy and quick to launch. I like to have all my frequently used Apps such as Gmail, Docs, Twitter, Telegram, Spotify, Pixelr all on the shelf. When you install an App, it’s not automatically added to the shelf. To access it, you will have to click on the launcher, and then search for the app or scroll until you can see it.
To add your favorite app to the shelf, click on the launcher by either pressing the search button on your keyboard or clicking on the launcher icon on the shelf. Then search for or scroll to your favorite app, right-click on it and then select “pin to shelf”.

Change the language
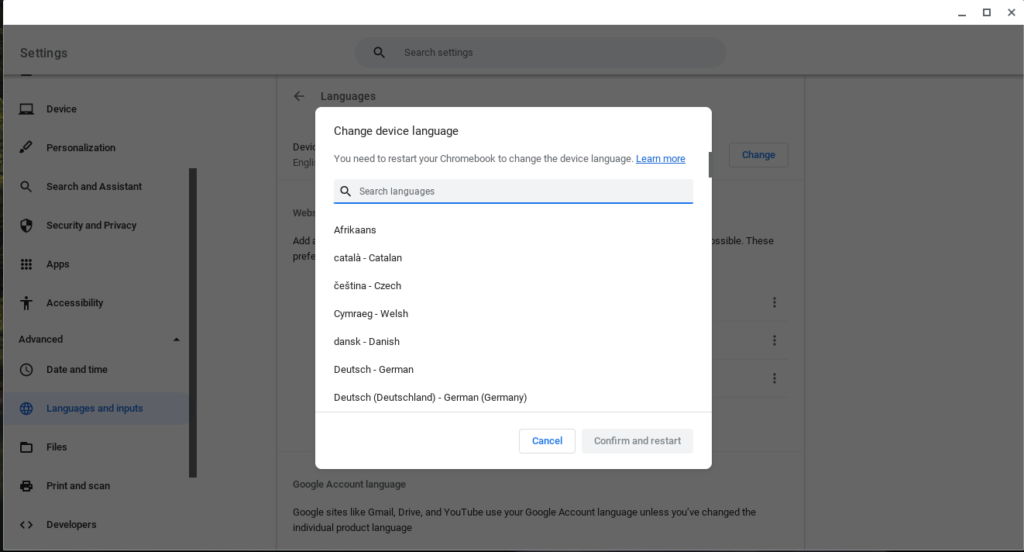
If you bought your Chromebook from the U.S or the U.K, by default the language is set to English. But not everyone is an English speaker. Luckily you can change the system-wise language of your Chromebook to any of the supported languages such as Afrikaans, Danish, German, Spanish, Filipino, french, Zulu, Italian, Dutch, Polish, Portuguese, Greek, Russian, Arabic, Hindi, Chinese among others.
To change your Chromebook’s language, go to Settings > Advanced > Languages and inputs > Languages. Search for or scroll to your language of choice and then select Confirm and restart.
We have made a youtube video on how you can follow these 10 ways to customize your Youtube video. You can watch it below or continue reading this article;
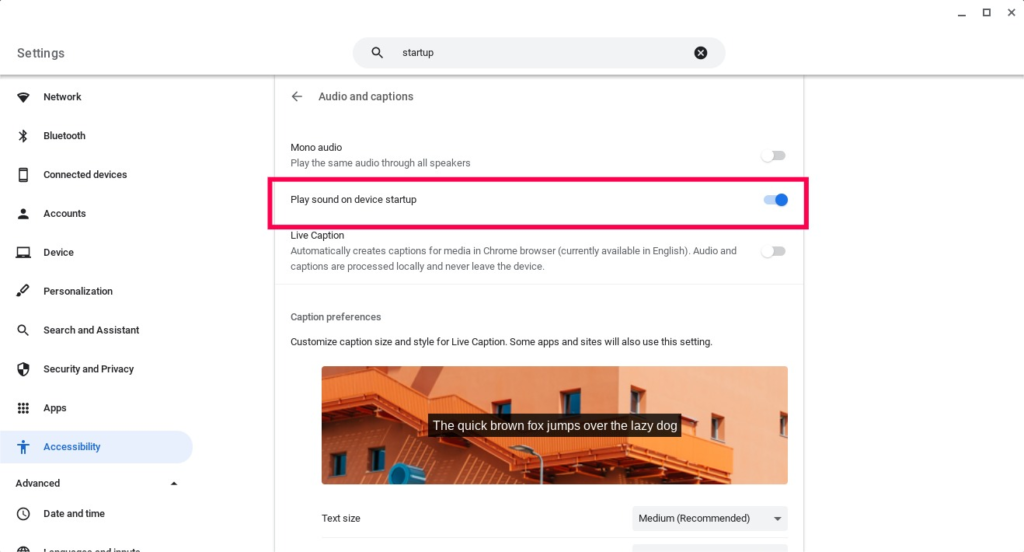
Play sound on device startup
By default, your Chromebook doesn’t make any sound when starting up. Normally Windows PCs or Macs have a startup sound and so Chromebooks. However, this isn’t enabled by default. To change that, go to Settings > Accessibility > Audio & captions and toggle Play sound on device startup.
Enable reverse scrolling
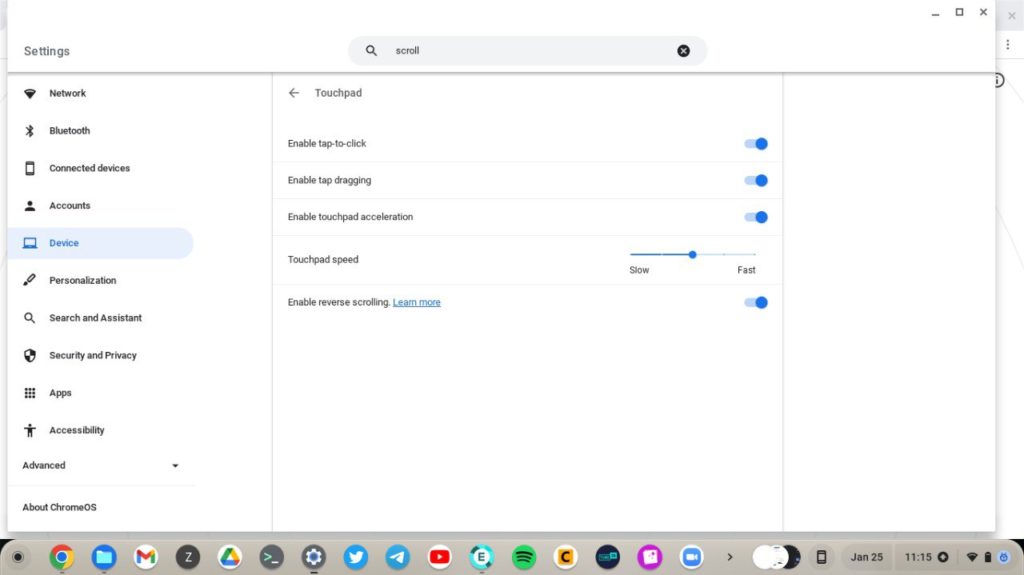
One of the things I immediately changed when I got my Chromebook is the way the windows scroll up or down when I swipe the mouse pad. The default behaviour is your Chromebook will work just like a smartphone or tablet. Swiping the touchpad down will scroll the page downwards and moving it up moves the page upwards just like on smartphones. But I wasn’t used to this on computers. I wanted the opposite.
Related post: Top 20 Chromebook Tips and Tricks to get the most out of your Chromebook
So if you are like me and wish to change the direction you scroll on your Chromebook, go to Settings > Device > Touchpad and then toggle “Enable reverse scrolling”. This will let you swipe up to move the page down.
Change keyboard mappings
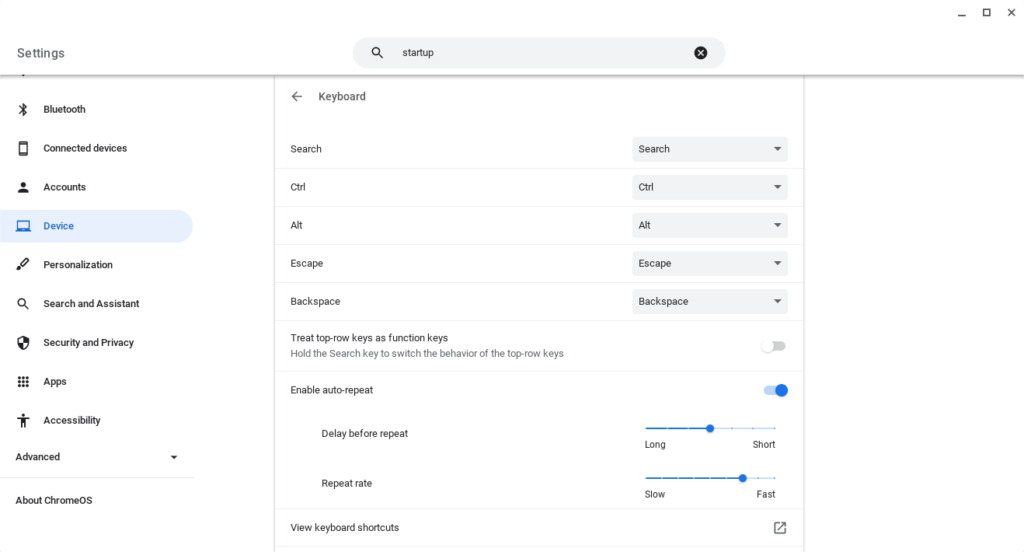
Another way to customize your Chromebook is to change the default keyboard mappings. The Chromebook keyboard is QWERTY, but has some unique features. For starters, all the keys are made in the lower case which isn’t the case with Windows PCs or Mac keyboards. Also, there’s no CAPS LOCK which can be annoying for some users. Then there are no function keys (Fn 1, 2, 3 etc). If you are using a program whose shortcuts you’re already used to, then you can re-assign some keyboard keys to suit your workflow. For instance, I tend to reassign the search button as CAPS LACK.
To change the keyboard maps, go to Setting > Device > Keyboard. You can re-assign Search, Alt, Escape, Backspace keys. You set the top-row keys as function keys. You can view existing keyboard shortcuts among other things.
Alright, those are my top 10 tips on how to customize your Chromebook. If you have any of your own, let me know in the comments below.
Related post: Top 20 Chromebook Tips and Tricks to get the most out of your Chromebook
Discover more from Dignited
Subscribe to get the latest posts sent to your email.


