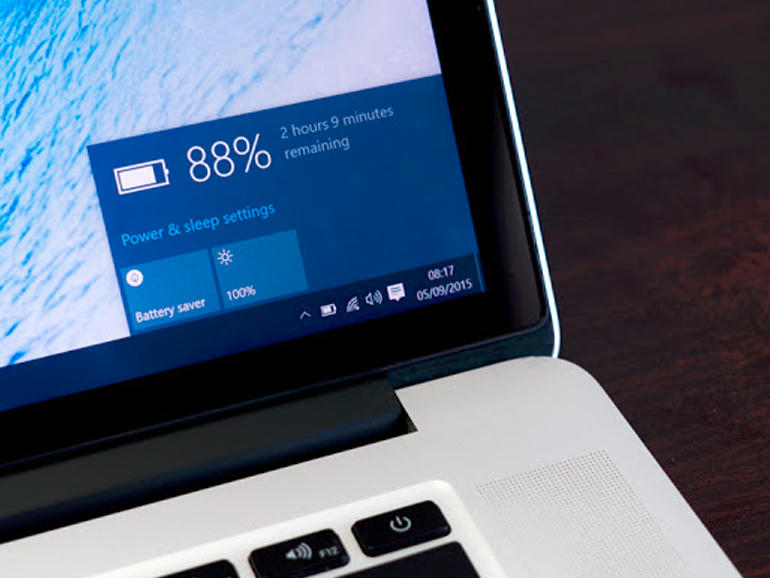
All things being equal, your laptop’s battery will eventually deteriorate over time and would not be as strong as it used to be when you bought it. However, the reason your laptop doesn’t last any longer could sometimes be attributed to some powerful battery-consuming apps running in the background and foreground — not your battery.
And while the default Windows 10 battery saver does well to disable app background activity, it is sometimes important to know how much battery power each app you use consume. This will help you know how much you should use such apps, how long you should use them or if you should allow them run in the background or not. Interestingly, Windows 10 allows you check how much power your apps use. Find out how to check below.
a) Launch your PC’s Settings (Windows Key + I shortcut)
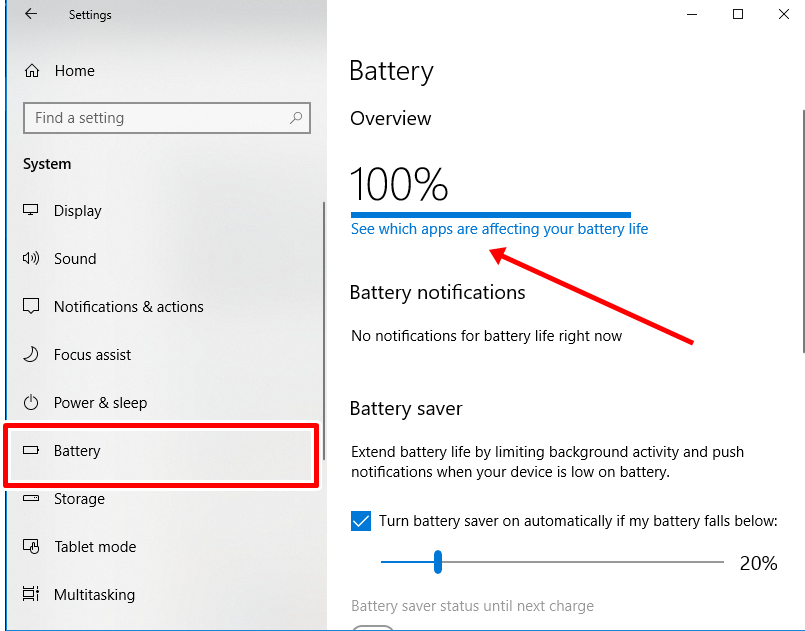
b) Select “System“
c) Select “Battery“
d) On the Battery settings page, click “See which apps are affecting your battery life” under the Overview section.
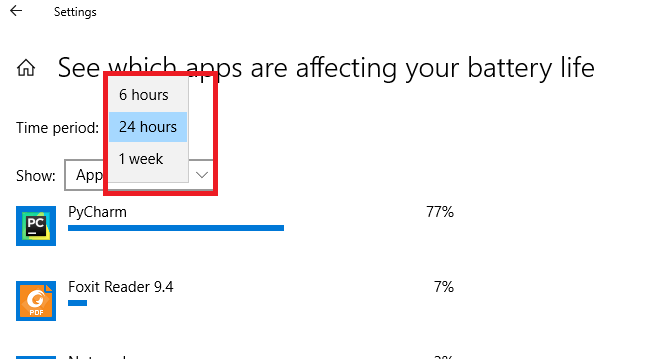
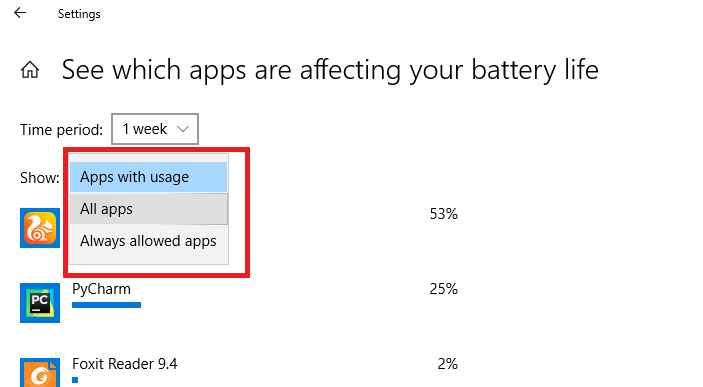
Here, by default, apps that used the most of your PC’s battery are displayed in descending order, based on a 24-hour time period. You can change this timeframe to six hours or 1 week. Likewise, you can also choose to view the battery consumption rate for all the apps you have on your PC by clicking the “Show” dropdown button and selecting “All apps“.
With this information, you can now decide which app(s) is a burden on your PC’s battery and which apps you should allow to run in the background. You should also check out these 5 battery-saving tips for laptop owners.
Were you able to check the apps that use up your PC’s battery the most? Let us know if you need any extra help/tips in the comments.
Discover more from Dignited
Subscribe to get the latest posts sent to your email.


