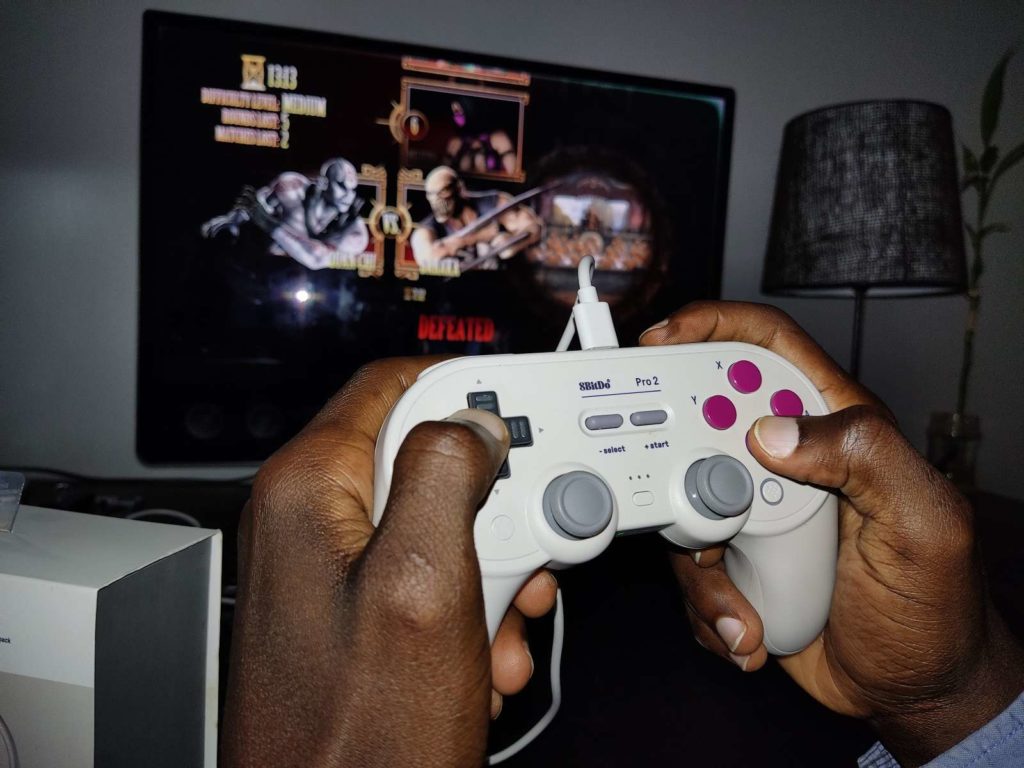
While I wouldn’t go as far as saying that 3rd party controllers like the 8BitDo Pro 2 are as good as the OEM controllers from the likes of Xbox, PlayStation, and Nintendo Switch, I am now convinced that the 8BitDo Pro 2 comes pretty darn close. Despite its nostalgia-inducing retro looks, the 8BitDo Pro 2 is packed with all the bells and whistles we have come to love in our modern controllers.
The 8BitDo Pro 2 works with the Nintendo Switch, Android, Windows, Mac, Steam and on Raspberry Pi both wirelessly via Bluetooth or wired via a USB C to Type-A cable that comes with. The controller serves up 20 hours of playtime with a rechargeable 1000mAh built-in battery pack with 4 hours of charging time.
We got our hands on the 8BitDo Pro 2 for $49.99 on Amazon and we will do a deep dive into what makes the 8BitDo Pro 2 the darling of geeks and noobs alike, but for now, let’s see about setting it up on your device. This tutorial doesn’t diverge too much from the instruction manual but if you’re like me and never read those things anyway, this one’s for you.
8BitDo Pro 2 setup on Nintendo Switch
Bluetooth
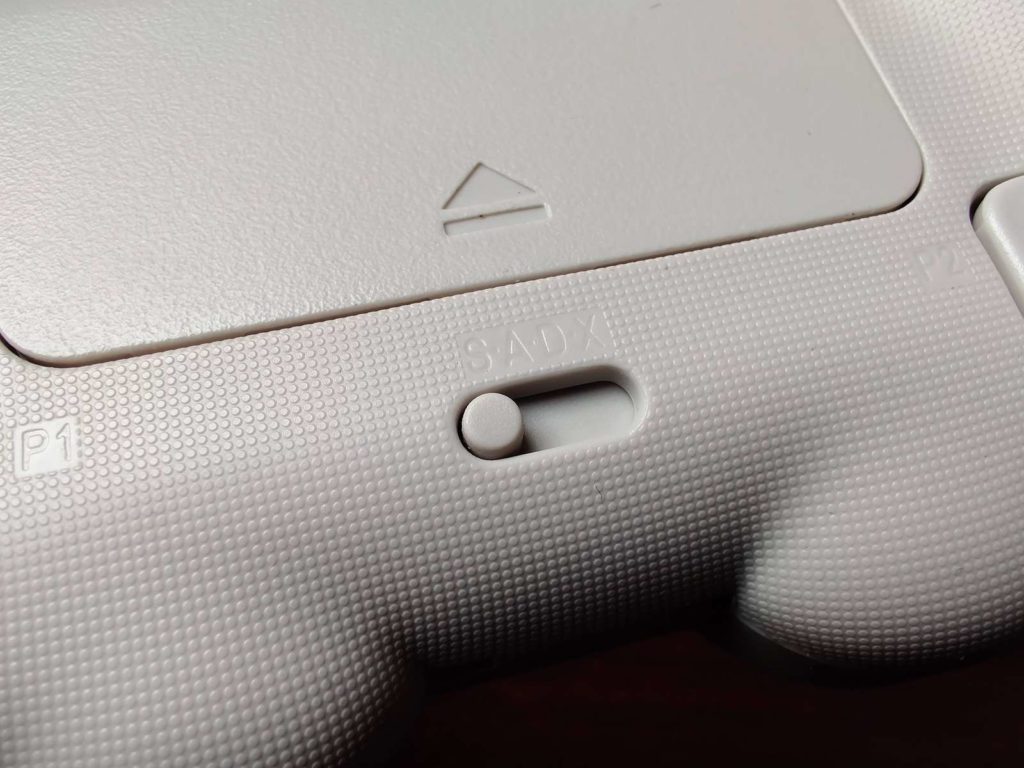
1. Turn the controller on its back and toggle the mode switch to S
2. press Start to turn on the controller. The LED will blink from left to right 3. 3. Press the pair button at the front of the controller for 3 seconds to enter its pairing mode. LED stops blinking for a short moment then
starts blinking again (this is required for the very first time only)
4. Go to your Switch Home Page to click on Controllers, then click on Change Grip/Order
5. The LED becomes solid when the connection is successful
Note: The controller will auto-reconnect to your Switch when you press Start once it has been paired.
Wired connection
1. Turn the controller on its back and toggle the mode switch to S
2. Press Start to turn on the controller. The LED starts to blink from left to right.
3. Connect the controller to your Switch dock via its USB cable
4. Wait till the controller is successfully recognized by your Switch to play.
*The Switch system needs to be 3.0.0 or above for wired connection. Go to System Setting > Controller and Sensors > turn on Pro Controller Wired Communication. The LED lights indicate the player number, 1 LED indicates player 1, 2 LEDs indicate player 2,4 is the maximum number of players the controller supports.
8BitDo Pro 2 setup on Windows PC
Bluetooth connection
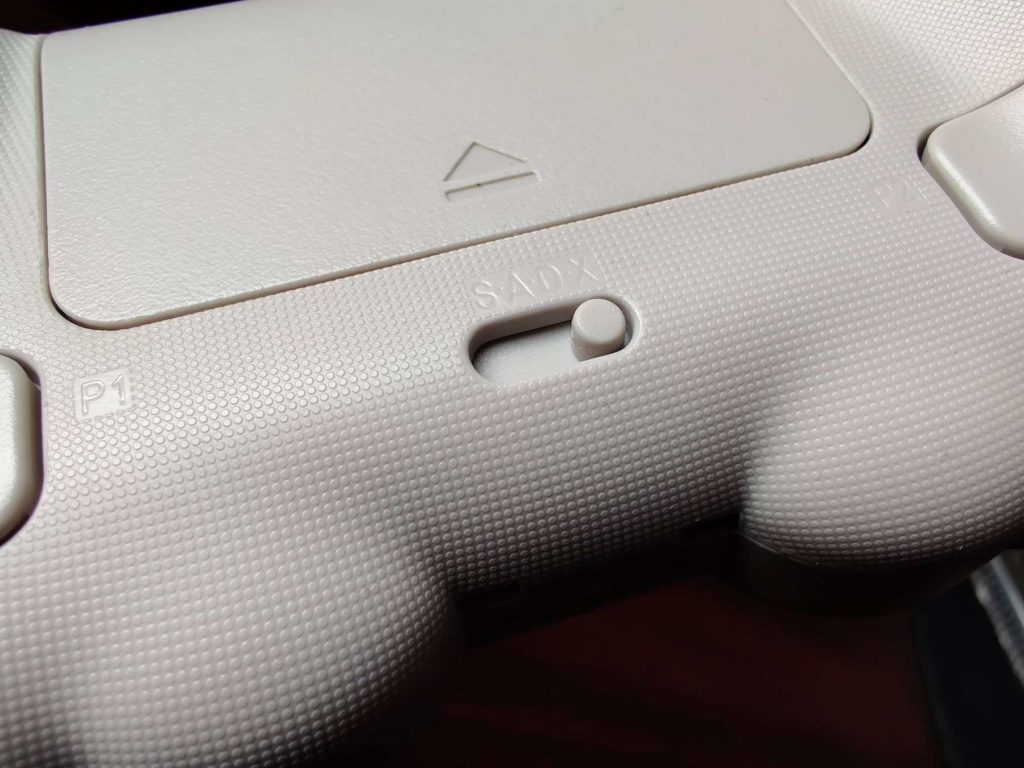
1. Turn the controller on its back and toggle the mode switch to X
2. Press Start to turn on the controller. LEDs 1 & 2 start to blink
3. Press the pair button at the front of the controller for 3 seconds to enter pairing mode. The LED starts to blink rotate from left to right (this is required for the very first time only)
4. Go to your Windows Settings > Devices > Bluetooth & other devices and toggle on Bluetooth
5. Choose Add Device > Bluetooth > 8BitDo Pro 2
6. The LED becomes solid when the connection is successful
*The controller will auto-reconnect to your Windows device with the press of start once it has been paired
*Required system: Windows 10 (1703) or above. Bluetooth 4.0 is supported
Wired connection
1. Turn the controller on its back and toggle the mode switch to X
2. Press Start to turn on the controller. LEDs 1 & 2 start to blink
3. Connect the controller to your Windows device via the included USB cable
4. Wait till the controller is successfully recognized by your Windows device to play
*The LED lights indicate the player number, 1 LED indicates player 1, 2 LEDs indicate player 2. 4 is the maximum number of players the controller supports
8BitDo Pro 2 setup on Android
Bluetooth connection
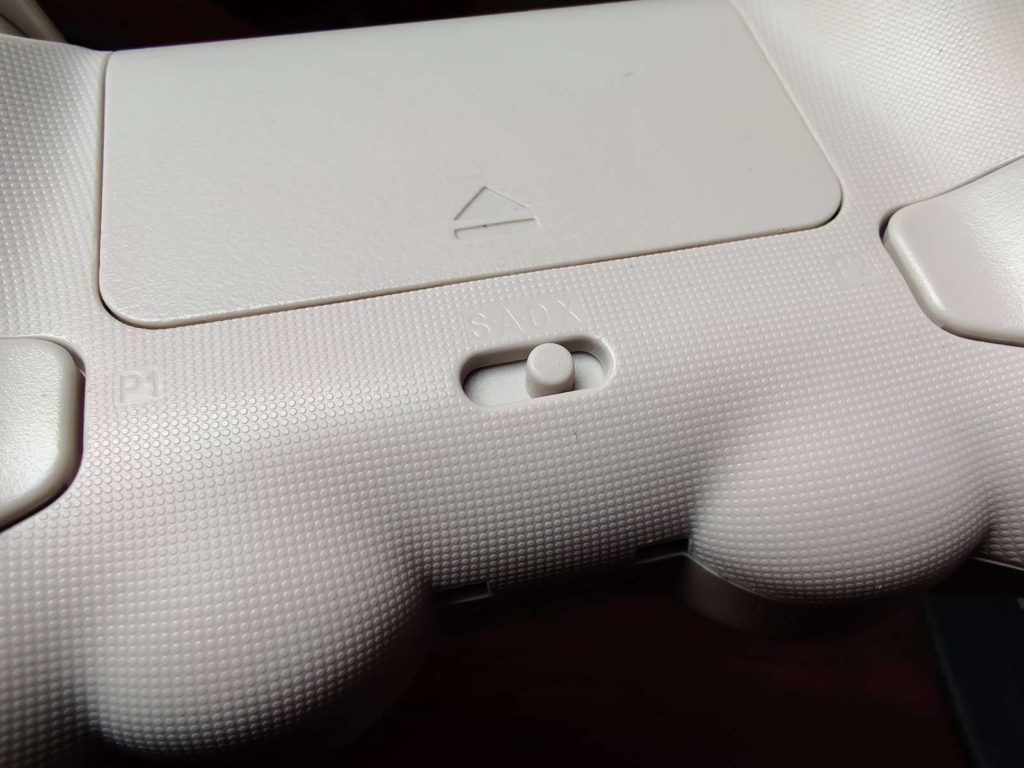
1. Turn the controller on its back and toggle the mode switch to D
2. Press start to turn on the controller. LED 1 starts to blink
3. Press the pair button at the front of the controller for 3 seconds to enter pairing mode. The LED starts to blink from left to right (this is required for the very first time only)
4. Go to your Android device’s Bluetooth setting, pair with [8BitDo Pro 2]
5. The LED becomes solid when the connection is successful
• Required system: Android 4.0 or above
• The controller will auto-reconnect to your Android device with the press of start once it has been paired
Wired connection
1. Turn the controller on its back and toggle the mode switch to D
2. Press Start to turn on the controller. LED 1 starts to blink
3. Connect the controller to your Android device via its USB cable
4. Wait till the controller is successfully recognized by your Android device to play
*OTG support is required on your Android device
8BitDo Pro 2 setup on macOS
Bluetooth connection
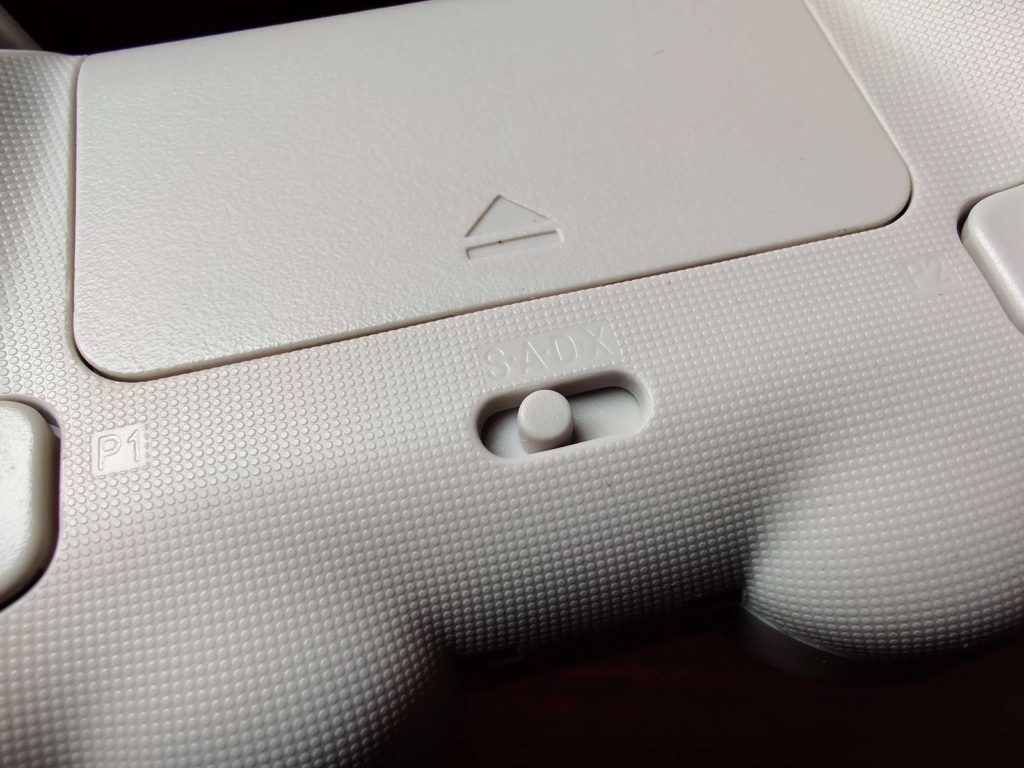
1. Turn the controller on its back and toggle the mode switch to A
2. Press Start to turn on the controller. LEDs 1 & 2 & 3 start to blink
is required for the very first time only)
3. Press the pair button at the front of the controller for 3 seconds to enter pairing mode. The LED starts to blink rotate from left to right (this is required for the very first time only)
4. Go to your macOS device’s Bluetooth setting and turn it on
5. Pair with 8BitDo Pro 2 [Wireless Controller]
6. LED becomes solid when the connection is successful
*Required system: OS X Lion (10.10) or above
*The controller will auto-reconnect to your macOS device with the press of start once it has been paired
Wired connection
1. Turn the controller on its back and toggle the mode switch to A
2. Press Start to turn on the controller, LEDs 1, 2 & 3 start to blink
3. Connect the controller to your macOS device via the included USB cable
4. Wait till the controller is successfully recognized by your macOS device
If you can’t wait for our review of this awesome 8Bitdo Pro 2 console, you can get it for $49.99 from Amazon right now.
Discover more from Dignited
Subscribe to get the latest posts sent to your email.


