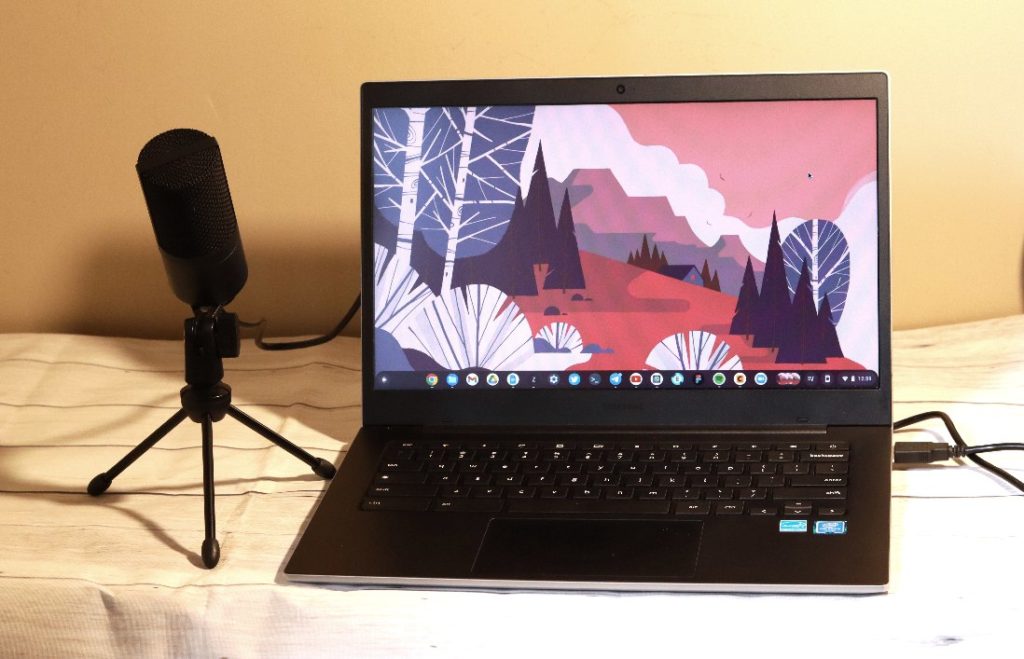
Almost every Chromebook ships with a USB-A port and 3.5mm headphone jack. While this port is absent in most smartphones, the 3.5mm headphone jack is very useful on Computers. You can use this port for listening to great sound from a compatible headphone for instance. And if you want to add good audio for your zoom calls or Google Meet or for tutorials, then using an external Microphone is indispensable.
You can use an external Microphone on your Chromebook either through the 3.5mm headphone jack or the standard USB-A port. Most Lapel Lavaliere Microphones use the 3.5mm jack and have been used for decades. However, USB-A condenser Microphones are gaining popularity as well. I have been making Chromebook video tutorials using either a lapel Mic or USB-A condenser Microphone. Here’s how to use either of them.
You can get an inexpensive Lapel Microphone from Amazon for as low as $15. For instance, this PoP voice Professional Lavalier Lapel Microphone goes for $13 or you can get a wireless version such as this $49.99 FIFINE Wireless Microphone System.
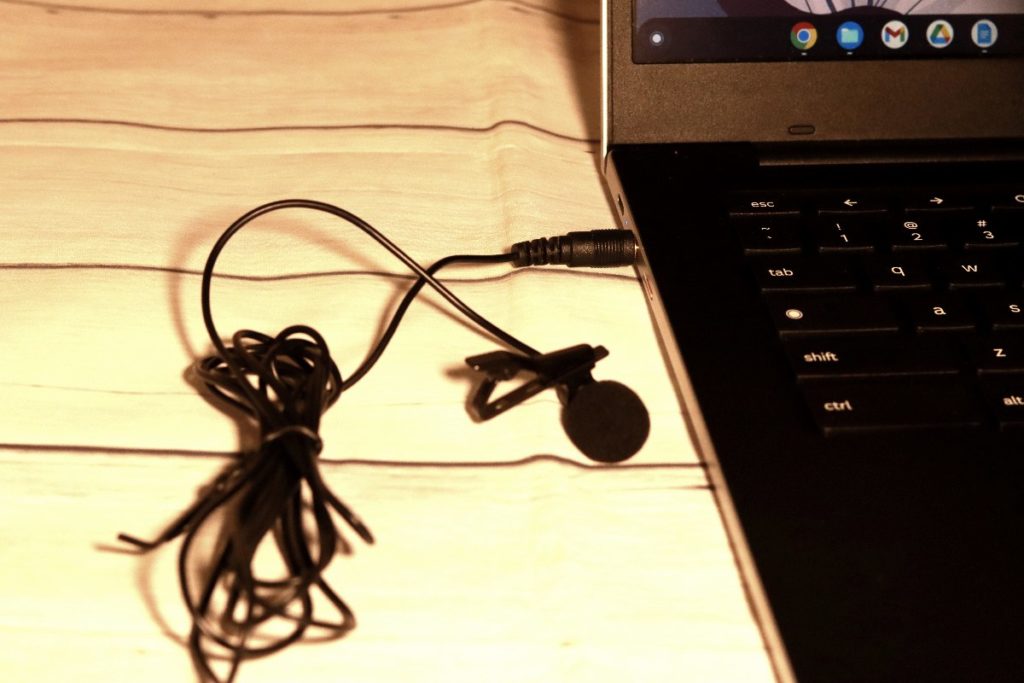
Whatever your choice, plug the Microphone to the 3.5mm jack of your Chromebook. A little pop up alert will appear on the bottom right corner of the screen showing that a Microphone has been plugged in. To Access microphone settings, tap on the system tray to reveal quick settings. Click on the caret icon just right of the volume icon to get to Microphone settings.
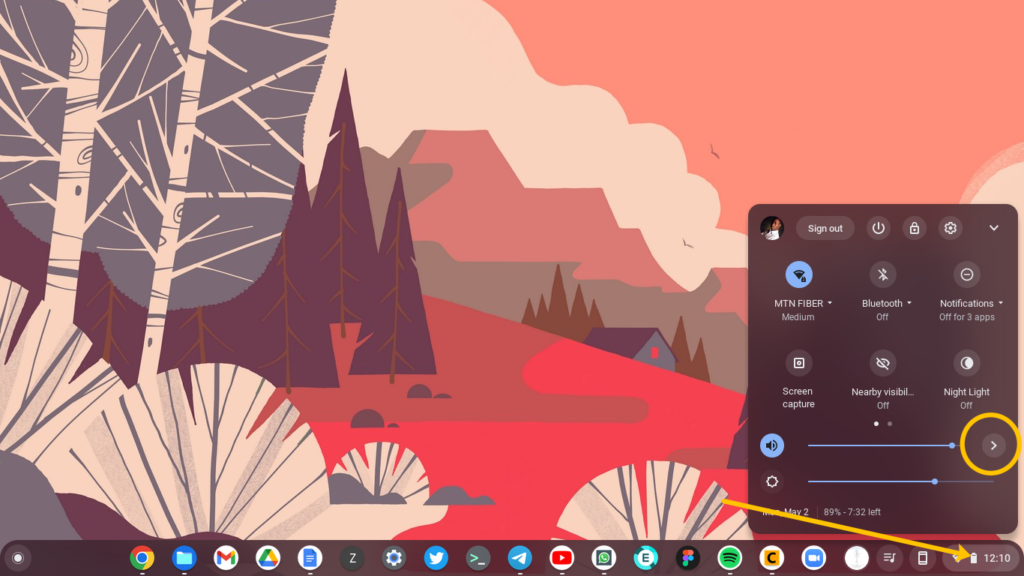
When you get to Microphone settings, you can choose Audio inputs and outputs. By default, the Chromebook uses the laptop’s internal Mic, but when you plug the Lapel Mic, it’ll automatically select the Lapel Microphone. With audio output, the default is the Chromebook’s internal speakers, but when you plug in the lapel Microphone, it’ll choose Headphone. Since, I use a Lapel Mic which has no sound output, I tend to select the internal Speaker option so that I can listen to the recorded sound immediately after recording.
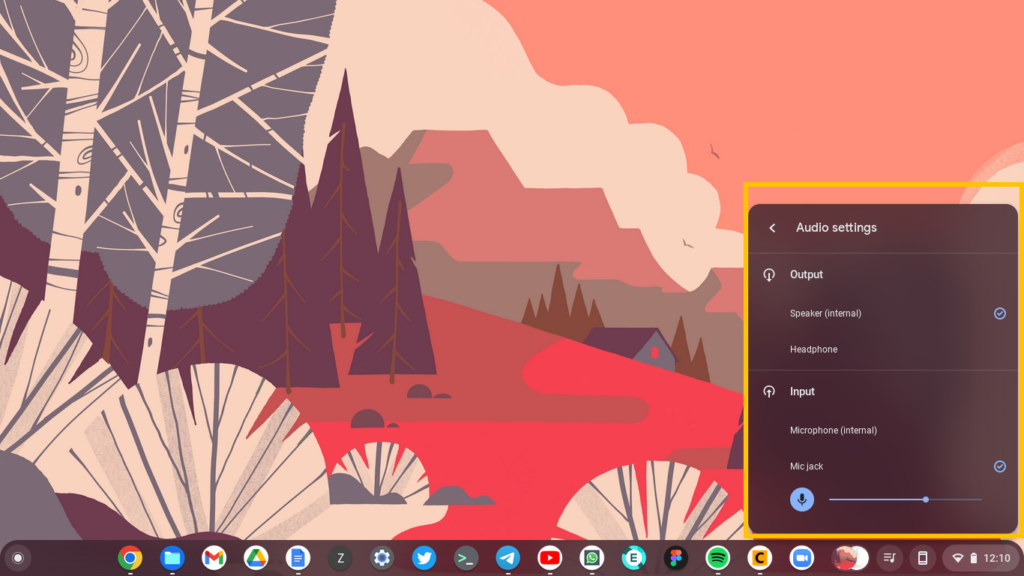
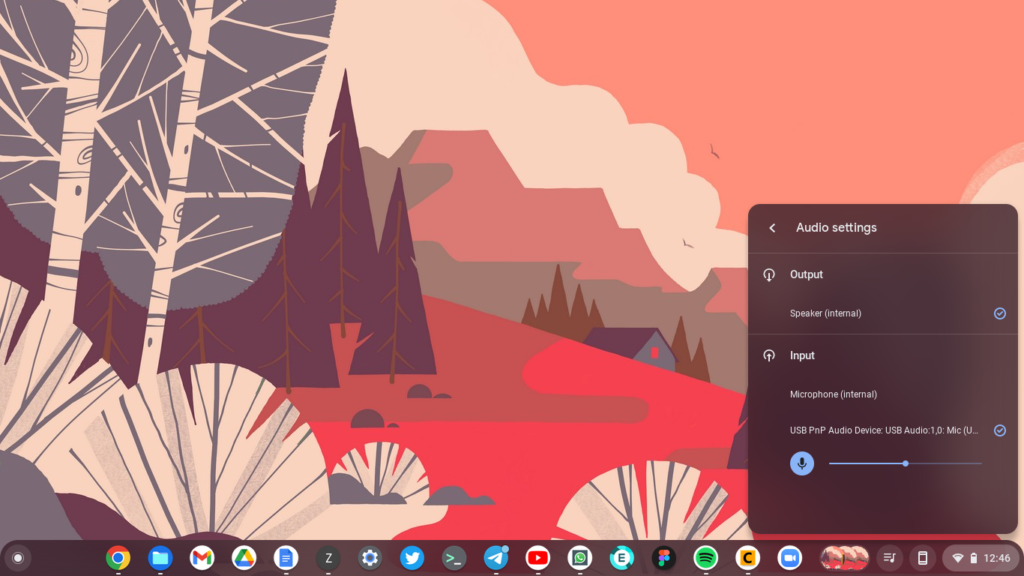
If you Plug a USB Microphone like this $32 Fifine Condenser Microphone I use, then you’ll see a USB Audio device instead.
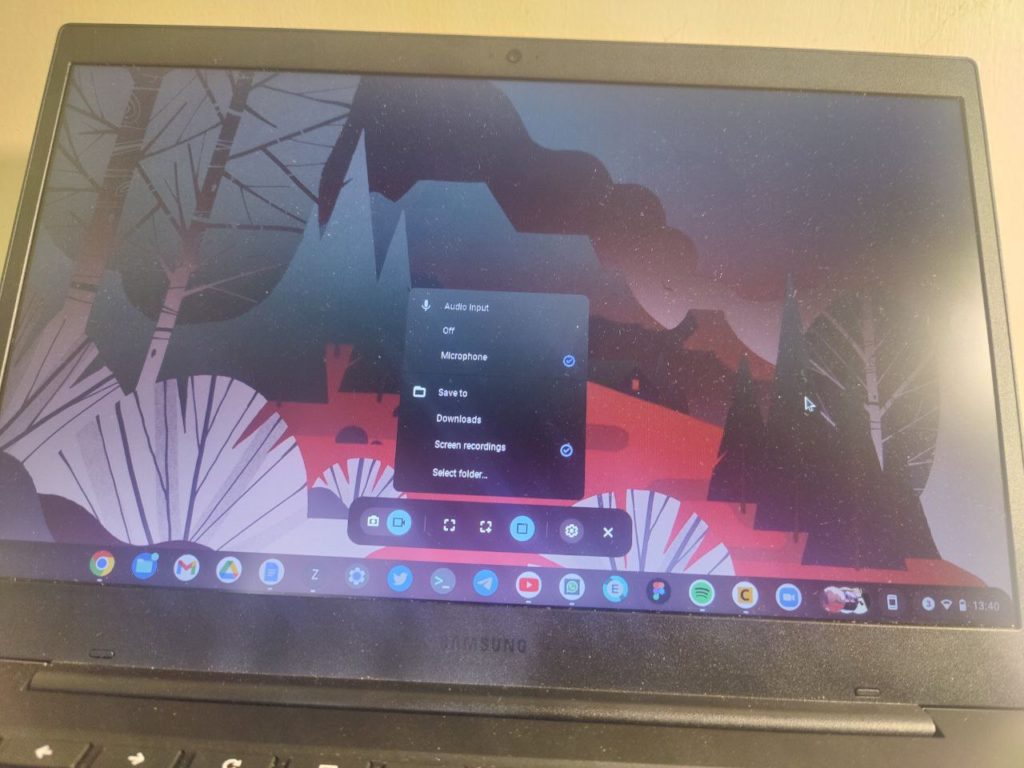
Now you can record audio by using the built-in screen recording tool which you can access by pressing Alt + Ctrl + Show Windows key. Just make sure that that the microphone is selected under Audio input and you’ve selected the video Screen recording and not the image screen capture option.
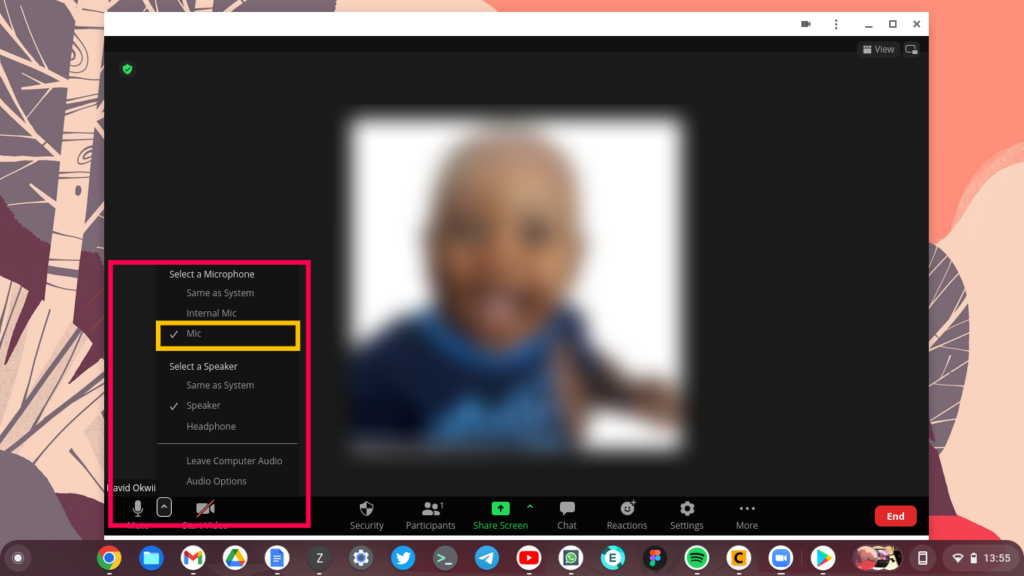
Now you can start making high quality screen recordings with great audio for your tutorials. You can also use the external Microphone for your Zoom calls. If you have the Chrome PWA App for Chromebook, when you start or join a call, click on the Microphone icon on the bottom left corner. Then under select a Microphone, click on the Mic option. This tells Zoom to use your external Microphone instead of using your Chromebook’s built-in Mic.
Alright, this sums it up; how to use a simple 3.5mm lapel mic or USB condenser Microphone for quality audio input in your Chromebook.
Discover more from Dignited
Subscribe to get the latest posts sent to your email.


