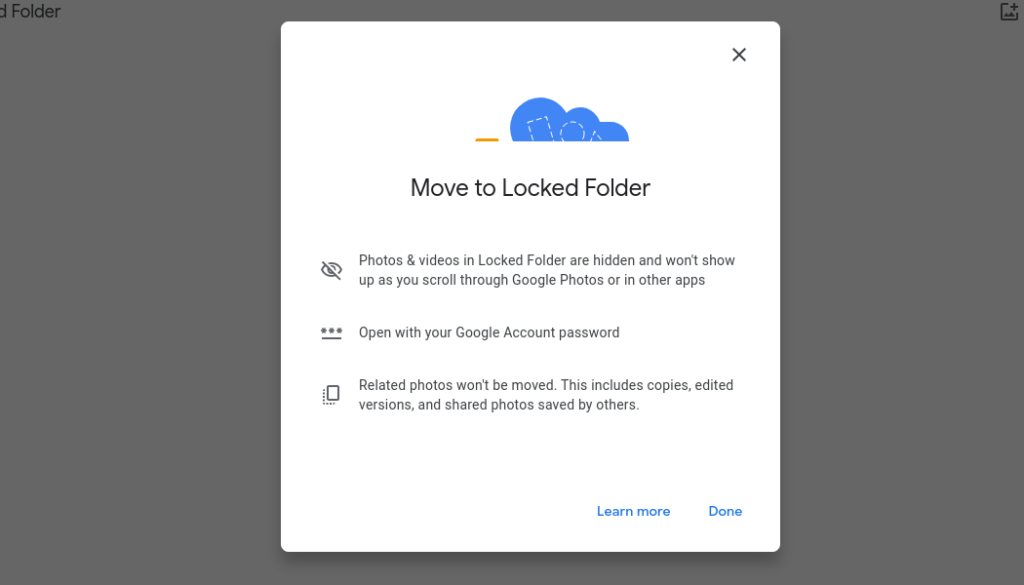
If you want to keep some private moments, receipts or any sensitive photos from prying eyes, then you might want to consider creating a locked folder on Google photos. If you are like me, I take and backup my photos automatically to Google photos. My precious pictures are synced across all my devices that share the same Google account. But a little more privacy is welcome.
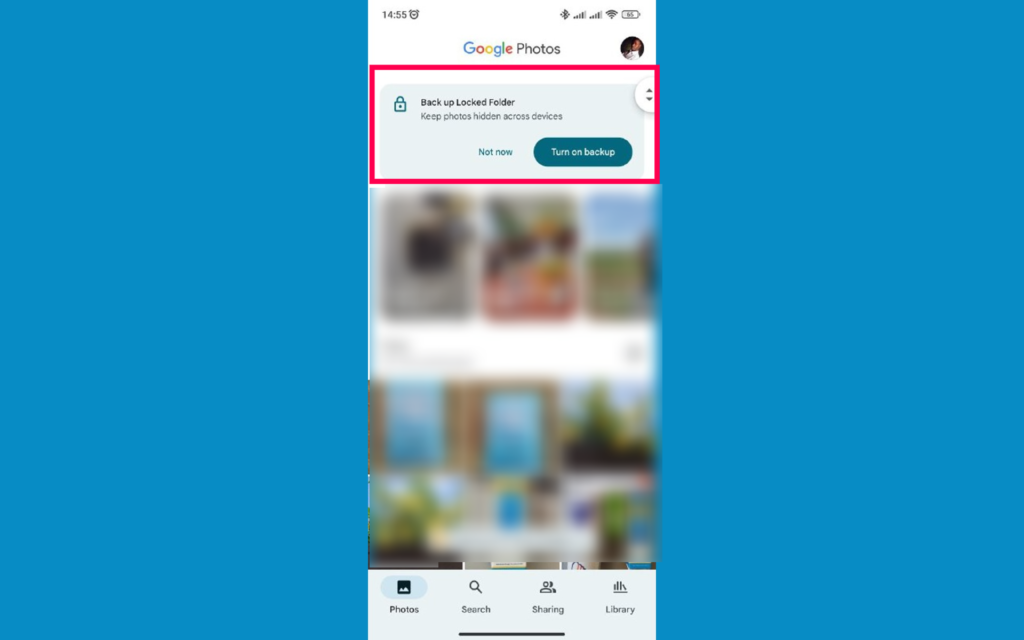
With locked folder on Google photos, no one can view photos in this folder without entering a password which is typically your Google account password. The locked folder is available on Google photos web and mobile app. However, with the mobile option, if you don’t turn on backup, you won’t be able to view items in the folder on the web.
Alright, now let me show you how to create and move photos to locked folder on Google photos via the web.
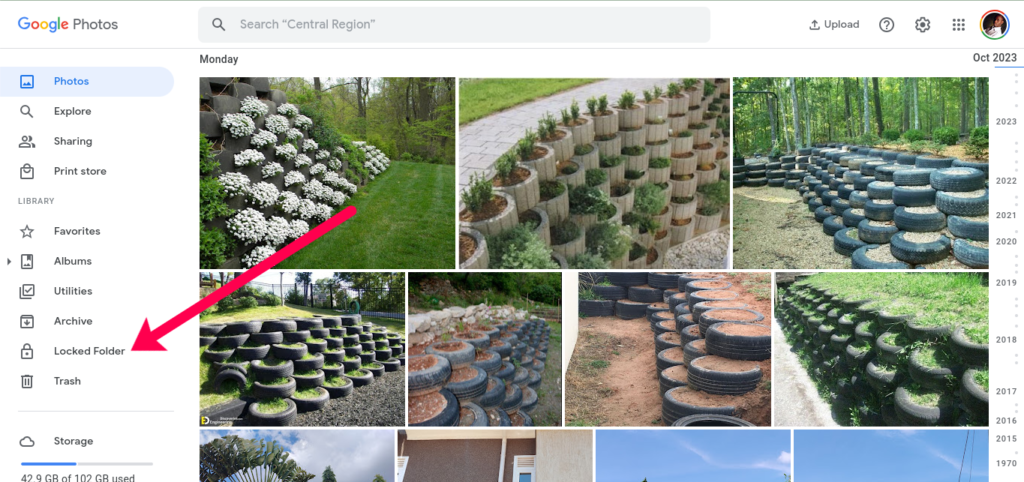
First head to photos.google.com. On the left sidebar menu, click on locked folder to create one if you haven’t already. You will be prompted to enter your Google password.
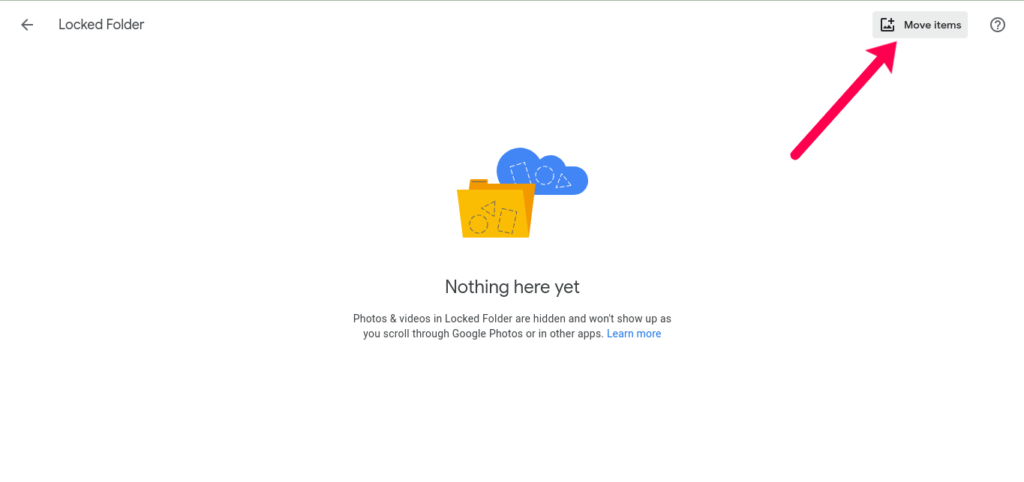
Now you can move photos you wish to hide either from existing photos on Google photos or you can upload from your computer. To do that, click on Move button and choose your preference.
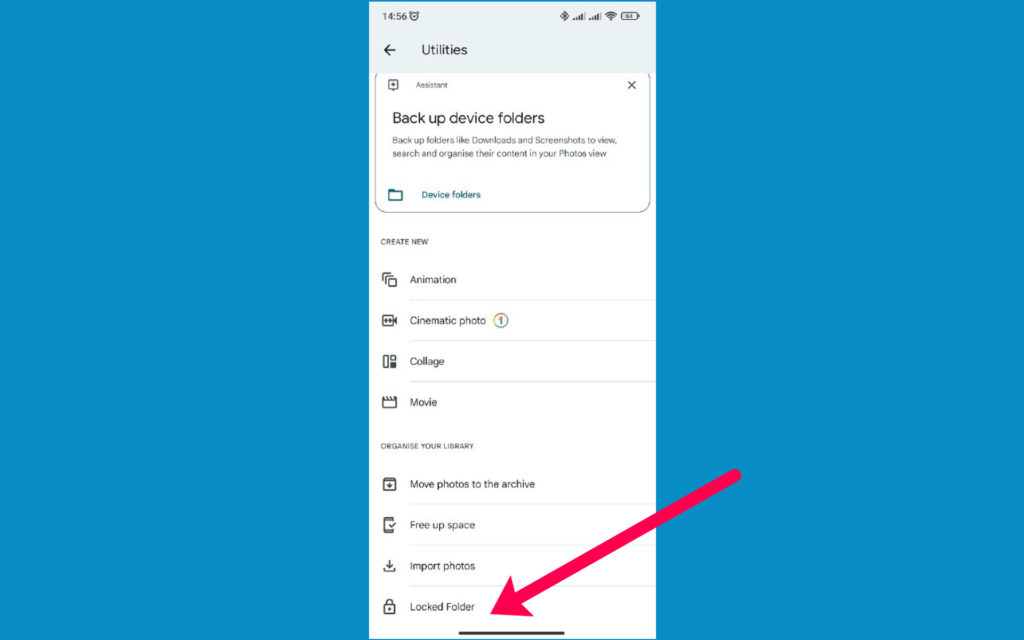
On Google photos mobile app, you can access the locked folder by tapping on utilities and then scrolling down to the “Locked folder” option.
You can choose to backup photos hidden int he locked folder or not. You simply tap on “Turn on back” to enable that option.
And that’s it.
Discover more from Dignited
Subscribe to get the latest posts sent to your email.


