Google Photos is an incredible tool for any smartphone user. See, mobile cameras have gotten so good over the years and today, you probably don’t need a dedicated camera if you’re not a hardcore photographer.
As a result, our smartphones often house countless priceless memories of our family and friends, those scenic road trips, and everything in between, including some….scandalous images that might be detrimental if they ever found their way anywhere else other than your phone.
Google Photos allows you to safely and securely store these images in the cloud so you won’t have to bear the loss of your beloved photos in the unfortunate event of the loss of the device. And now, there is a way to lock away those racy images you don’t want to be seen anywhere.
How to set up Locked Folder on Google Photos
First things first, to use this you will need to have the Google Photos app installed on your phone. Of course, that will mean you have a Google Account so we’ll assume you already have this.
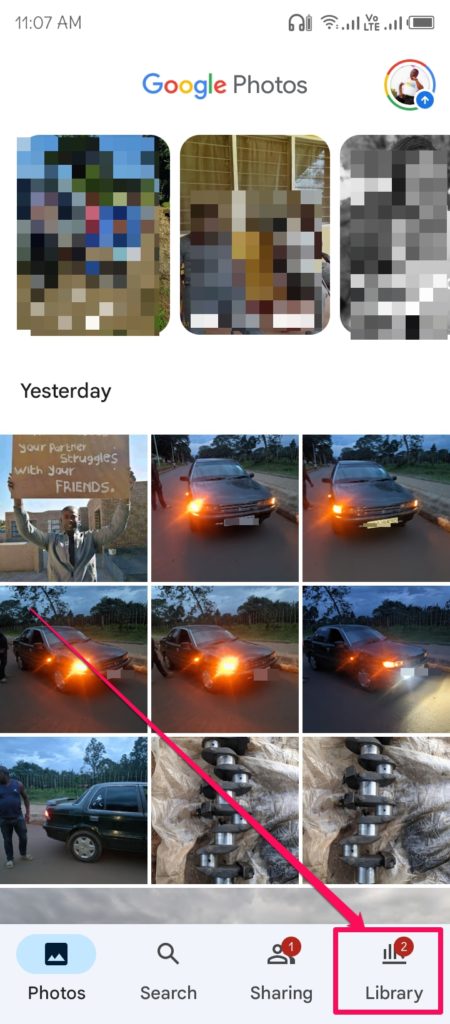
Now, open Google Photos from your phone’s launcher and click on the Library tab at the bottom right corner.
Read More:
- Why you need Google Photos in your life
- How to Edit Photos Using Google Drive
- How to share photos on Google Photos using a link
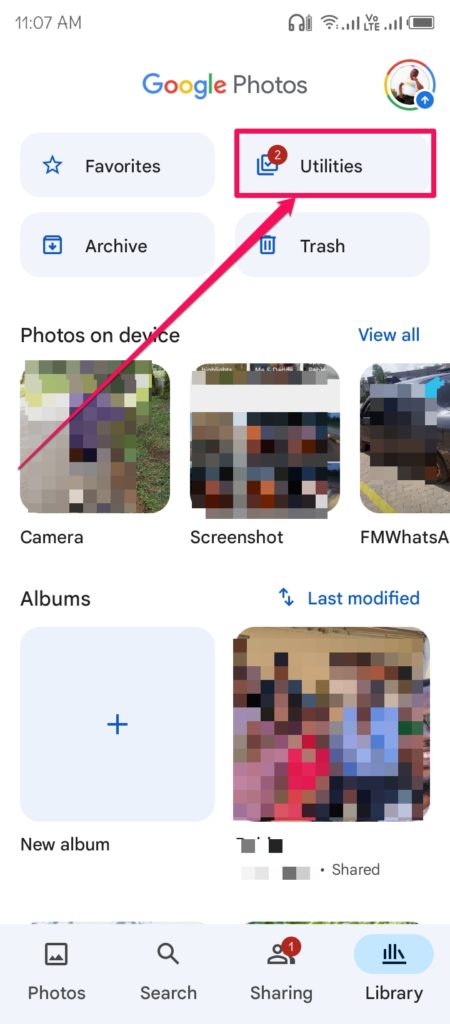
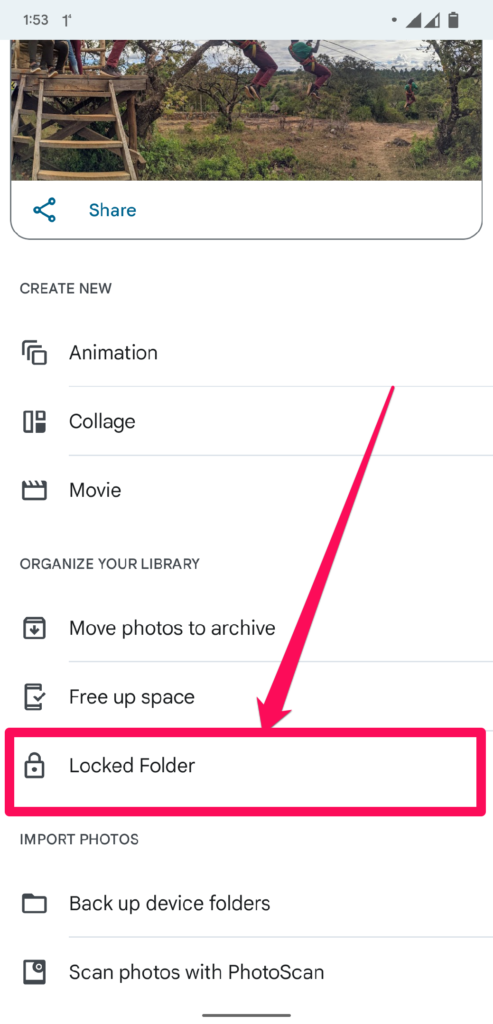
On the Library tab, you should see Utilities listed as one of the menu options up top.
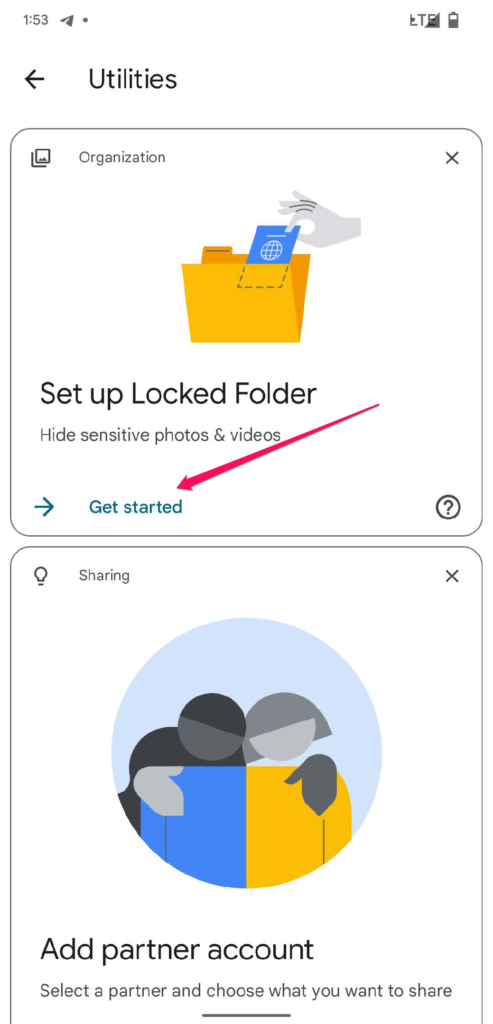
Click on Set up Locked Folder to begin the process. You might be presented with a few introductory screens explaining what this feature is all about. you will also be asked to enter your PIN or pattern or fingerprint to ensure it is really you trying to do this.
Next, you will be redirected to your gallery where you will need to select the photos that you’d like to move to the Locked Folder on Google Photos.
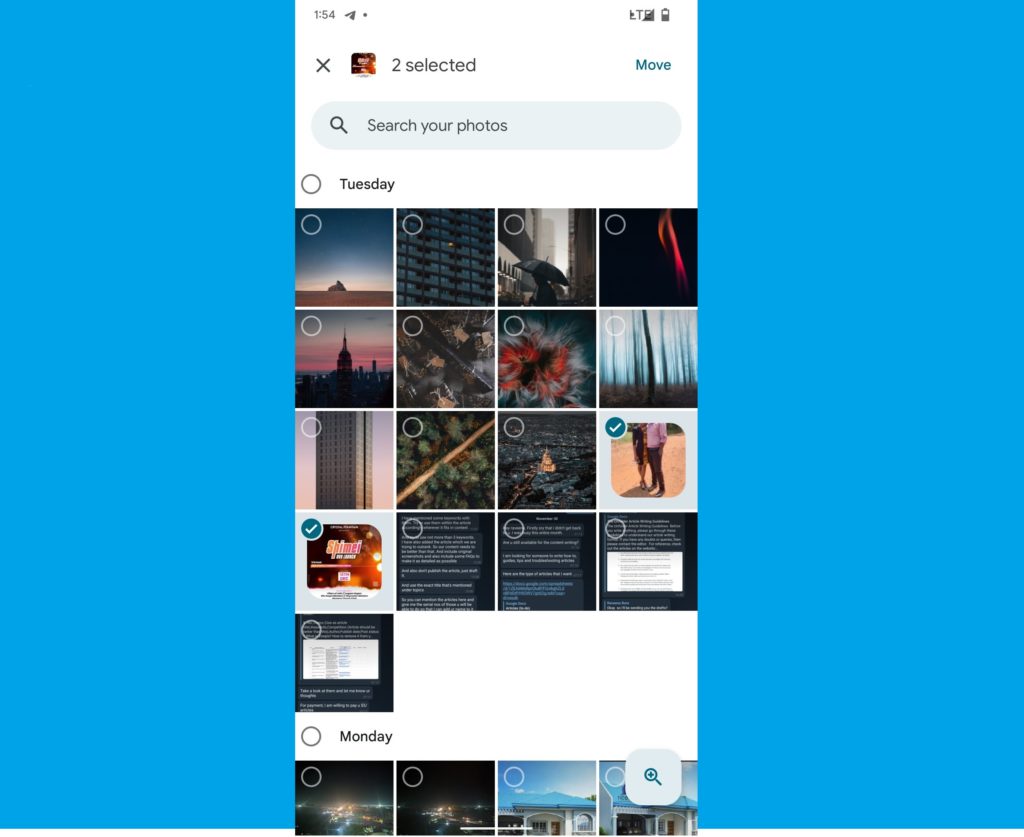
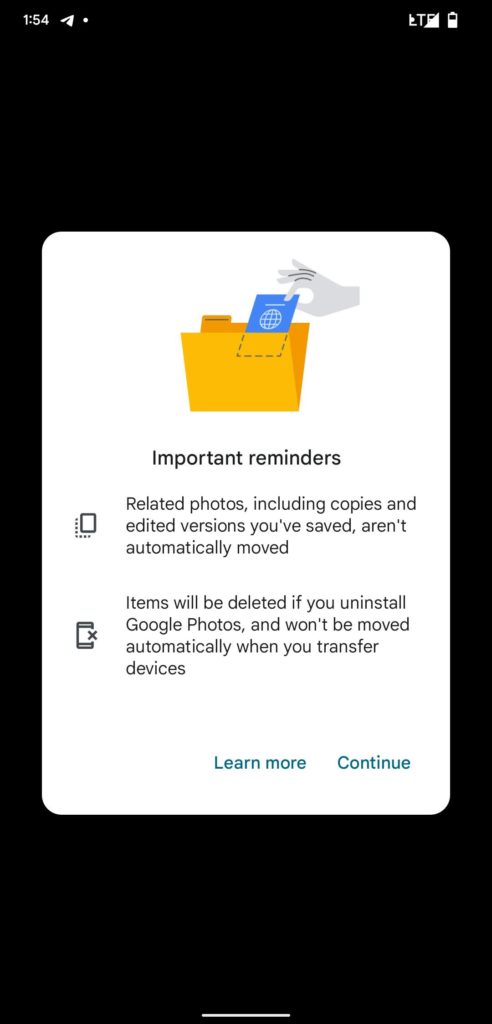
A few more cautionary notifications will be shown, including one that notifies you that images in the Locked Folder will be deleted and lost forever if you uninstall the Google Photos app.
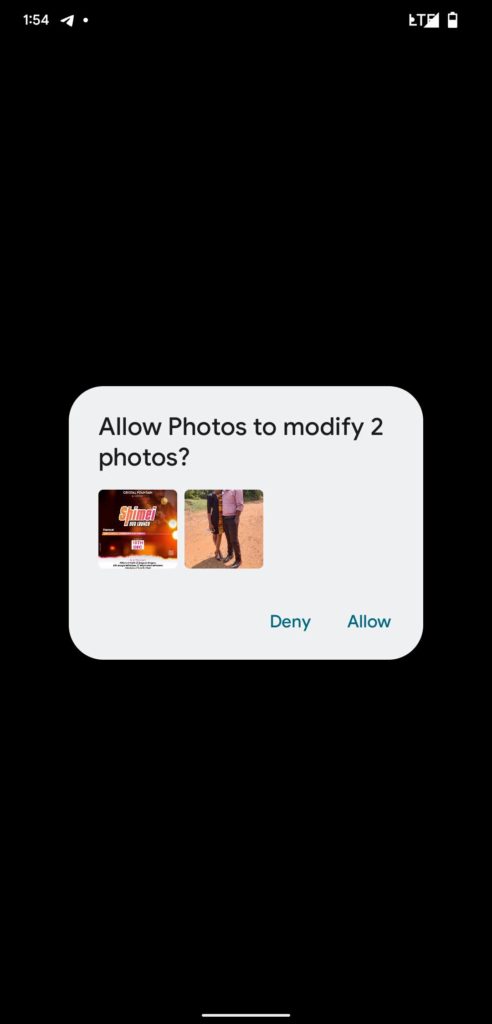
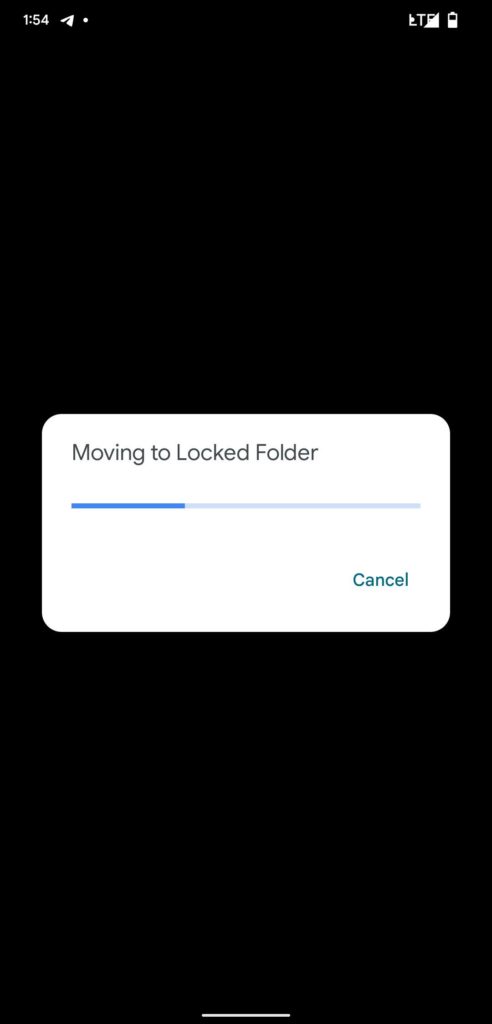
Next, you’ll need to confirm your actions, allow modifications of your images by Google Photos and that’s it, the selected images and videos will be moved to the Locked Folder.
And that is it. Your selected images will be moved from the gallery to a secret, encrypted folder and it won’t be available for any apps on your phone other than the Google Photos app.
How to view images in Google Photos Locked Folder
To view images that you have locked away, simply open up Google Photos and once again, head on to the Library, then ‘Utilities’ section. You should see an option named ‘Locked Folder.‘
Clicking on that prompts you for authentication using either your PIN, Pattern, or Password. Enter that and you’ll see your Locked images.
It is worth noting that this folder is secure enough that even the Android system itself won’t allow you to take screenshots.
Discover more from Dignited
Subscribe to get the latest posts sent to your email.


