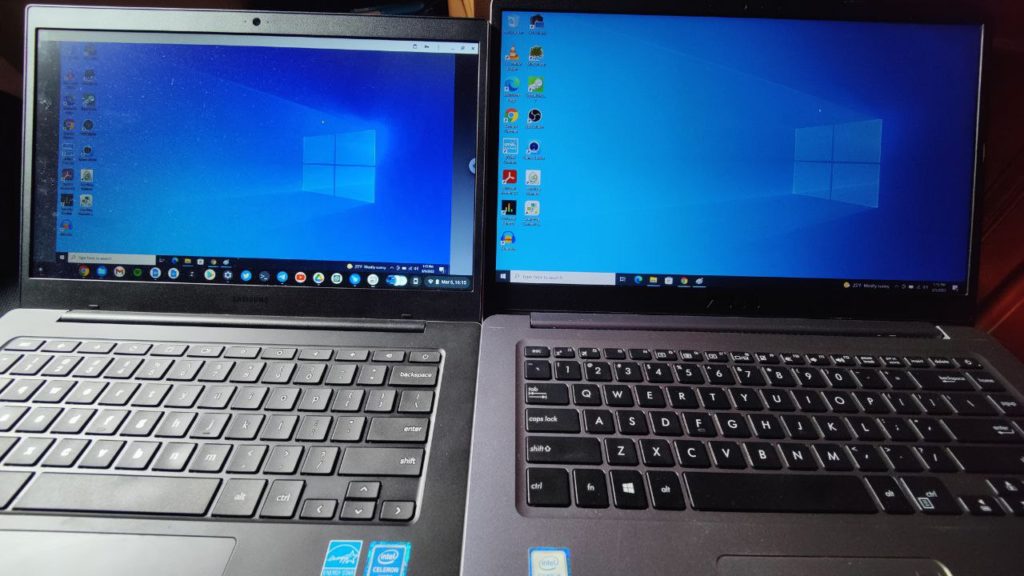
If you are new to Chromebooks, you are most likely coming from either Windows or Linux PC or a Mac. So you might wish to routinely connect to your previous setup to run programs that can’t install on your new Chromebook or access data from your previous machine. You might also want to offer remote Tech support to a family or friend. Whatever the reason, connecting to a Windows/Linux PC or Mac computer is very easy through Chrome Remote Desktop.
The Chrome Remote Desktop is a Chrome extension that you install on either computer to enable remote access of one computer from the other. In my setup, I have a Samsung Galaxy Chromebook Go and an Asus Vivobook dual-booted with Linux Mint and Windows 11. In my case, I used Chrome Remote desktop to connect to Windows 11 from my Chromebook.
Here’s how I did it.
On your Chromebook
From your Chromebook, you’ll have to;
- Open the Chrome browser
- In the address bar at the top, enter remotedesktop.google.com/support, and press Enter.
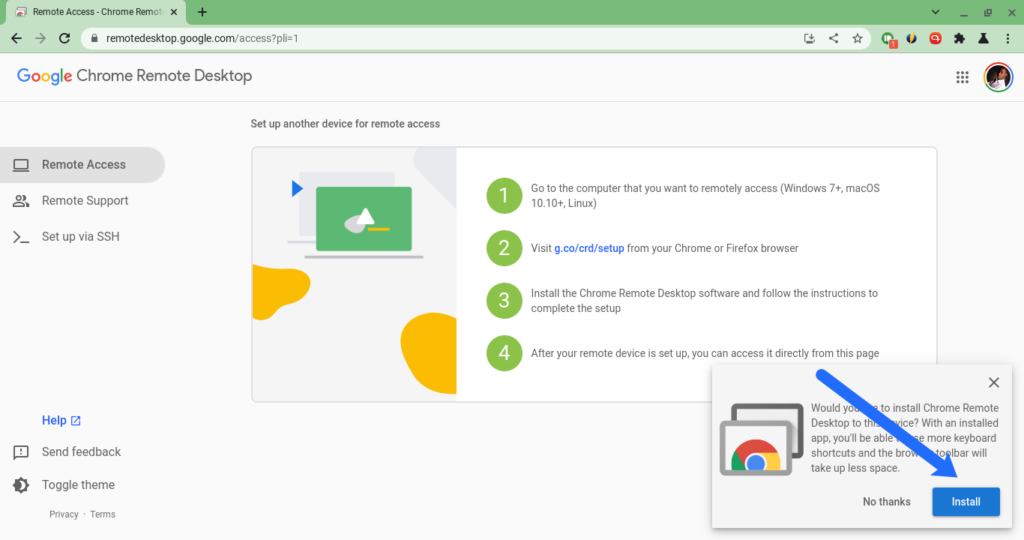
- You’ll receive a prompt asking if you wish to install Remote desktop. Go ahead and install it.
The next steps will have to be performed on your remote Windows PC. It should be connected to the internet same as your Chromebook for this to work.
On Windows PC
From your Windows PC, enter g.co/crd/setup (loads https://remotedesktop.google.com/access#localhost) from the Chrome browser address bar. It loads the Chrome remote desktop website. You’ll be prompted to install Chrome Remote Desktop. Click on Install or the download button.
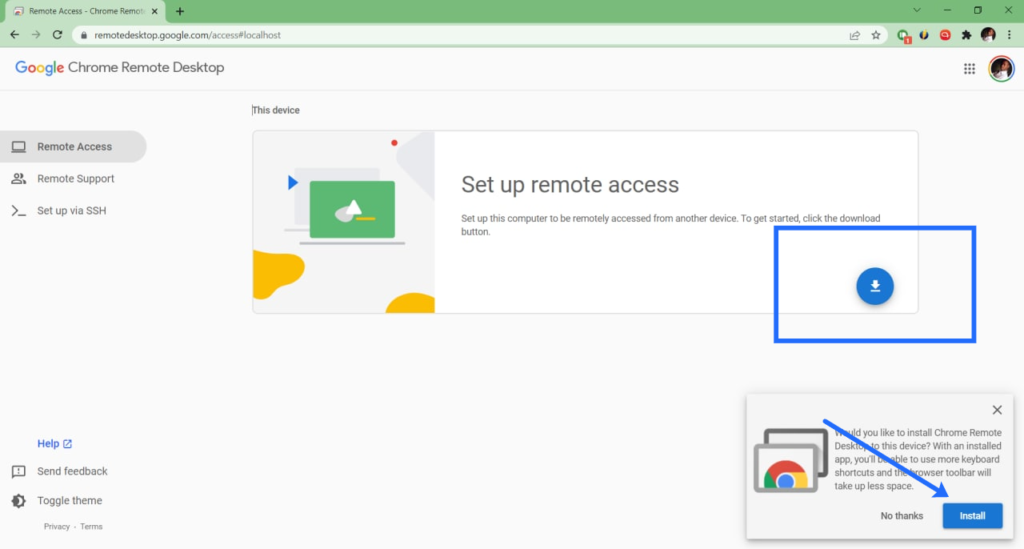
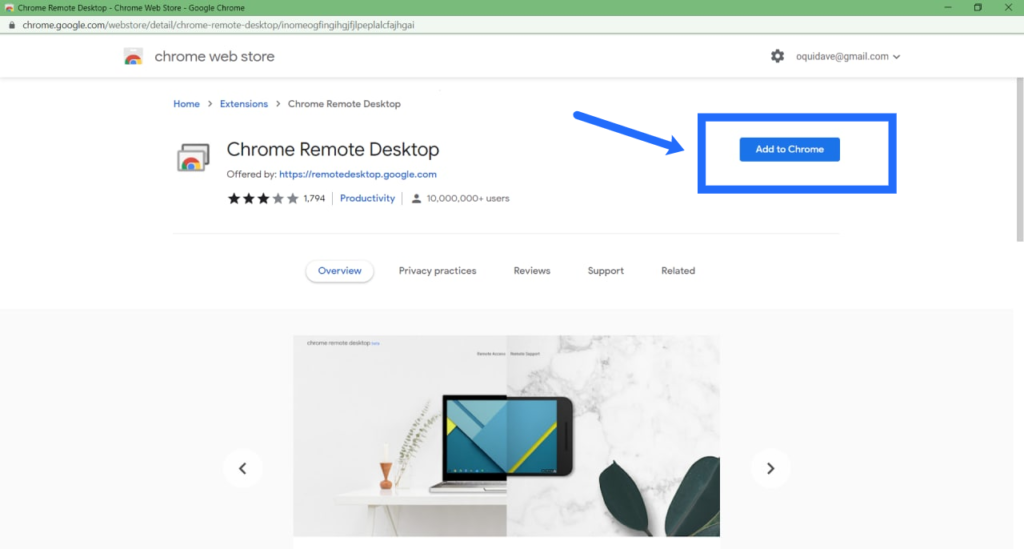
This launches the Google webstore where you’ll download and install the Chrome Remote Desktop extension. Just click on Add to Chrome to install and open it.
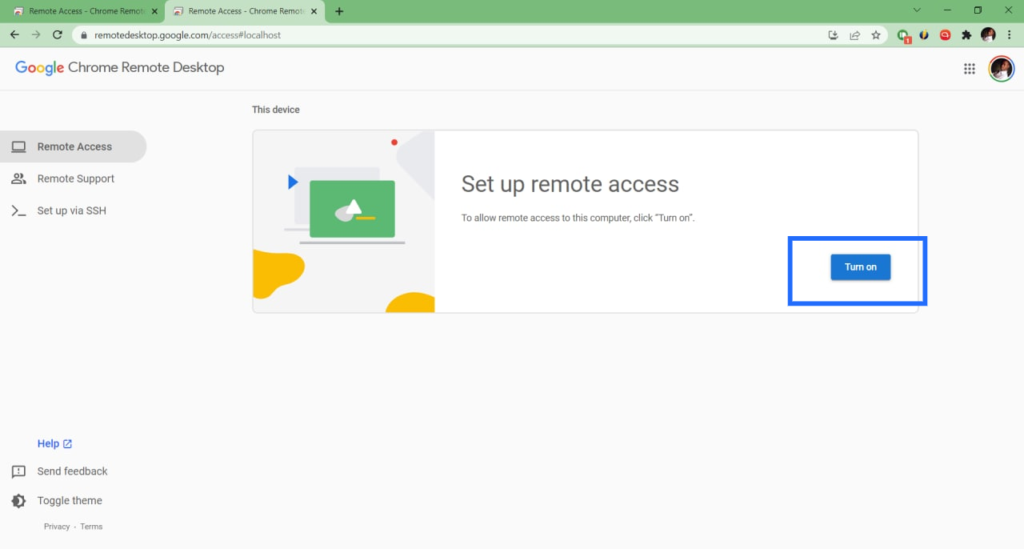
Once the Chrome Remote Desktop extension is successfully installed, it’ll ask you to set up remote access. Click on “turn on”.
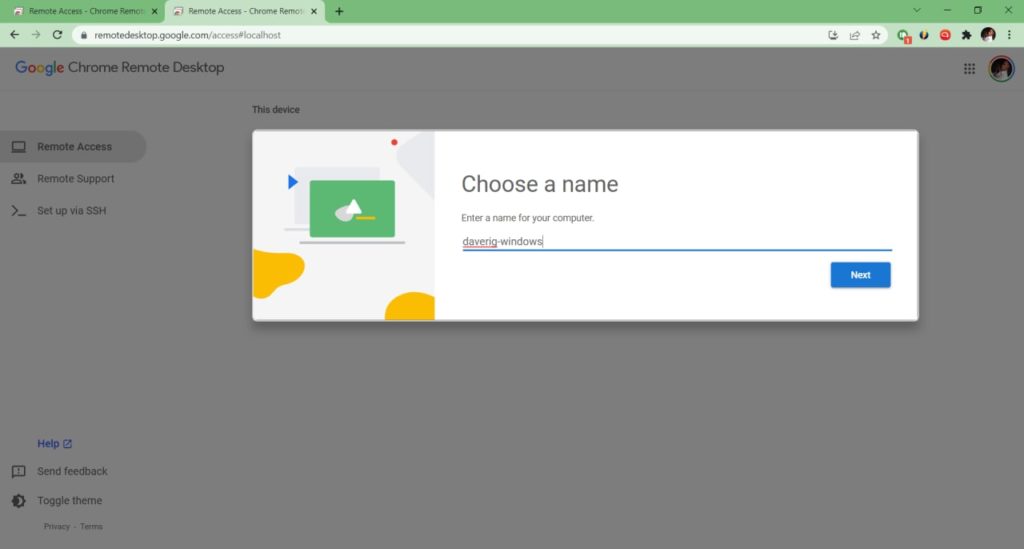
Next choose a name for your computer.
Then choose a security PIN. This should be at least 6 numbers. You’ll need to enter this PIN to connect to your Windows PC from your Chromebook.
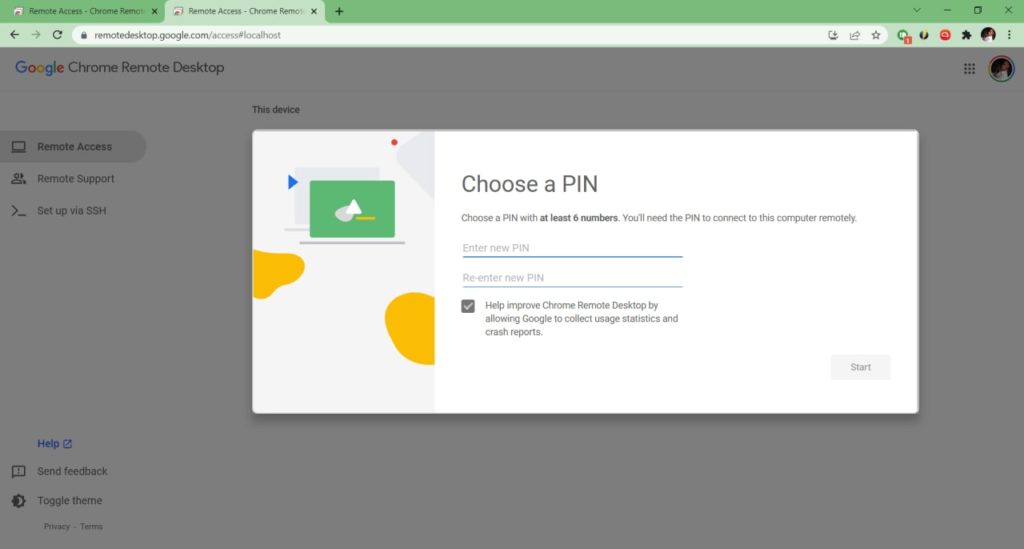
Now your Windows PC is online and available for remote connections from your Chromebook.
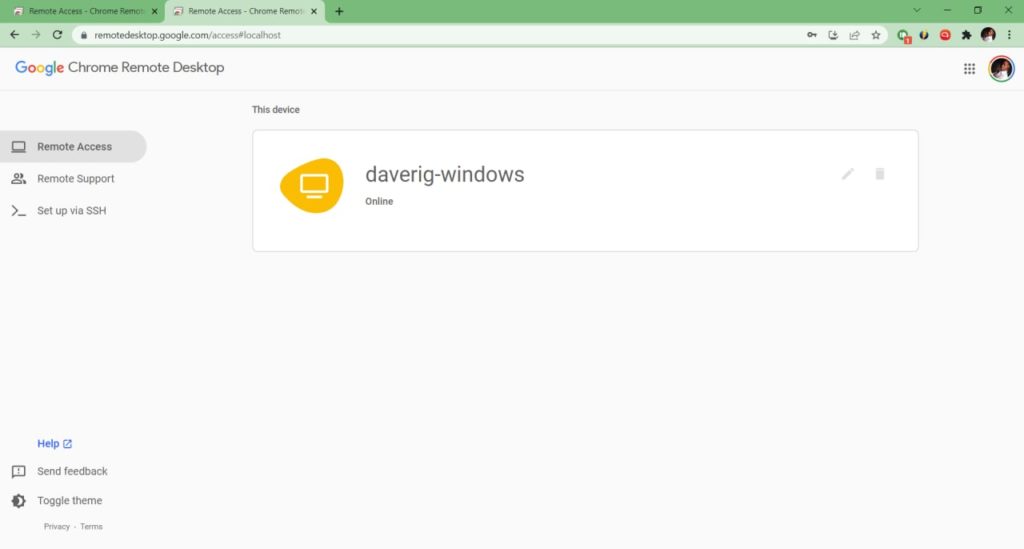
On Chromebook again
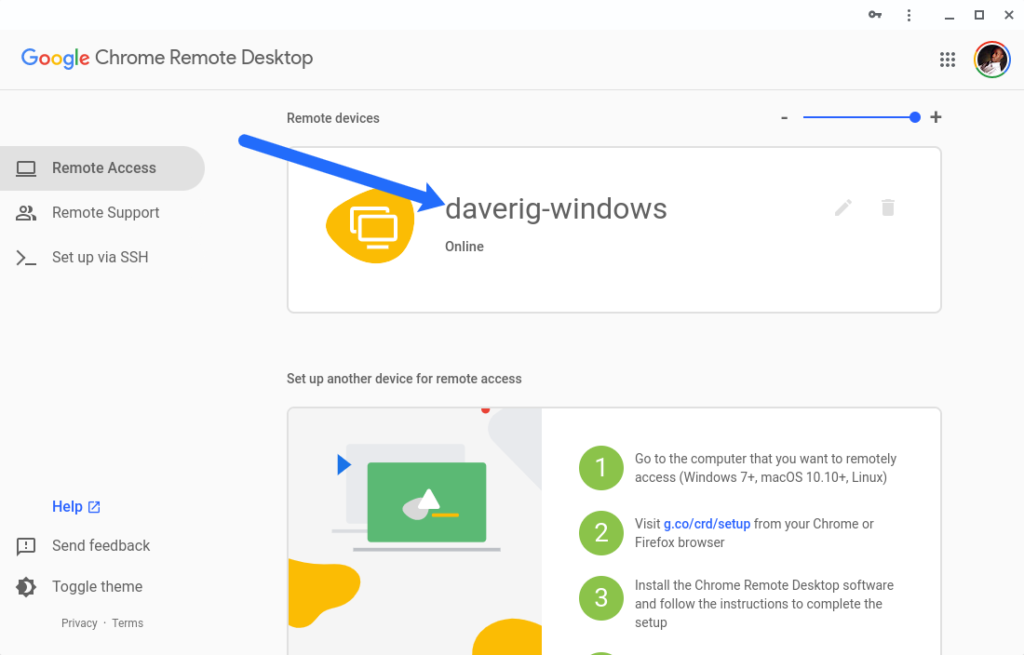
On your Chromebook’s Chrome Remote Desktop, you should see the Windows PC showing up with the name you gave it. Click on it.
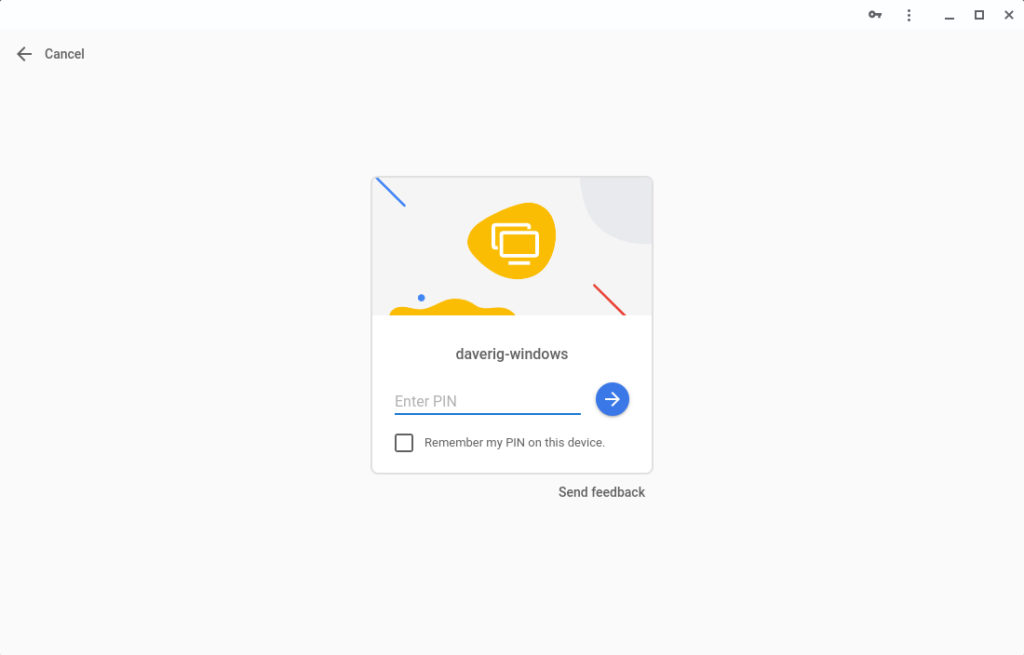
Enter the PIN to you choose and voila, you are now able to remotely access your Windows PC from your Chromebook.
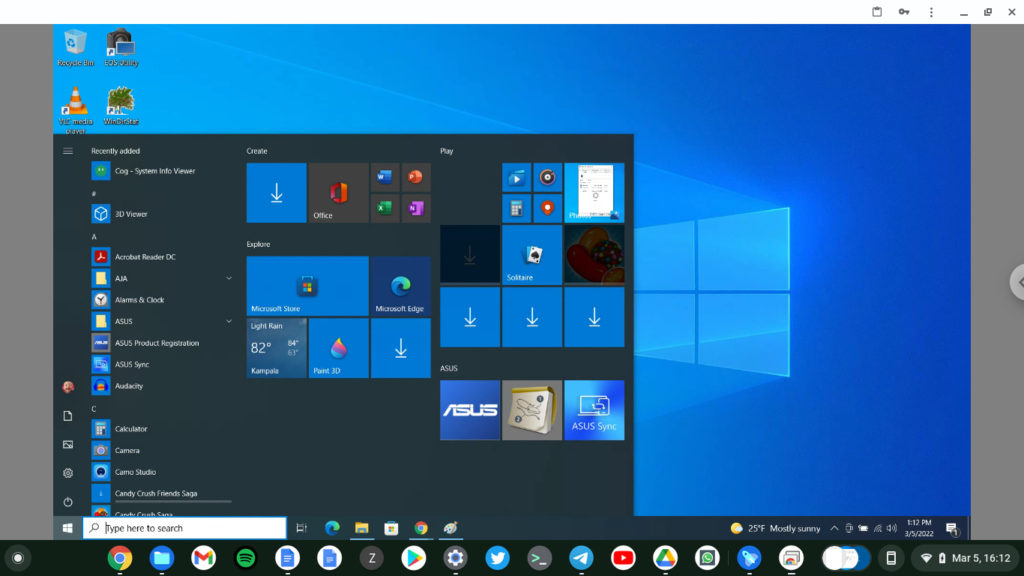
You can stop the connection by clicking on stop sharing from your Windows PC.
Discover more from Dignited
Subscribe to get the latest posts sent to your email.


