macOS and Windows absolutely dominate the desktop operating system space but Linux remains one of the most endeared platforms by its users.
Of the numerous Linux distros available in the market today, Ubuntu is perhaps the most popular. This is geared towards Linux beginners but its simplicity endears it not only to these noobs but to the experts and pros as well, coders and developers alike.
In this post, we look at a relatively simple concept but for immigrants from Windows or macOS, this could be a daunting task to accomplish. Here’s how to set the date and time on your Ubuntu computer.
Related:
How to Set date and time on Ubuntu
Well, to set the date and time, follow these simple steps.
- Open Settings from the App launcher
- Click on Date and Time
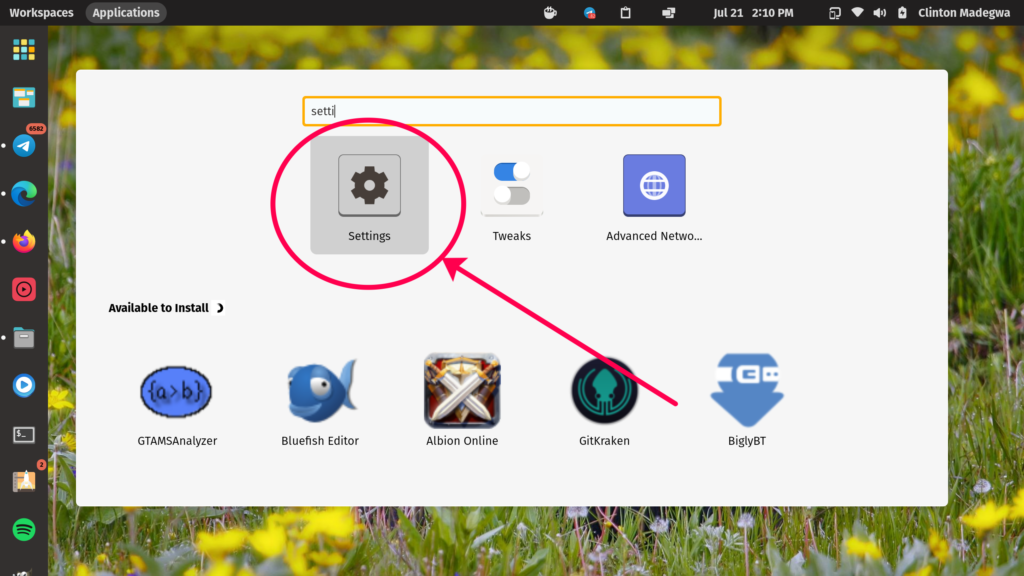
- Deactivate Automatic Date and Time to allow you manually set the time and date
- You can now change the parameters on this page.
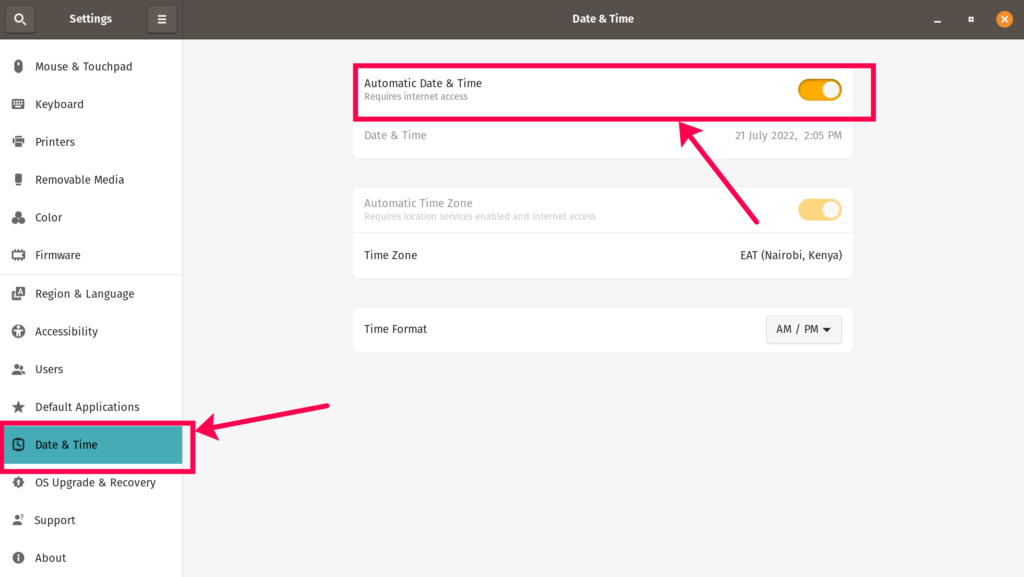
- Key in the correct date and time and select your time zone.
- Should everything work well, your system’s date and time should now be set.
Please note that should you make changes to your region settings, the system might ask you to log out and then back in.
Why would you want to Set the Date and Time on Ubuntu?
While many systems will remember the date and time automatically, older PCs that have been given a new lease of life with Ubuntu might have old CMOS batteries and as such, unable to remember the date and time, necessitating the frequent performance of this procedure.
If you’re dual booting Windows with Ubuntu, you might realize that the system’s date and time have a tendency of being off once you boot into the other system. That’s something I personally deal with and until this is addressed, we’ll need to frequently set the date and time on Ubuntu.


