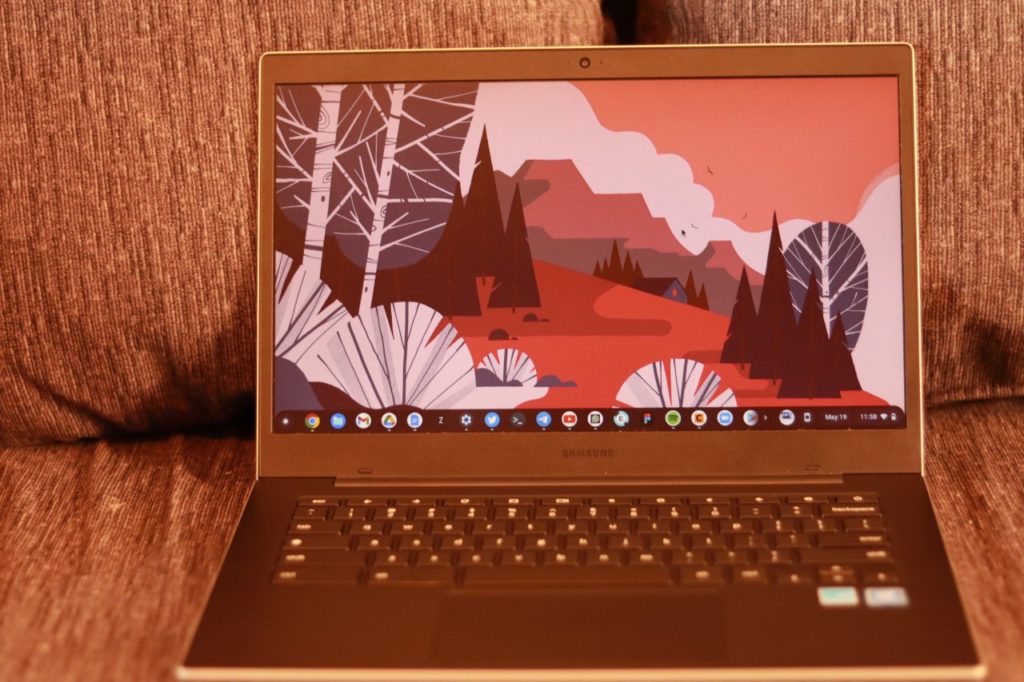
Like the Taskbar on a Windows PC or Dock on a Macbook, the Shelf on a Chromebook enables you to access, launch and manage apps. Since Chromebooks do not allow you to add apps to the desktop, you will need to customize your Shelf for a quicker and better experience with apps. Depending on your preferences, you can also change the Shelf position or hide it.
In this article, we shall look at how you can customize the Shelf on your Chromebook to improve your productivity. These range from changing Shelf position to pinning apps, websites, and files, among other tweaks. Let’s dive right into it.
What is a Chromebook Shelf?
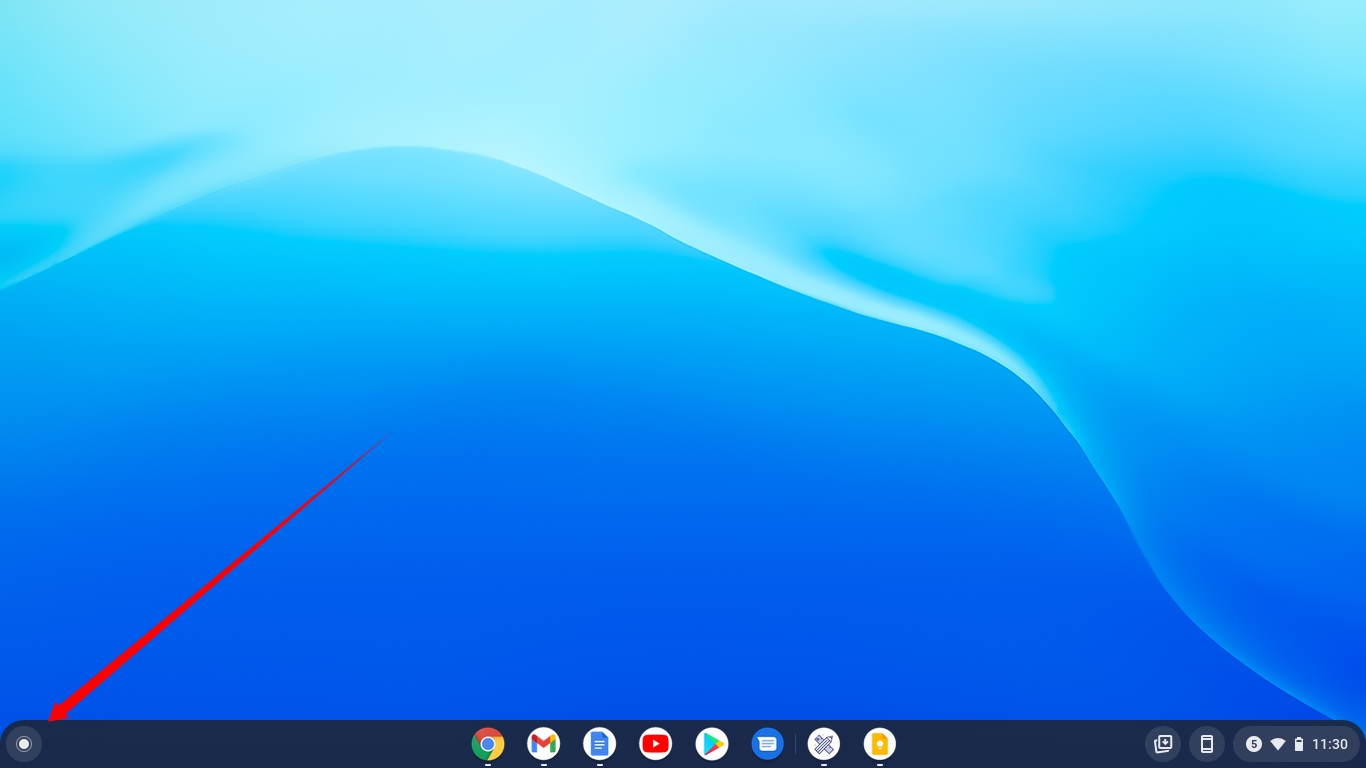
As explained above, a Shelf is to a Chromebook what a Taskbar is to a Windows PC, and a Dock is to a Mac. It is the row at the bottom of the screen that contains the pinned and opened apps, the launcher icon, and other icons, such as the time and Tote.
How to Move the Chromebook Shelf to the Left or Right
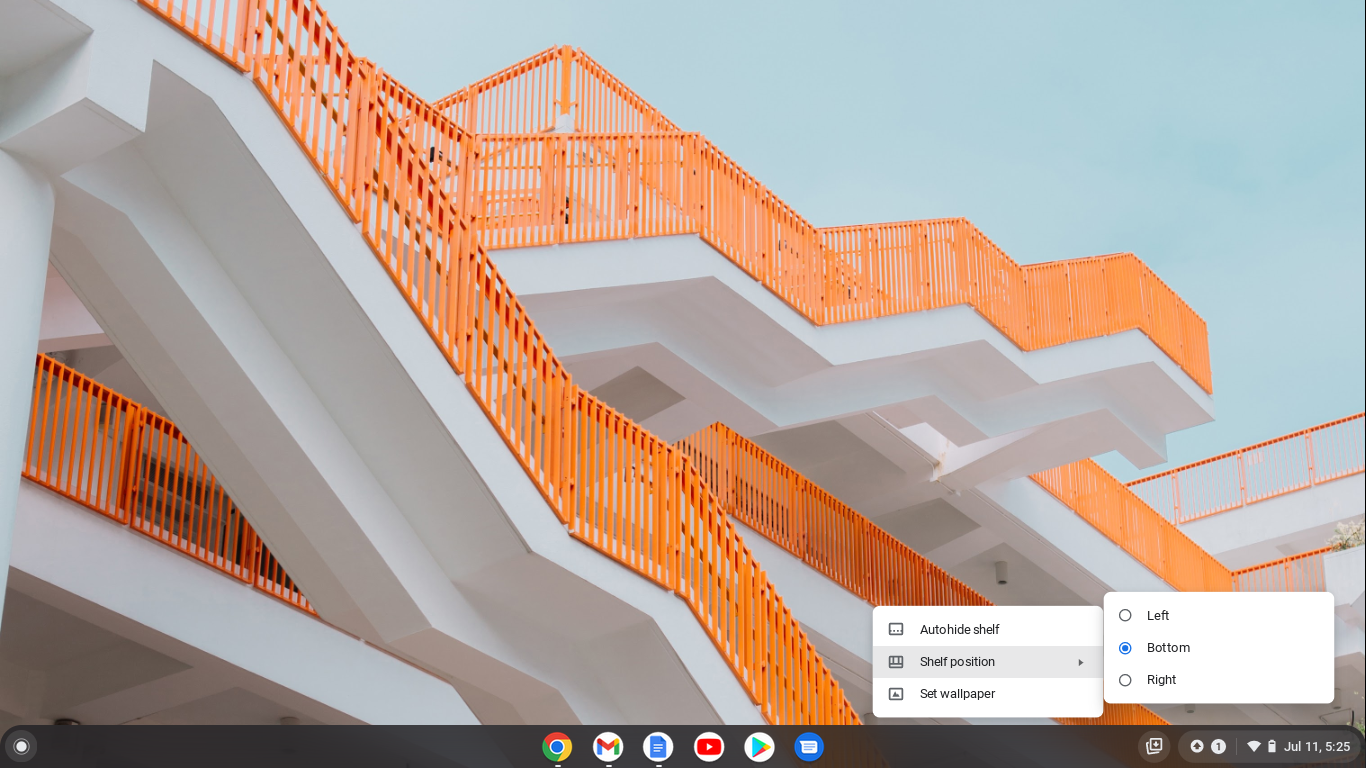
It is not a rule that your Shelf must be located at the bottom of the screen. You can easily move it to the left or right of the screen. To do this:
- Right-click on the Shelf
- Click on the Shelf Position, and a menu will appear with other position options.
- Select where you would like to have your Shelf, and it will move there instantly, and everything will work normally once the Shelf position has changed.
How to Hide the Chromebook Shelf
Again, it isn’t a rule to always have the Chromebook Shelf visible. It is possible to hide it, especially if you want to maximise your screen space. To do this:
- Right-click on the Shelf
- Click Autohide Shelf, and it will disappear from the screen.
- To view the Shelf, move your mouse cursor to the edge of the screen where the Shelf is usually positioned. Wait for a moment or left-click, and the Shelf will appear. When you move your cursor away from the Shelf, it will disappear.
Related Article: Chromebook’s new Screen recording App adds transcription and annotating tools.
How to add apps to the Shelf
If you need to access your apps very fast, pinning them to the Shelf is a good option. To do this:
- Open the Launcher and scroll to the app you would like to pin.
- Right-click on the app and select Pin to Shelf. The app will then be pinned to your Chromebook Shelf and can be accessed there rather than opening the Launcher first.
- Alternatively, you can open the app from the Launcher, right-click on it from the Shelf, and select Pin to Shelf.
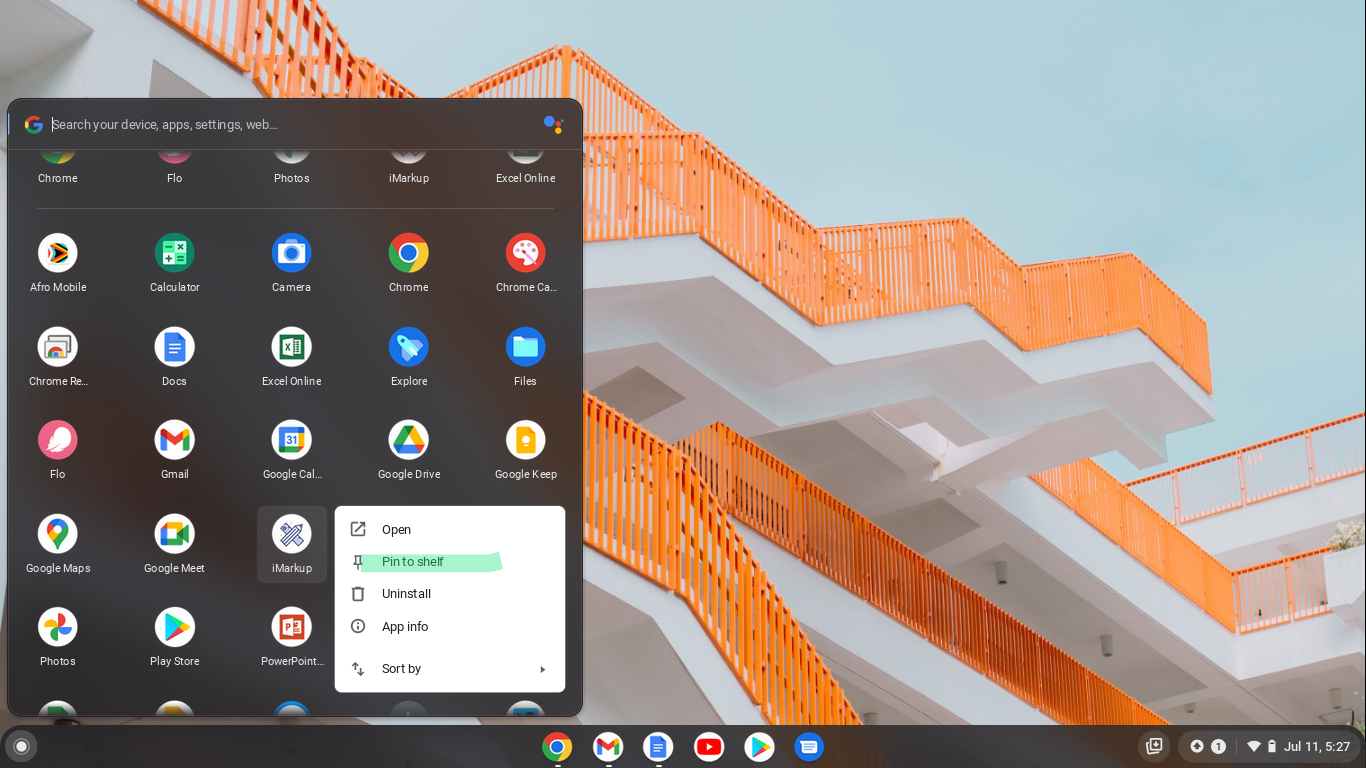
To Unpin an app from the Shelf, right-click the pinned icon on the Shelf and choose Unpin from Shelf. The app will be unpinned, and if it isn’t currently open, it will disappear from the Shelf.
How to Open Pinned Items on the Shelf Using a Keyboard Shortcut
Double-clicking an app on the Shelf is usually enough to open it. However, you can also open the app using a Keyboard shortcut. This is helpful, especially if you have many apps on your Shelf. Hold the Alt key on your Chromebook and press the number corresponding to the pinned item on the Shelf. For example, press Alt + 1 to open the first pinned item on the Shelf.
How to Reorder Apps on Shelf
Apps and other items on your Chromebook Shelf are arranged according to how you added them. You can, however, rearrange them to your liking. To do this, long-press on the item you want to move and then drag it to your preferred position.
How to Open the Launcher Using a Gesture from the Shelf
Clicking the Launcher icon on the Shelf to open the App Launcher is just one way of opening it. Clicking the Everything Button on the keyboard is another way of doing it. However, you can open your app launcher using a gesture from the Chromebook Shelf. Swipe up on your trackpad using two fingers, and the search panel and Launcher will open.
There you have it. Now go forth, play around with your Shelf and customise it to your desired needs. Do you have any questions? Please let me know in the comments section below.


