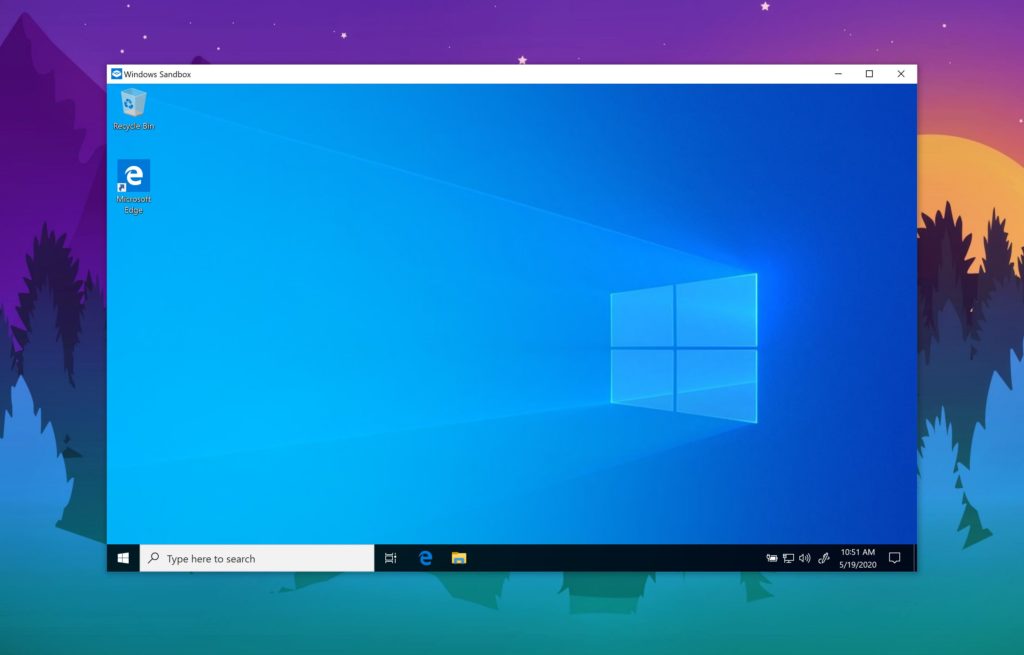
The Windows Sandbox is a very useful feature that comes deactivated in both Windows 10 and Windows 11. It is designed as a platform to enable Windows users to install and test new software and programs with the assured safety and stability of their operating system (OS). Basically, the Sandbox isolates such software from your primary OS environment thus eliminating any potential risks of harming your Windows installation.
This all means you get a virtual environment that is isolated and temporary that you can use to download, install and use untested or unknown software applications. The functions of Sandbox are not limited to testing apps only. You can also use it to safely browse suspicious websites, change key settings in Windows, and try our unfamiliar browser add-ons and extensions, among other uses.
If you try out a suspicious website that turns out to attempt to infect your PC with a Trojan, the Trojan will be restricted to the Sandbox and it cannot harm your PC. After you finish testing sites and apps using the Sandbox you can simply close the Sandbox and it all disappears from existence. Anything you did on the Sandbox gets wiped out with no data trace or residue, all of it. Let us start by looking at what you need before you can enable and start using Windows Sandbox.
Also Read:
- How to Officially Install Android Apps on Windows 11
- What is Virtualization and How Can You Enable it on Your Windows PC?
Windows Sandbox Needs Virtualization to Run
A good thing about Windows Sandbox is that it is fairly lightweight and doesn’t eat up a lot of your hardware resources. For instance, it only takes up 100MB of storage space to run Sandbox. As earlier highlighted, Windows Sandbox is only available on Windows 10 and 11 Professional and Enterprise versions. Once you get that out of the way, the only other thing you need is to ensure that Windows Virtualization is enabled. To confirm this, we need to open the Task Manager by pressing Ctrl+Shift+Esc.

Click on More Details if necessary to expand the Task Manager. Then click on the Performance tab, then select CPU, and check near the bottom right corner for Virtualization status. If it says Enabled, you are good to go. If Virtualization is marked as Disabled, head over to our tutorial about enabling Virtualization in Windows and get it done.
How To Enable Windows Sandbox Feature
After you are done with the above preliminaries we need to now activate this feature. To activate the Windows Sandbox feature follow the steps below:
- Search and open the Control Panel from the Start Menu.
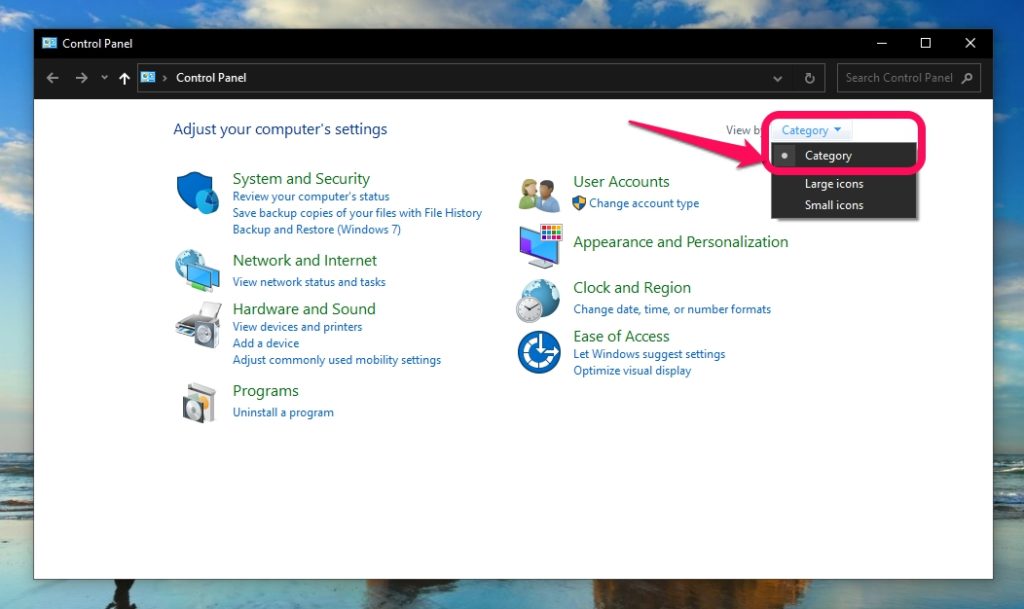
- Ensure the Control Panel is on View by: Category in the top right corner.
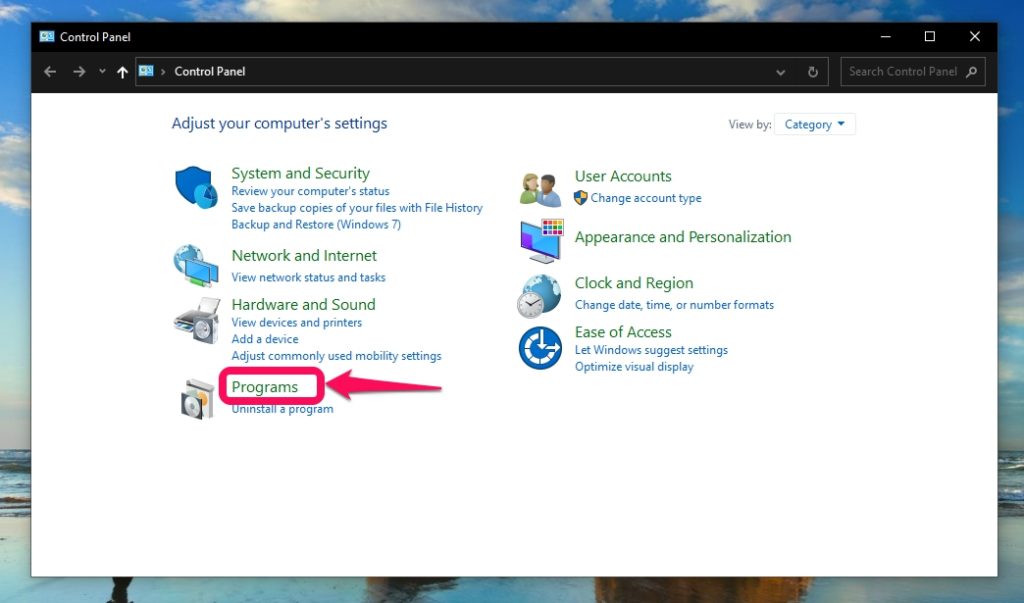
- Now click on the Programs applet.
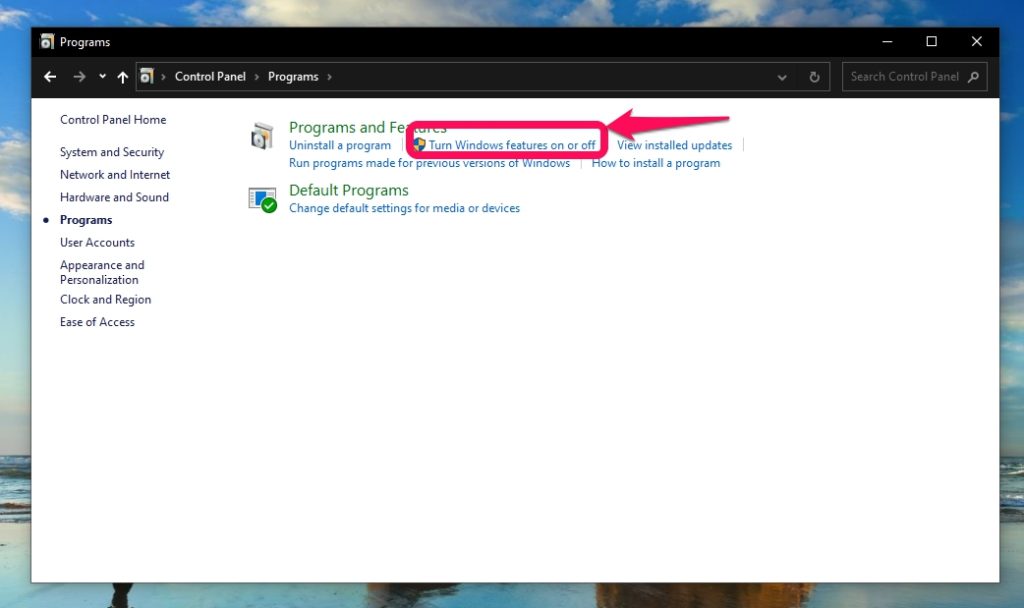
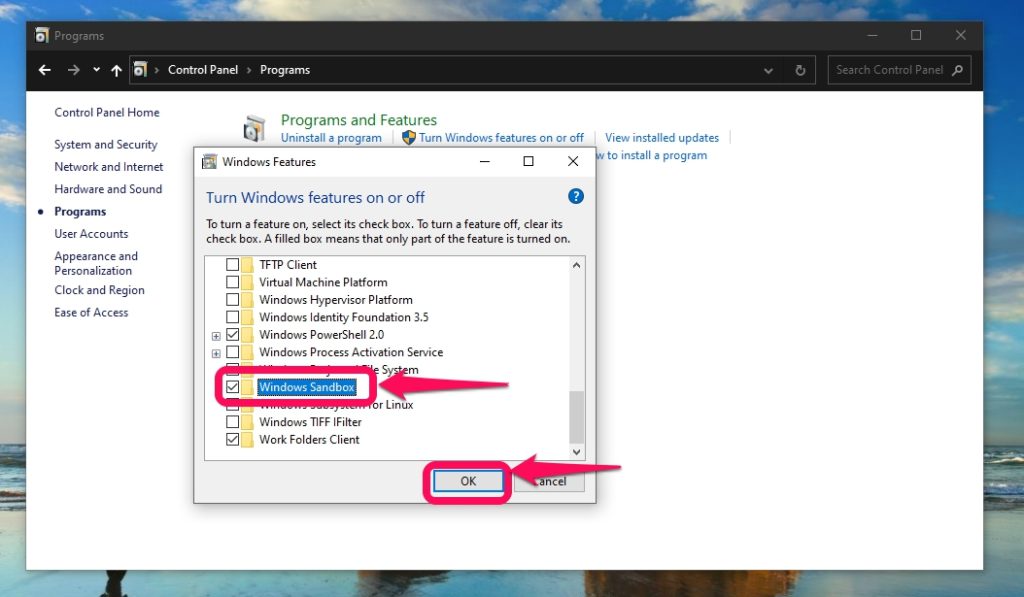
- Then click on the Turn Windows features on or off link.
- On the Windows Features pop-up window, select and tick the Windows Sandbox.
- Now click Ok to confirm and save your changes.
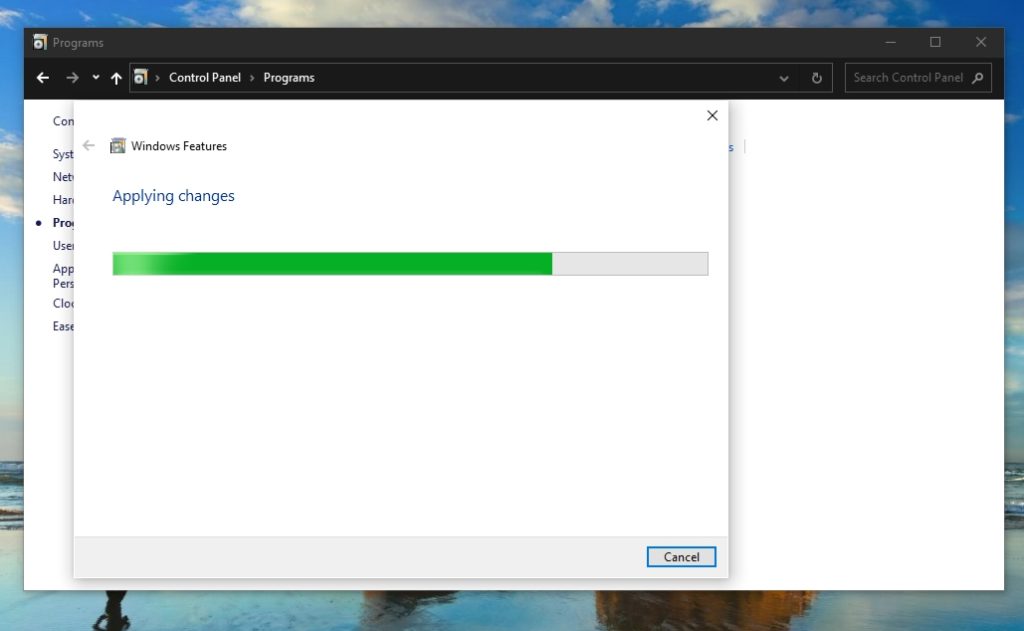
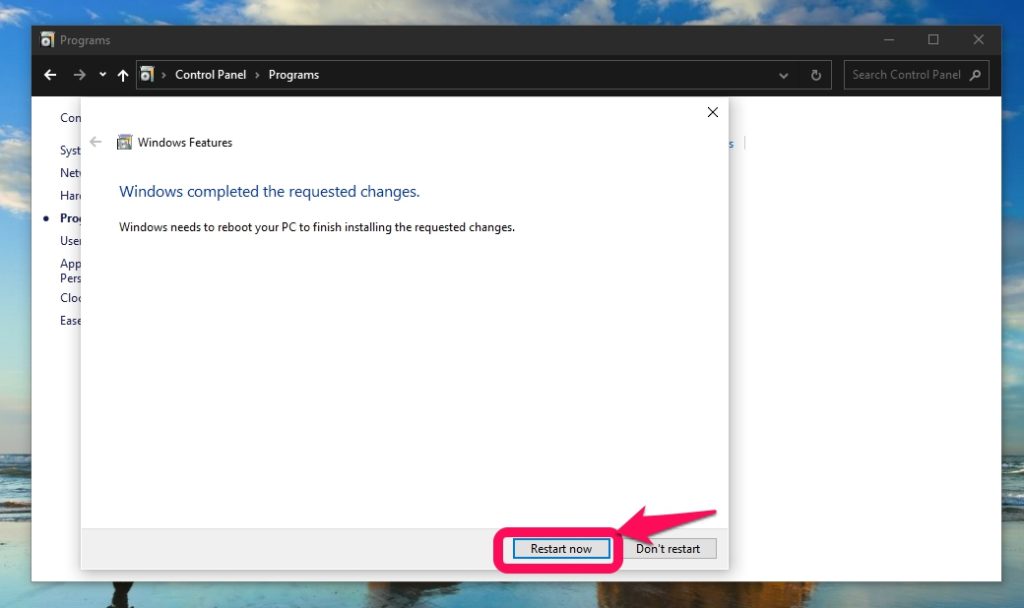
- Sandbox will be installed and you will be prompted to restart your PC. Do it.
Also Read:
How to Open and Install Programs in Sandbox
To open Sandbox, click the start button and scroll down the Apps list to find the shortcut for Sandbox. If you plan to be using this feature on a regular basis, right-click on the shortcut, highlight the More option and select Pin to Start or Pin to Taskbar. To start testing and using programs in Sandbox, you first need to make the application available in Sandbox. There exists a few ways that you can do this.
First, you can open Microsoft Edge in the Sandbox and use it to download and install any software programs from the internet. As much as Sandbox is isolated it can still interact with your primary Windows installation, of course by your request and own doing. This means you are able to Copy and Paste files across Windows and Sandbox. Thus you can copy an application from your regular windows then paste it into the Sandbox and install it. And since the Sandbox opens up like any other window, you can resize it however you want.
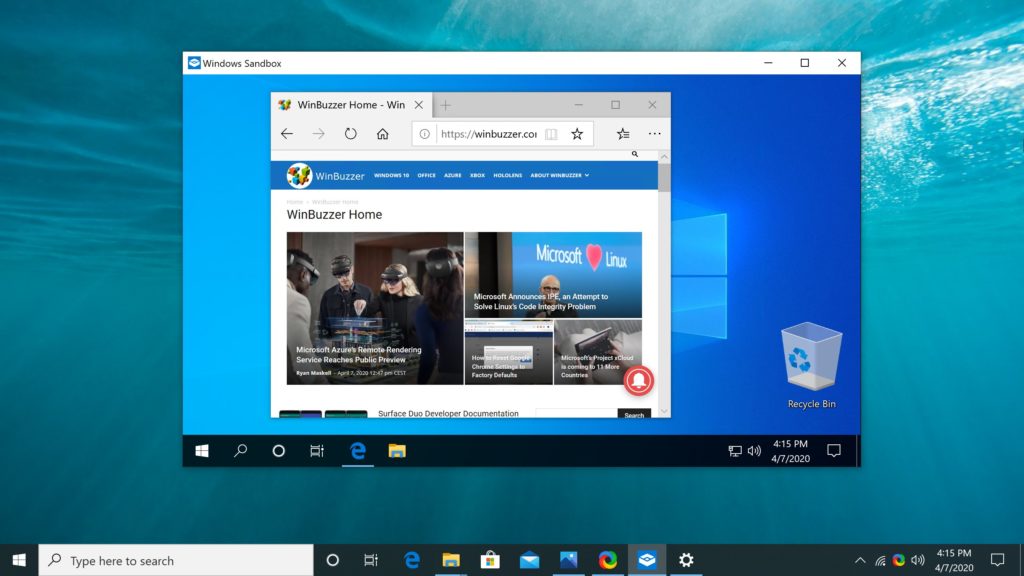
Even maximizing it to take up your entire display is possible. You can also restart and shut down Sandbox sessions from its windows start key. Clicking the red X icon on the top right corner will close it down like any other window. You should however keep in mind that shutting down or restarting the Sandbox loses all installed apps and changes made. But that’s the whole point behind Windows Sandbox. This means that the next time you open Sandbox you will start on a new and clean virtual slate.
Also Read:
- How to tell if your laptop supports Thunderbolt 3 or USB4
- Share a VPN connection via Hotspot on Windows 10/11 PC
How to Remove and Disable the Sandbox Feature
When you decide that you do not need to use the Sandbox anymore or for some time, you can disable it. Doing this is as easy as it was enabling it.
- Search and open the Control Panel from the Start Menu.
- Ensure the Control Panel is on View by: Category in the top right corner.
- Now click on the Programs applet.
- Then click on the Turn Windows features on or off link.
- On the Windows Features pop-up window select and un-check the Windows Sandbox.
- Now click Ok to confirm and save your changes.
- Sandbox will be installed and you will be prompted to restart your PC. Do it.
That’s it you are done! As we have learned, Windows Sandbox is a virtual machine built into Windows 10 and Windows 11 that allows you to temporarily install, run and test programs without interfering with your primary operating system. Do you have any follow-up questions or concerns about this subject? Free free to shoot them in our direction via the comments section below.
Discover more from Dignited
Subscribe to get the latest posts sent to your email.


