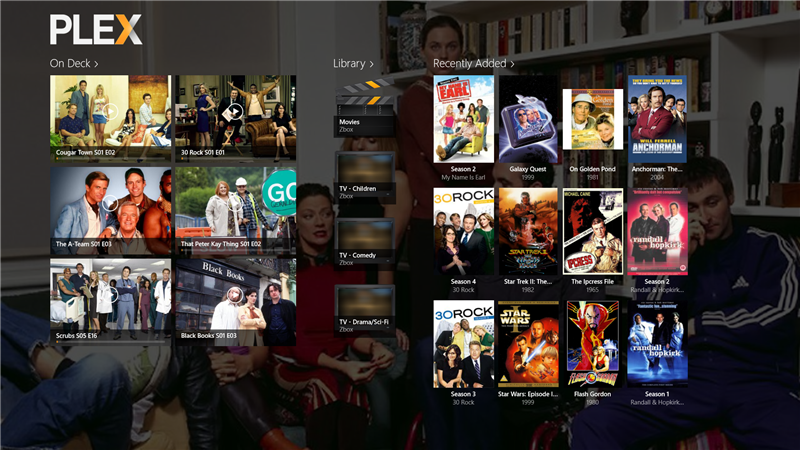
Plex is a client-server media player system and software suite comprising two main components — Plex Media Server and Plex Media Player. The Plex Media Server (also called PMS) is a desktop application that can run on Windows, macOS and Linux-compatibles devices. The server side of the application helps users catalog and organizes video, audio, photos and various types of multimedia files from different sources and making them easily accessible on your computers, as well as on other computers and devices — tablets, consoles, TVs etc.
Again, Plex supports basically all kinds of media file there is and it’s absolutely free to use. This guide will walk you through the process of setting up Plex on your Windows computer. Plex supports versions 7, 8, and 10 of the Windows operating system and you can follow this guide if your PC runs on any of the above Windows OS version.
How to Set up Plex on Windows PC
Pre-installation Media Preparation
Before installing Plex on your PC, you have to ensure your files are Plex-ready and are in accordance with Plex’s nomenclature. That is, your media filenames have to be in a language Plex understands. Very important.
And while this is — depending on the number of multimedia in your database — the most time-consuming aspect of setting up Plex on your PC, it is particularly of utmost importance as it helps Plex easily identify your files and download corresponding background art, descriptions, cover art and other important metadata. Although Plex also tries to automatically identify files, it is best practice to get your filenames in order beforehand.
Generally, video or movie filenames should start with have the title of the movie clearly spelt out with spaces of dots in between them. See image below.
If your movie has some terms like ‘DVDRip‘ or ‘WebRip‘ in the filename, you don’t have to break a sweat by removing the terms. As long as a reasonable part of the filename is correct, Plex won’t have a hard time identifying the gleaning information about the movie.
For movies with the same name but released in different years (i.e movies with sequels), ensure you differentiate them accordingly by renaming them to contain the years they were released.
For TV shows, filenames should follow the format: Title.Season(S)Number.Episode(E)Number.format e.g Power.S05E10.mp4 or Power S05E10.mp4
For more detailed information about media preparation on Plex Media Server, you can check Plex’s official article on Media Preparation.
Installation
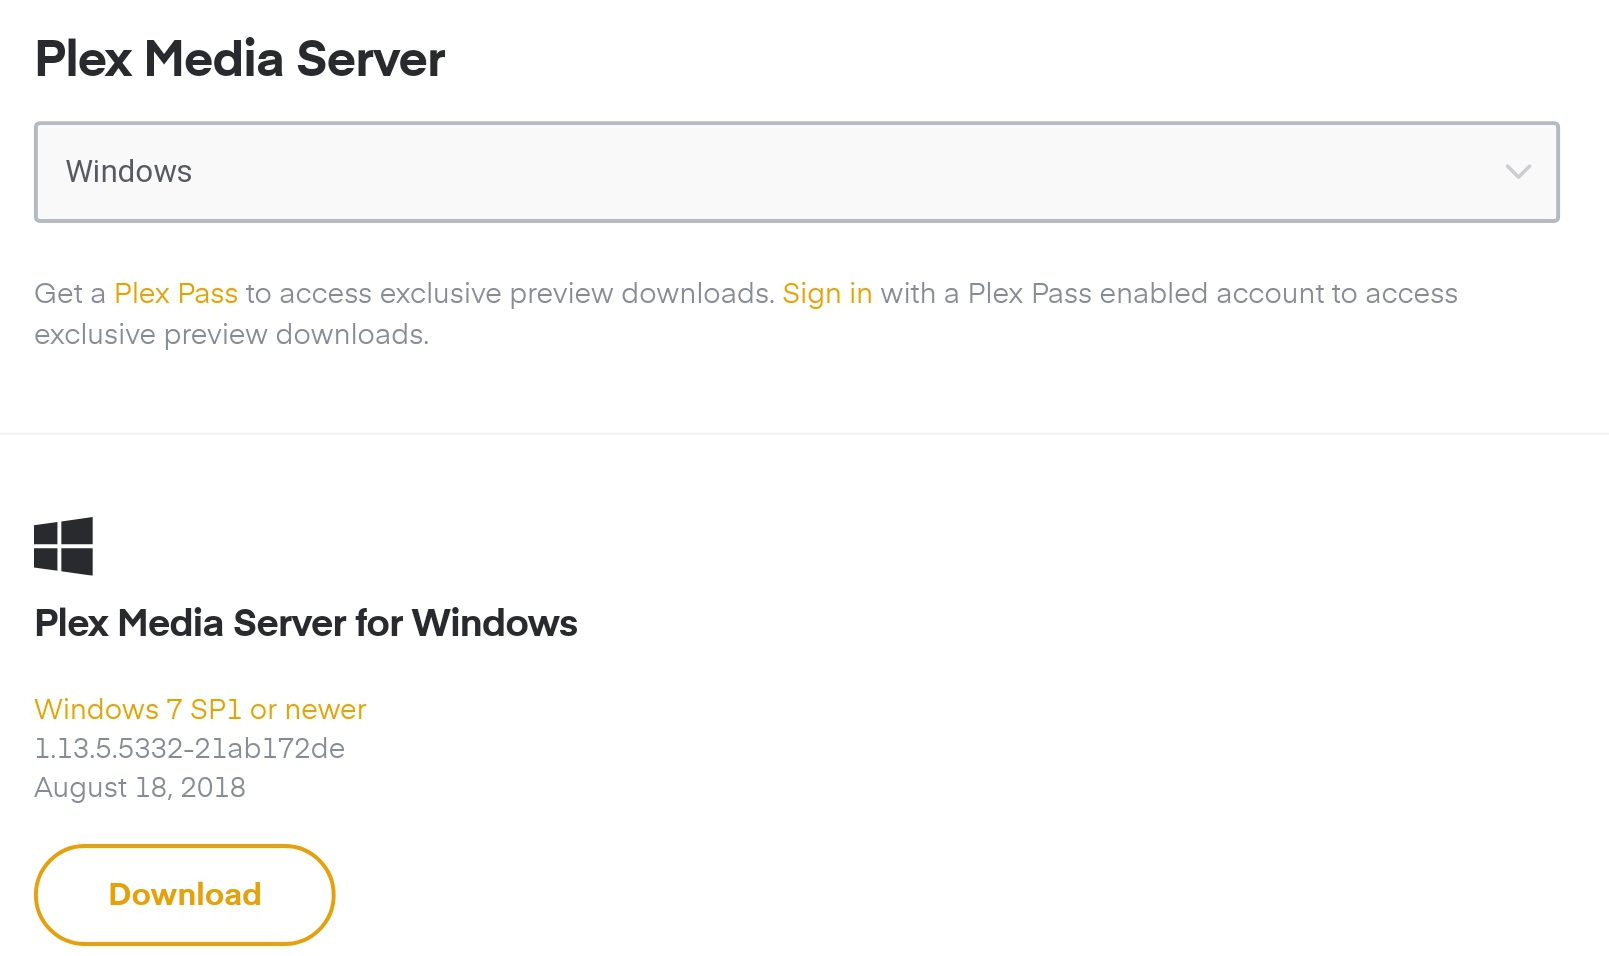
- Visit the official download page of Plex, select your device (i.e Windows) from the drop-down menu and a download link will be created to download the Plex Media Player setup (.exe) file to your computer.
- Alternatively, you can visit the sign-up page and register a Plex account. A registration confirmation mail containing a download link will be sent to your email address.
- Install and launch the Plex app on your Windows PC.
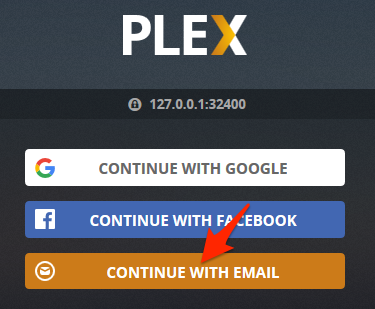
- You will be directed to sign in to your Plex account with either your email, Google or Facebook account.
- Sign in with your login credentials and continue.
- Sign-up for a new account if you have previously created one.
Plex Media Server Set-up
Next is to set up the Plex Media Server by adding a couple of libraries.
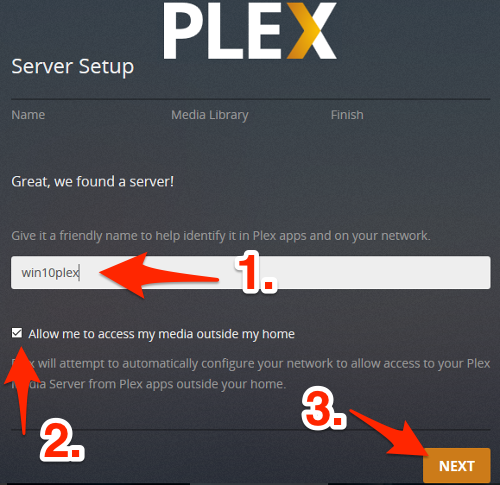
1. First step is to give your server any name of choice, then check the “Allow me to access my media outside my home” box and click “Next” afterwards.
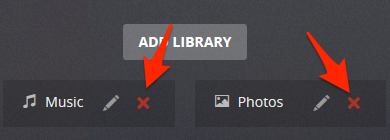
2. Next step is to delete the pre-created “Music” and “Pictures” library as created by Plex.
3. Click on the red X icon next to the pre-created libraries to delete them.
4. Next is to create or add new libraries either for movies, music or pictures. Click on the ‘Add Library‘ icon to create new libraries. A library is basically a collection of similar multimedia files e.g there should be an individual library for movies and music videos, TV shows should also occupy a separate library, likewise ‘Movies’
5. To create folder for your movies, click on Movies, then enter a preferred name for the library and click ‘Next‘.
6. On the next page, click on the ‘Browse for Media Folder‘ and navigate to the folder where your movies are.
7. After selecting the folder, click on ‘Add’, then on ‘Add Folder‘
8. Upon clicking on Add folder, Plex will commence indexing your movie files.
The same process applies for creating a library for TV shows, but a little complicated when it comes to Music files.
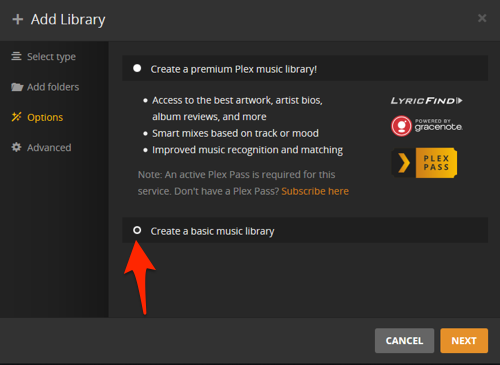
To create a music library, click on Add Library >> Create a basic music library >> Use embedded tags >> Add Library
9. After creating all libraries, click on ‘DONE‘.
Plex will begin identifying contents in your library and download their corresponding metadata like background images, images etc. Depending on the quantity of files to be synced, this process might take a couple of minutes.
Upon completion file identification, sycning, and library creation, a neatly catalogued Plex dashboard containing all your media will appear. You’ve successfully set up Plex on your Windows PC.
Got any questions? Do make sure you drop them in the comments box below.
Images credit: Simplehelp.net
Discover more from Dignited
Subscribe to get the latest posts sent to your email.


