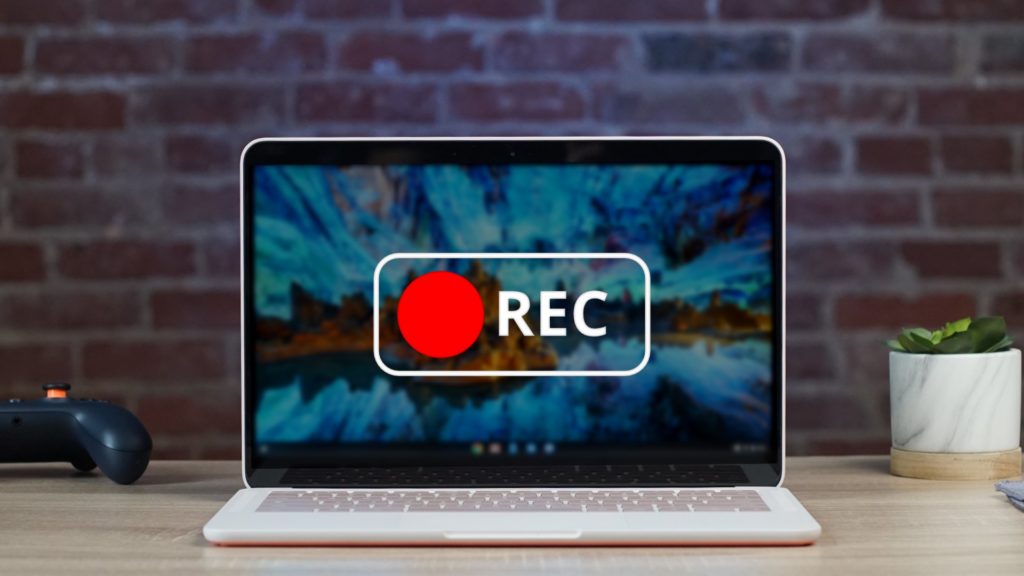
Screenshotting and screen recording are very useful functionalities to have on any machine. Whether you want to create a how-to video or capture something funny to share with your friends, the ability to record your computer screen can be helpful in many situations. Thankfully, screenshotting or recording on a Chromebook are as simple as ABC.
The key is to find out where the screenshot feature is and everything else flows. This blog post aims to teach you how to record anything on your Chromebook screen. Before we go any further, make sure your Chromebook is updated to one of the latest versions. Otherwise, you might not be able to find the screenshot tool.
How to screenshot using the Chromebook’s Screen Capture feature
- Open the status bar at the bottom right-hand corner.
- Tap the Screen Capture feature.
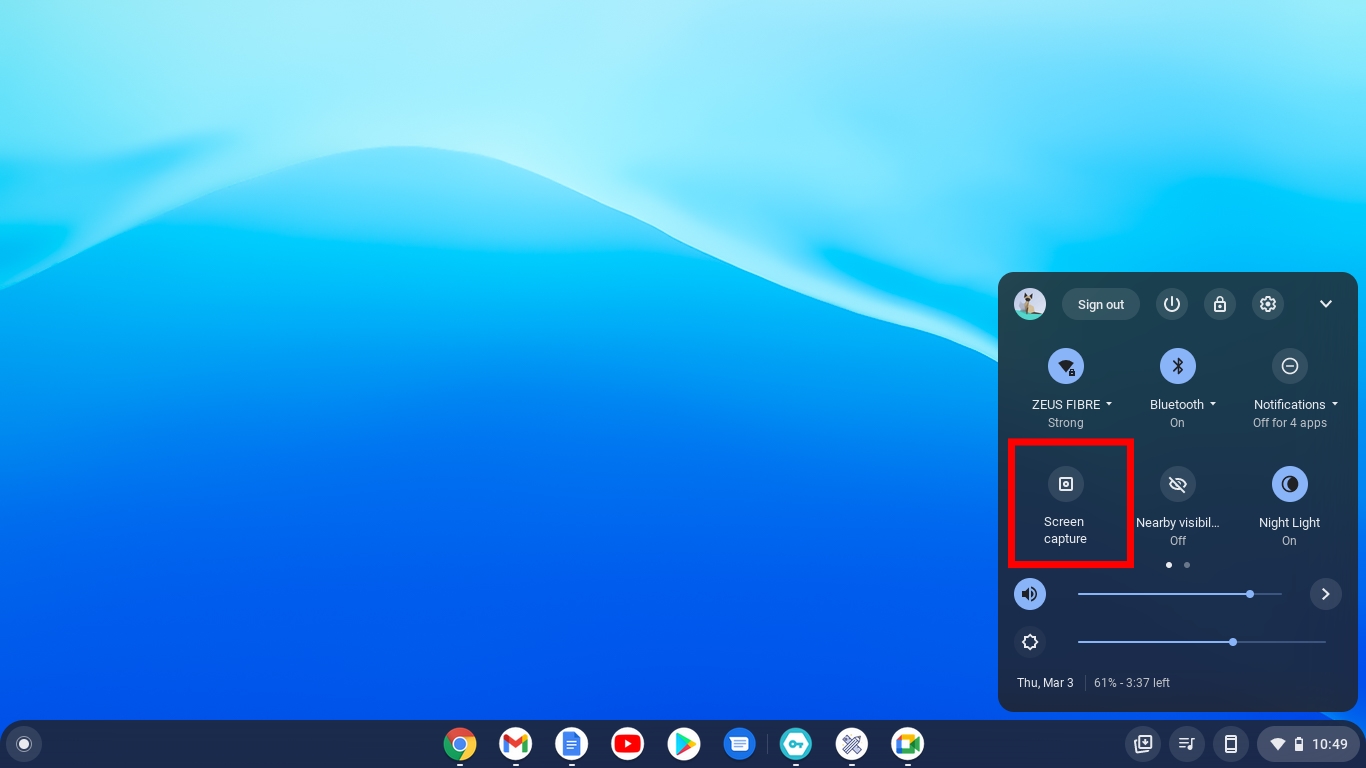
- Select whether you would like to capture all of your screen, a single window, or a specific part of your screen.
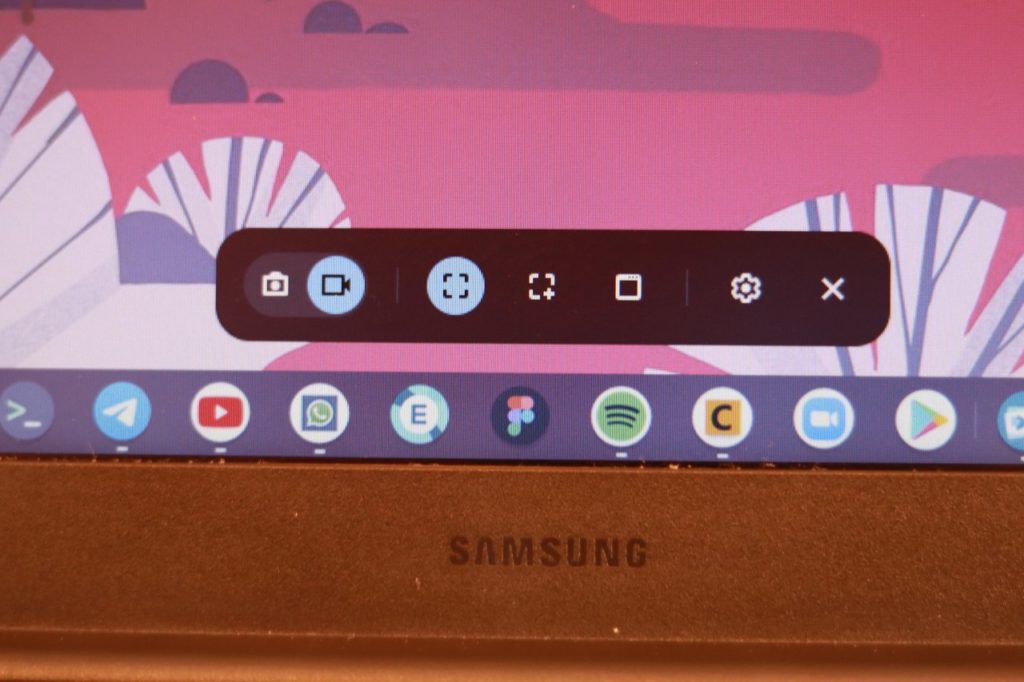
- Drag to select an area to capture and release when done.
- The screenshot will be captured and saved in the Downloads folder.
- Once the screenshot has been taken, it will show up in the status bar and will be automatically copied to the clipboard. You can open it and edit it or rename it in the Chromebook’s default photo editor.
Related Article: How to activate 100GB Free Google cloud storage for your Chromebook
Using Keyboard Shortcuts
This method is pretty straightforward and involves using a combination of keys on your Chromebook’s keyboard.
- Press Ctrl + Show Windows button and it will take a screenshot of the entire screen. The Show Windows Key has a rectangle plus two parallel lines.
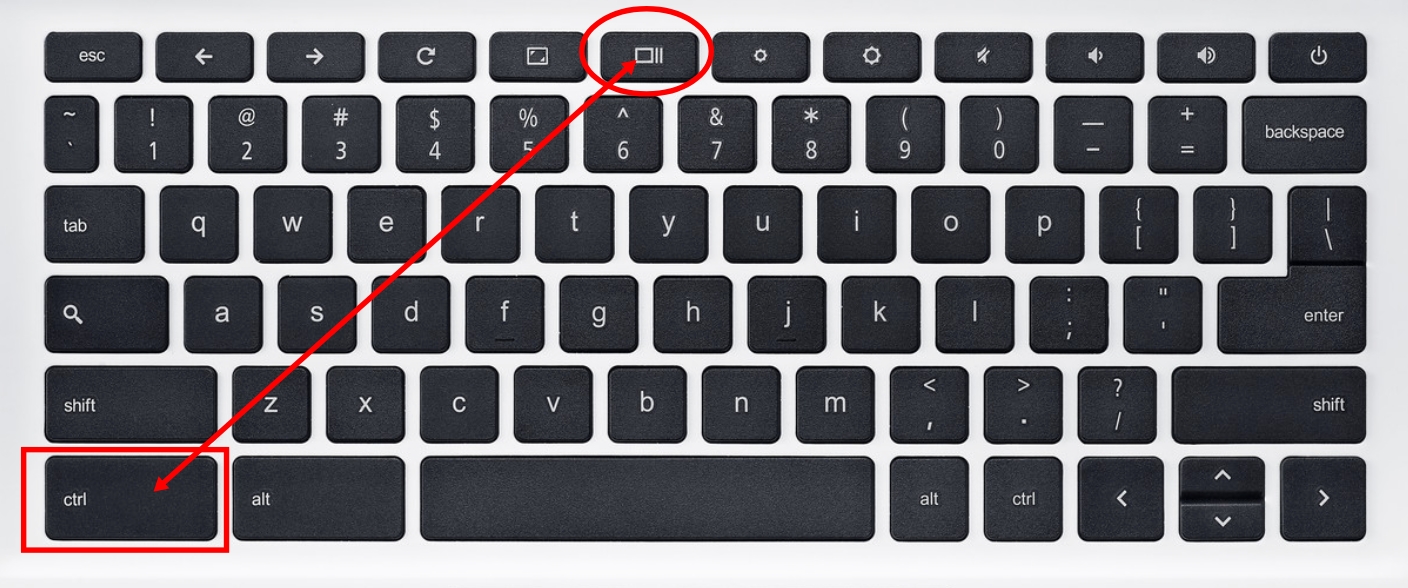
- Press Ctrl + Shift + Show Windows button if you want to take a partial screenshot or a screenshot of a specific area on the screen. The screen will dim after which you can drag the pointer over the area you would like to capture. Once you release the pointer, the screen will be captured.
- Press ctrl + alt + show window button to take a full Window of any currently opened application.
Using Chrome extensions
This is especially great if you want to take screenshots of web pages. I tried two of these extensions when preparing for this article, and both work perfectly. The extensions I tried were Markup Hero and Full Page Screenshot Capture.
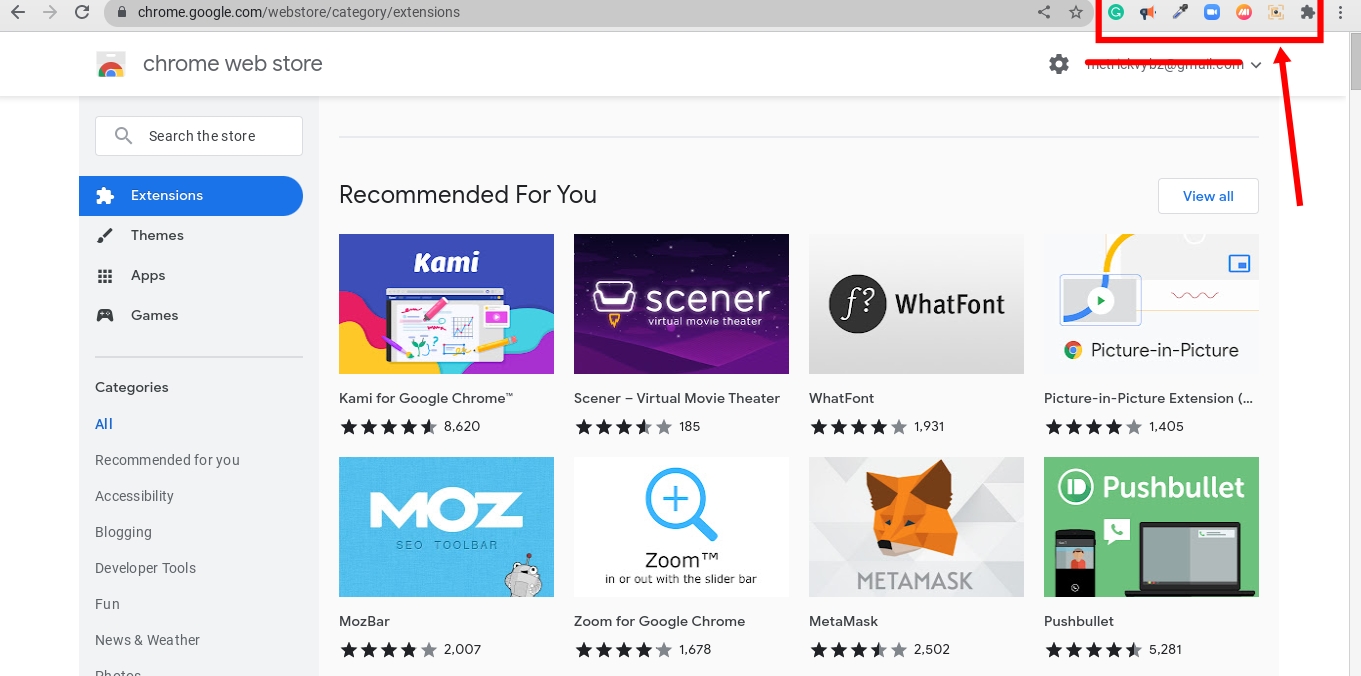
- Download the extensions from the Chrome Web Store.
- Install them onto the Google Chrome browser on your Chromebook.
- Pin them to the top of the web page and then click on the tool of your choice every time you want to take a screenshot.
How to screen record on a Chromebook
- On the status bar the button right-hand corner, select Screen Capture which is a video icon instead of the camera icon.
- Toggle the button on the resultant popup from photo to video.
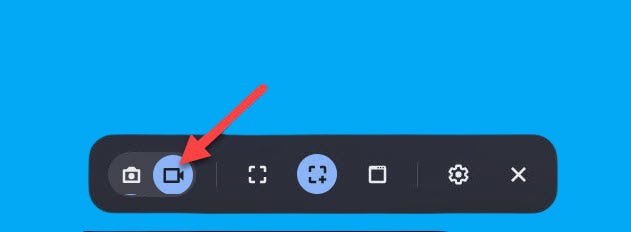
- If you want to record audio too, click the settings icon on the pop-up and turn on the microphone.
- Drag to select an area to screen record and then a timer will come one after which the screen recording will take place.
Take a look at our video step-by-step tutorial on how to take full, partial and window screenshots on your Chromebook.
Chromebooks are increasingly being adopted as the go-to machine for many schools and professionals worldwide, and their ease of use is what makes them so compelling. The screenshot and screen record features are such easy functions, a testament to the Chromebook’s ease of use.


