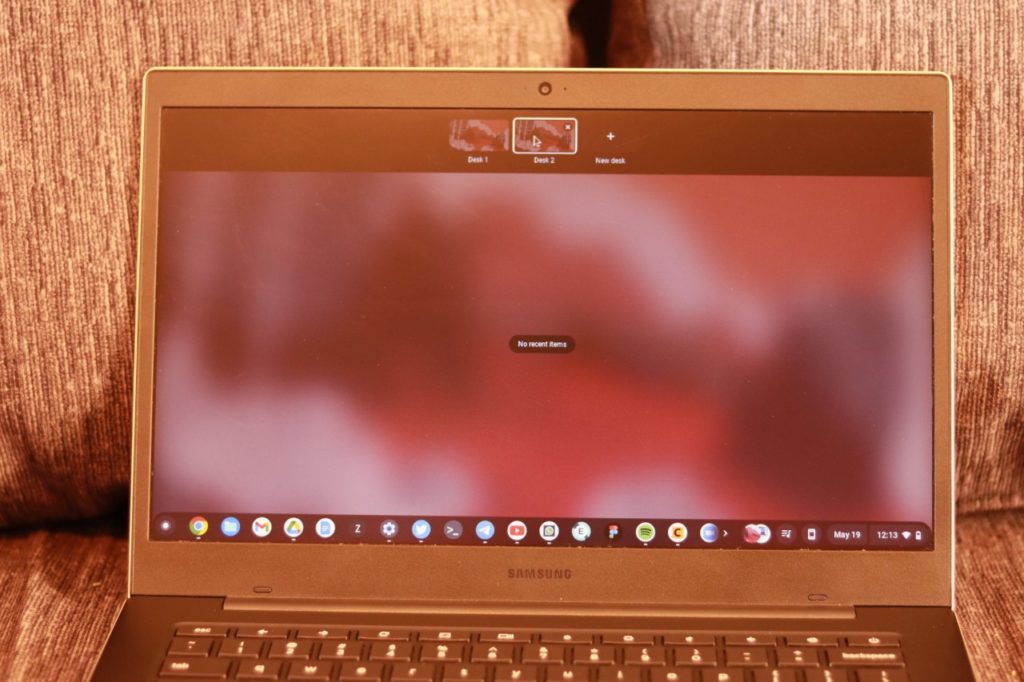
Whether the display on your Chromebook is big or small, you can turn it into a multiple display powerhouse with virtual desks, simply known as desks. The best part about using desks is that it doesn’t require any external hardware, cables, or other equipment.
This article will break down everything you need to know about having a virtual desk on your Chromebook.
What are virtual desks?
Virtual desks are individual working areas on a Chromebook. With desks, you can create separate screens which can be accessed via a keyboard shortcut. To illustrate, imagine you have two different jobs to do. The first job requires you to use your email and Google docs while the second job involves photo editing. You can create separate working spaces called virtual desks for each job.
How to Create Virtual Desks on Your Chromebook
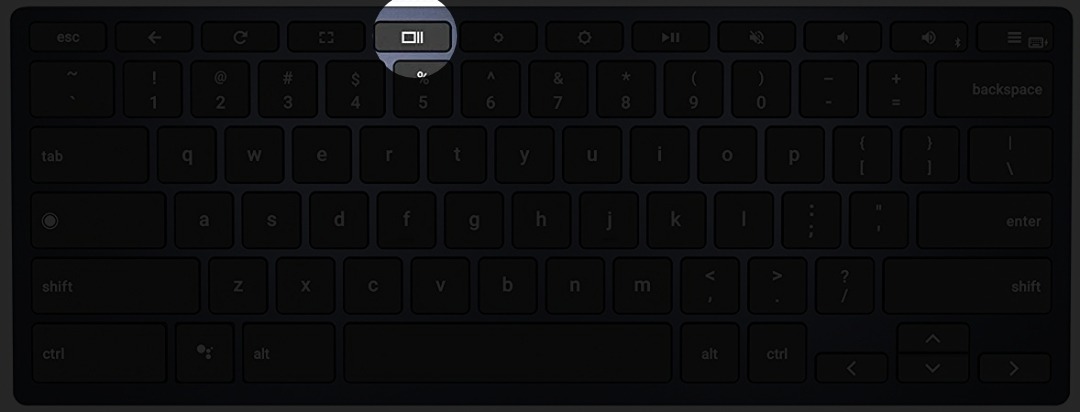
Scroll up on your touchpad with three fingers to create a new desk. Alternatively, using your Chromebook keyboard, press the Show windows key.
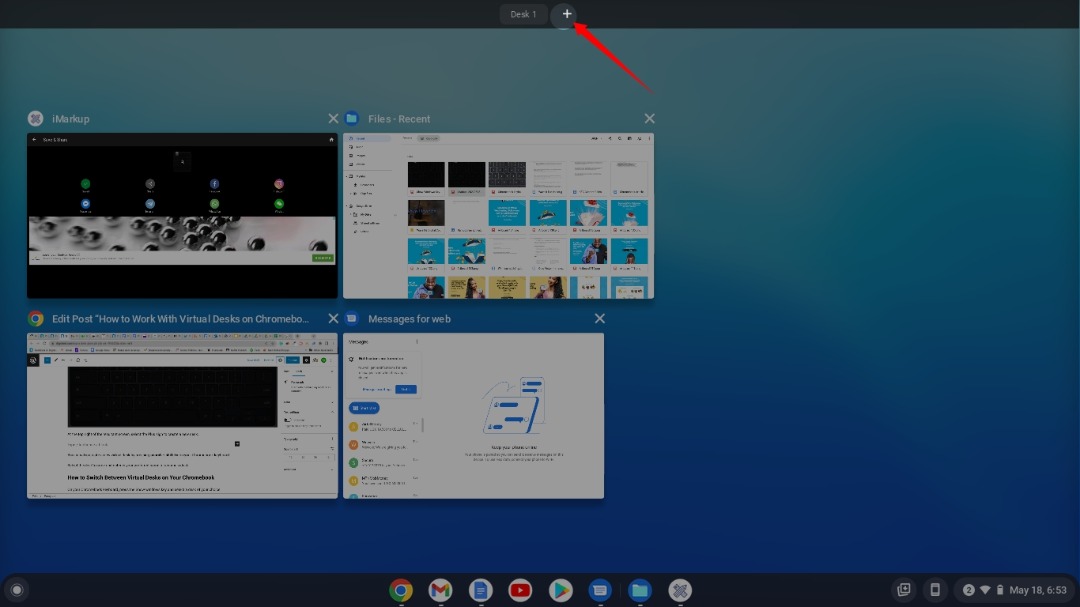
At the top right of the resultant screen, select the Plus sign to create a new desk.
You can also create a new virtual desk by pressing search + shift += on your Chromebook keyboard. Select the desk’s name and enter in your preferred name to rename a desk.
Related Article: How to type special characters on your Chromebook
How to Switch Between Virtual Desks on Your Chromebook
On your Chromebook keyboard, press the Show windows key and select a desk of your choice.
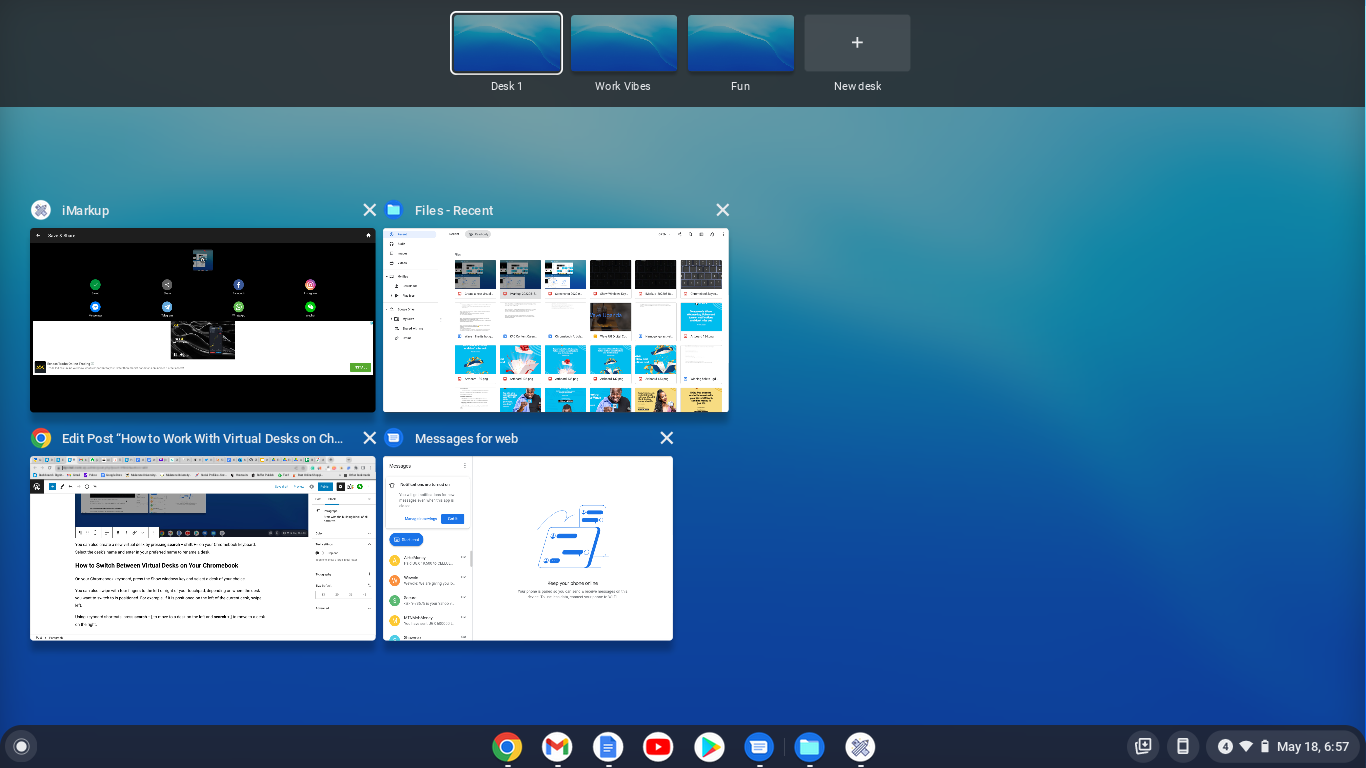
You can also swipe with four fingers to the left or right of your touchpad, depending on where the desk you want to switch to is positioned. For example, if it is positioned on the left of the current desk, swipe left.
Using keyboard shortcuts, press search + [ to move to a desk on the left and search + ] to move to a desk on the right.
How to Delete a Virtual Desktop on Your Chromebook
Press the Show windows key on your Chromebook keyboard and then select the x at the top right of the desk you want to remove.
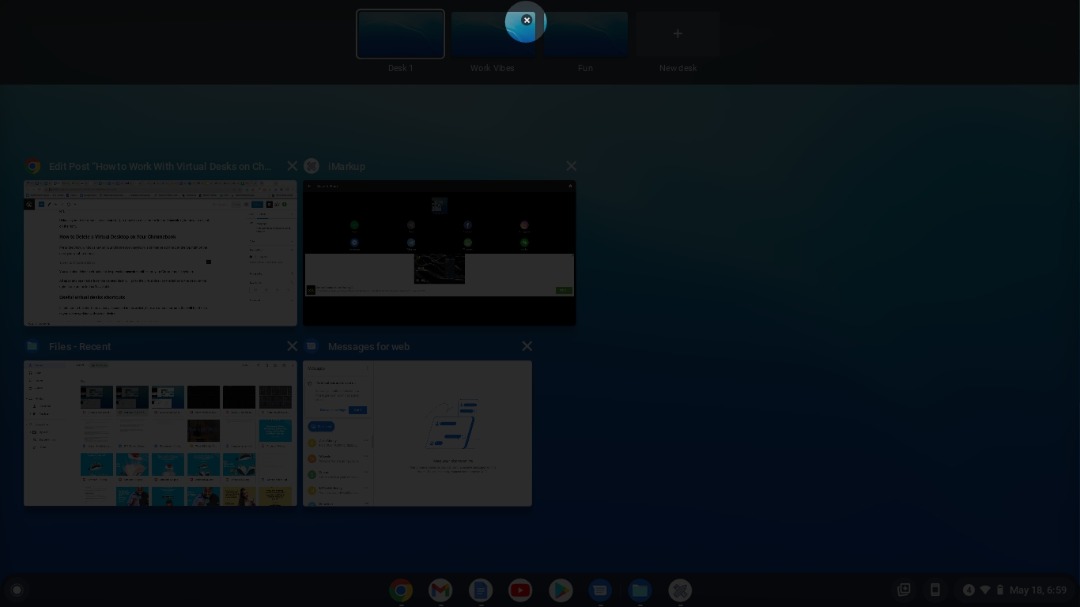
You can also delete a virtual desk by pressing search + shift +– on your Chromebook keyboard. All apps and open tabs from the deleted desk will go to the virtual desk on the left or to the desk on the right if one on the left isn’t available.
Useful virtual desks shortcuts
In addition to the shortcuts already discussed in this article, here are other shortcuts that will be of help to you when working with virtual desks:
- Move a window to a different desk: Press Shift + Search + [ or ].
- View all windows on your desk: Press Alt + Tab.
- Move a window to all desks: Press Shift + Search + a.
- View a different window on your desk: Hold Alt and press Tab. If you want to view a window on your current desk, select current desk. If you want to view all windows, select All desks.
So, there you have it, go on and segment your work on a Chromebook using virtual desks and stay productive. Do you have any questions? Let me know in the comments section below.
Discover more from Dignited
Subscribe to get the latest posts sent to your email.


