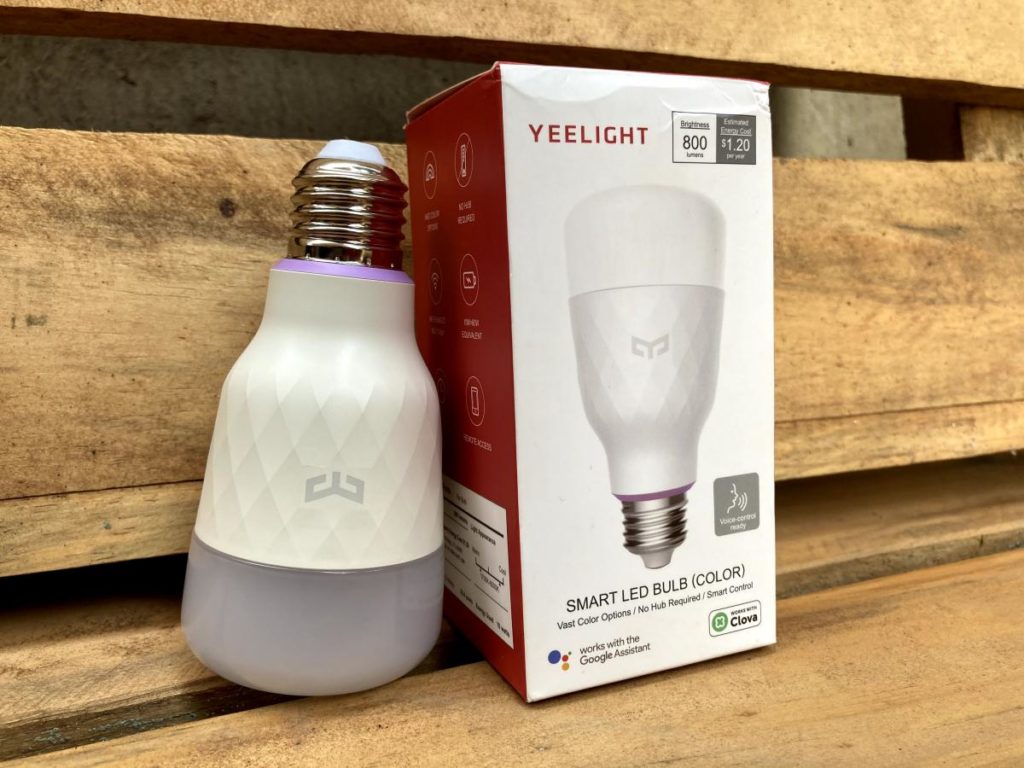
Yeelight offers some of the most affordable versatile smart lighting products on the market today. A Xiaomi sub-brand, you can get a Yeelight smart bulb for half the price of a Philips Hue smart bulb. However, Yeelight products sometimes don’t work out of the box perhaps because the company is Chinese.
I got myself the Yeelight Smart LED Light Bulb from Aliexpress although the same product is available on Amazon for just $8. I had challenges setting it up, but after several trials and searching for solutions in the forums, I was successful.
Setting up the Yeelight light requires downloading and installing the Yeelight app and an internet connection. The trouble comes when connecting the bulb to your WiFi router to complete the setup process. After several trials, my Yeelight wasn’t connecting to my WiFi router. However, I finally managed to get it to connect. Here’s what I did;
- Connect to 2.4GHz band. It’s extremely important that you connect your Yeelight to the 2.4Ghz WiFi band. What makes matters complicated is that the era of single-band 2.4Ghz WiFi routers ended years ago. Most WiFi routers today are dual-band. Which means they support both the 2.4Ghz and 5Ghz bands. However, the bands are usually obscured from you. The router presents a unified SSID WiFi name to devices which intelligently decide which of the two bands they wish to connect to. This isn’t good. You want to setup your WiFi router so that it presents two separate WiFi bands; 2.4Ghz WiFi and 5Ghz band. This way, you can confidently connect your Yeelight to the right 2.4Ghz band.
- Use WPA/WPA2 WiFi security option on your WiFi router. Most WiFi router are still using this security standard. However, newer models now default to the latest WPA3 WiFi security standard. So login to WiFi settings of your router and select WPA/WPA2 instead. Otherwise WPA3 will not work with your Yeelight.
- Finally change the DNS Servers of your router to Google’s Public DNS servers 8.8.8.8 and 8.8.4.4. While I configured step 1 and 2 well, I was still using my router’s or ISPs DNS servers and my Yeelight was not connecting to the WiFi router. So this is an additional troubleshooting step. Again login to your router’s web interface and look for a section where you can set custom DNS servers. Various routers have different ways of setting it, so look up your router’s manual or check in the forums.
If you still have trouble setting up and connecting your Yeelight to your WiFi router, make sure you restart your router. Then you also reset the Yeelight by switching it on and off 5 times in a row. With your WiFi router restarted and setup as mentioned above and your Yeelight factory reset, you can try the setup process once again. Chances are that it will work. If you have any questions, let me know in the comments below.
Discover more from Dignited
Subscribe to get the latest posts sent to your email.


