Google Drive is an important aspect when it comes to data storage and data back up. It offers up to 15 GB of free space for online storage. Just like any storage device, Google Drive also fills up when data has been accumulated in it. There are various ways to reclaim some space from Google Drive and we have discussed them below.
On Android
Clearing Cache
Open the Google Drive app on your Android.
Tap the three horizontal lines icon. This button is in the upper-left corner of your screen. It will open your navigation panel on the left-hand side.
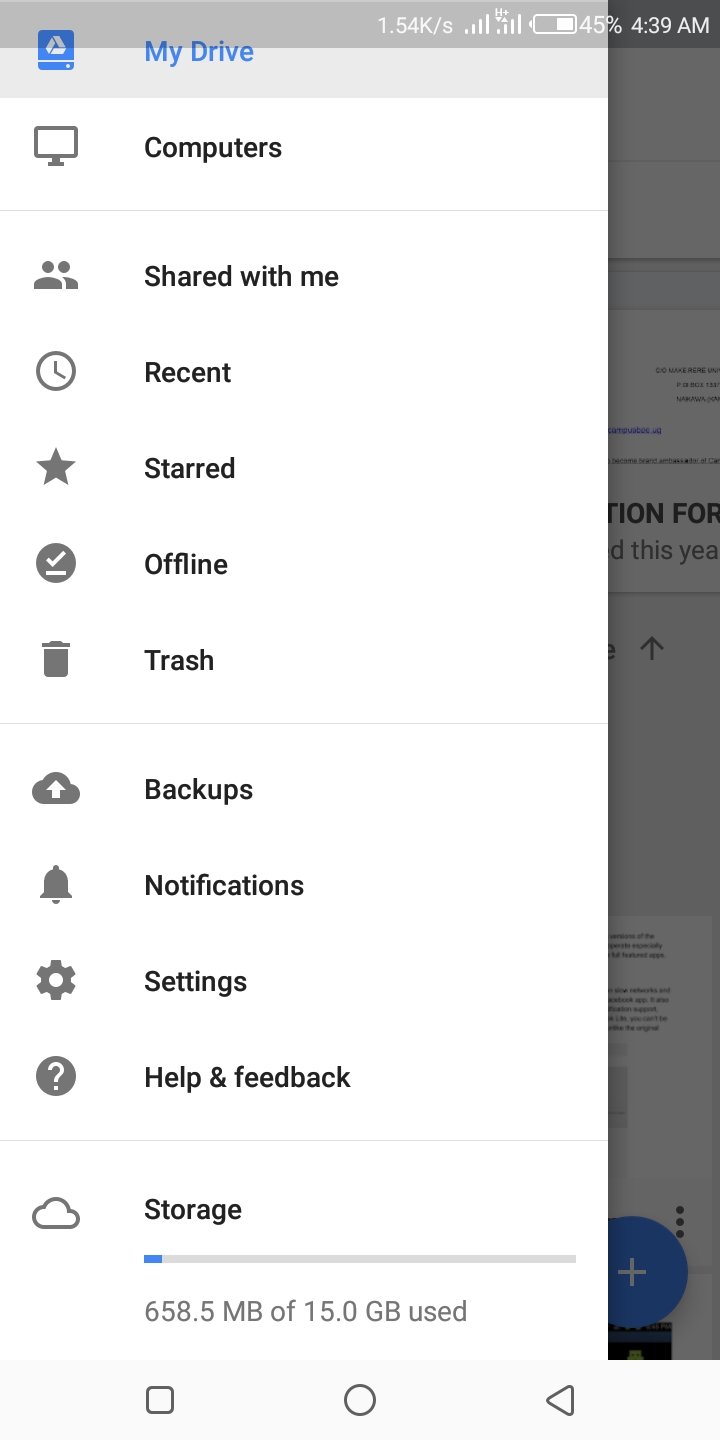
Scroll down and tap Settings. This will open your Drive settings on a new page.
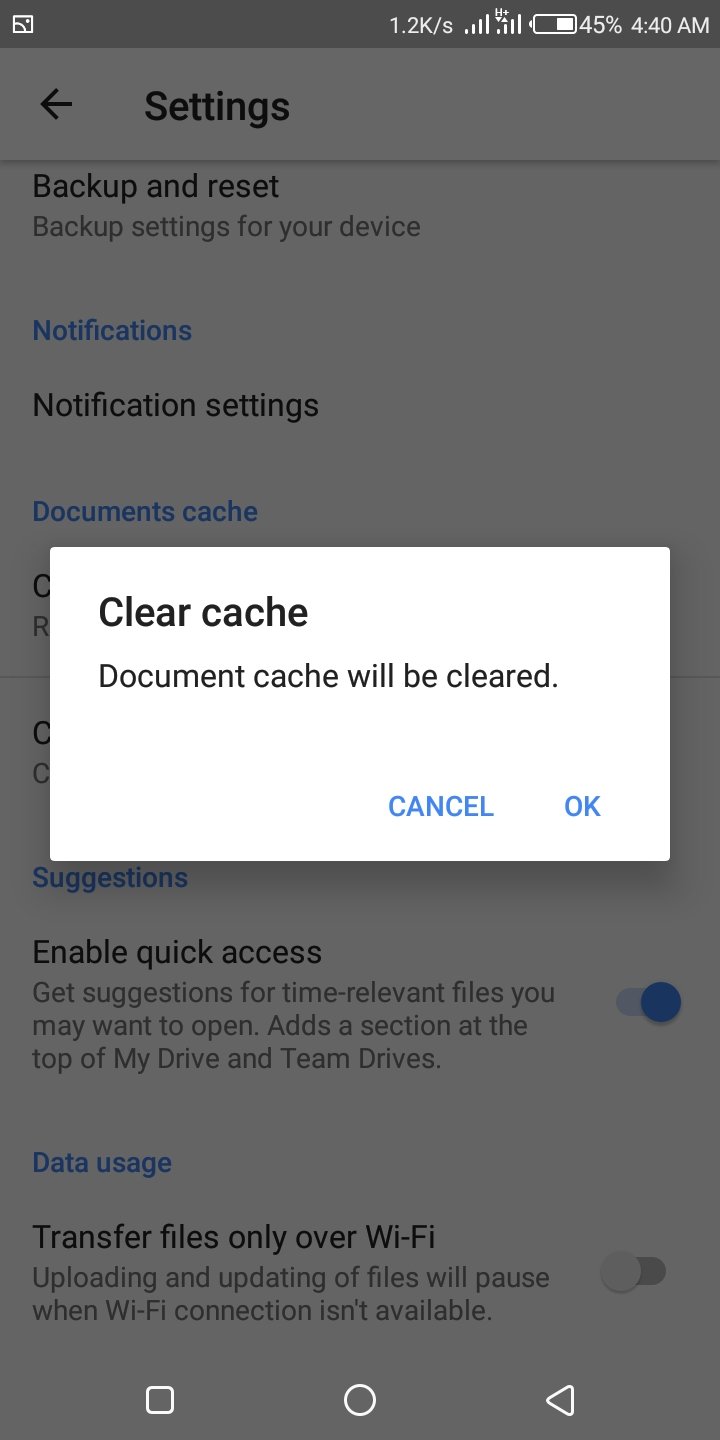
Scroll down and tap Clear cache. You can find this option under the “Documents cache” heading. You will have to confirm your action in a new pop-up.
Tap OK in the confirmation window.This will delete all the saved cache data, and free up some extra storage space on your Drive.
Deleting Files
Open the Google Drive app on your Android. The Drive icon looks like a triangle with yellow, blue, and green edges. You can find it on your Apps menu.
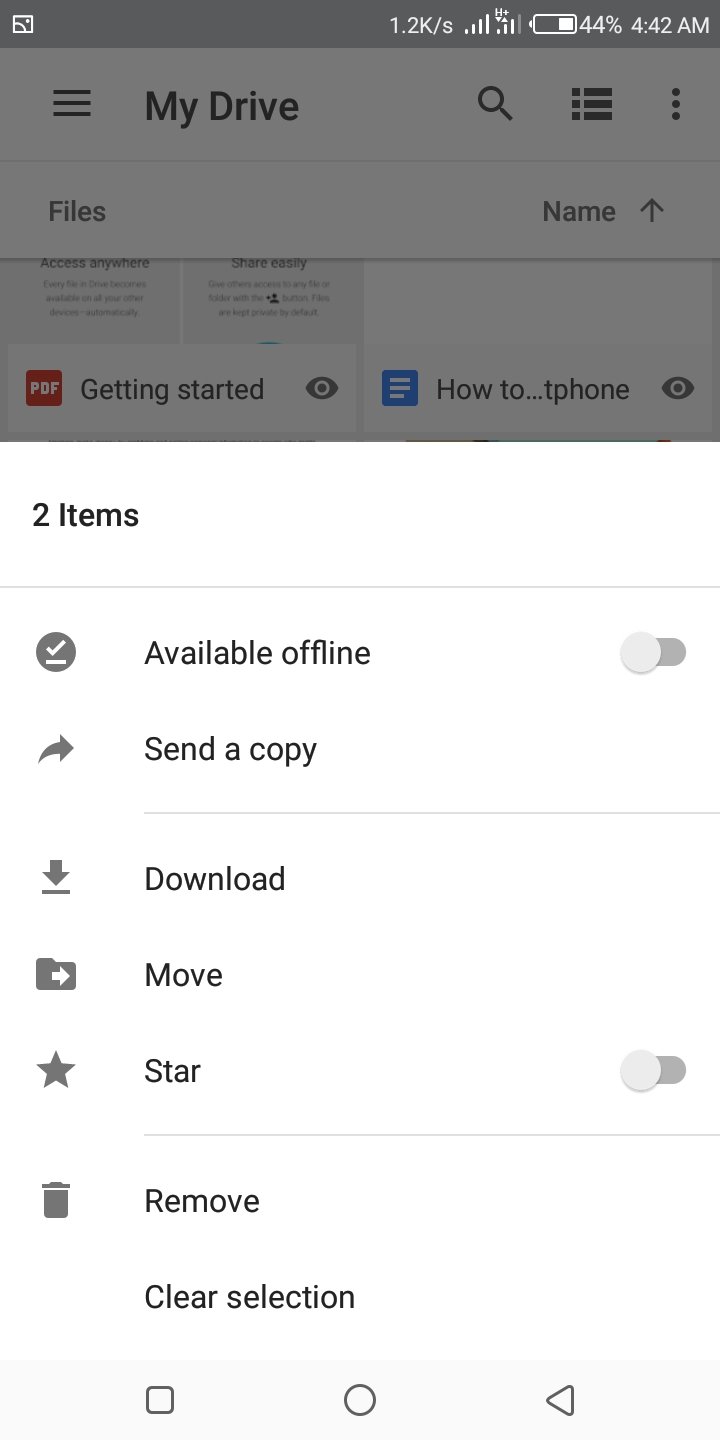
Tap and hold a file. Long-pressing will select the file, and allow you to add more files to your selection.
Select all the files you want to delete. Find and tap all the files you want to delete on your Drive. Selected files will display a blue checkmark icon.
You can tap a selected file again to unselect it.
Tap the three vertical dots icon at the bottom. This button is located on a toolbar in the lower-right corner of your screen. Your options will pop up from the bottom.
Scroll down and tap Remove. This option is listed next to a trash icon at the bottom of the menu. It will delete all the selected files, and free up extra storage space on your Drive.
Related Article: How to use Google drive offline
On PC or Mac
Deleting Unused or Unnecessary Files
Navigate to https://drive.google.com/#quota in a web browser. This displays a list of all files in your Google Drive in order of size. The largest file appears at the top of the list, while the smallest is at the bottom.
Select a file you want to delete. To select multiple files, hold ⌘ Command(macOS) or Ctrl (Windows) as you click each file.
Drag the selected file(s) to the Trash folder. It’s in the left column.
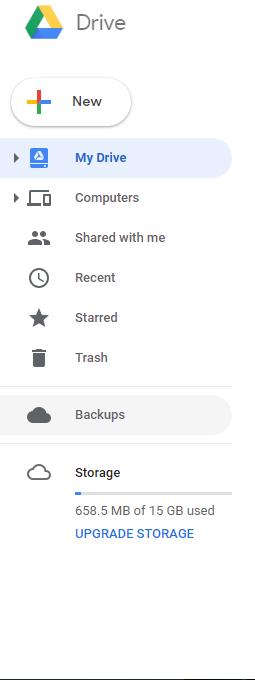
Click the Trash folder. A list of all deleted files will appear.
Select the file(s) you just moved.Again, you can select multiple files at once if you wish.
To delete everything in the trash, see Emptying the Trash.
Click the trash can icon. It’s near the top-right corner of the screen. A confirmation message will appear.
Click DELETE FOREVER. The selected file(s) are now removed from your Google Drive. It may take 24 hours for your available space to update after deleting files.[1]
Emptying the Trash
Go to https://drive.google.com in a web browser. If you’re not already signed in to your account, click Go to Google Drive to do so now.
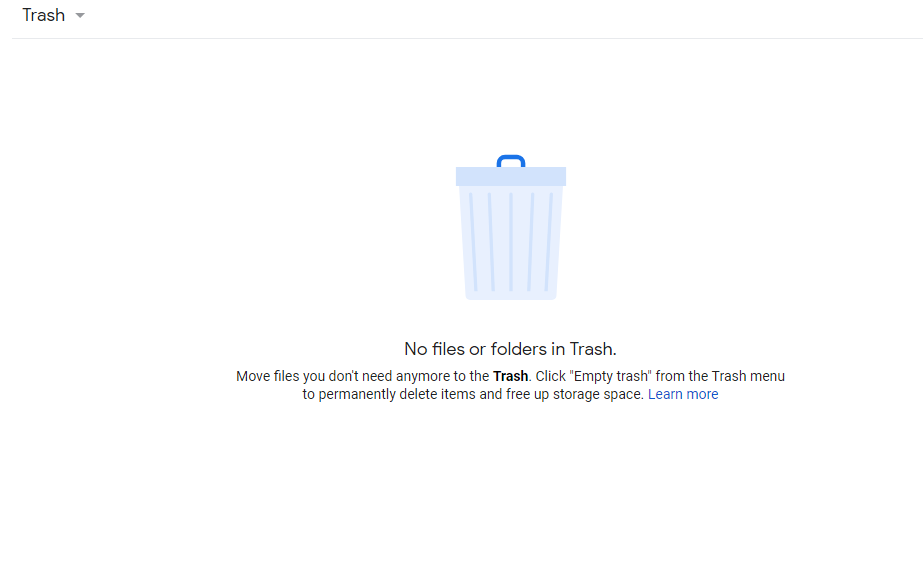
Deleting files from Google Drive doesn’t actually clear up space until you also delete said files from the Trash folder. This method will teach you how.
Click Trash. It’s in the left column. When you delete files from your Google Drive, they are moved to this folder just in case you need to restore them. Items in the trash count against your Drive space.
Restore any files you want to keep. If you see a file you don’t want to lose, click it once, then click the Restore icon (the clock inside a curved arrow) at the top-right corner of the screen. If not, move to the next step.
Click the Trash menu. It’s above the file list toward the left side of the screen.
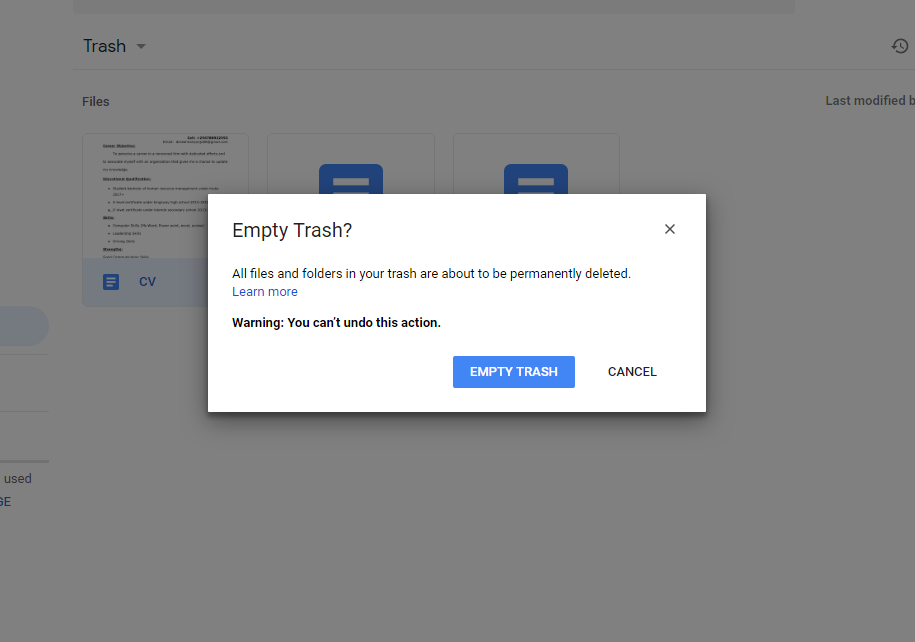
Click Empty trash. A confirmation message will appear, warning you that you won’t be able to undo this action.
Click EMPTY TRASH. The files in the Trash folder will be deleted from the server, freeing up space for new content.
Decreasing Photo Quality in Google Photos
Go to https://photos.google.com/settings in a web browser. If you’re not already signed in to your Google account, follow the on-screen prompts to sign in now.
If your photos back up to Google Photos at their original (highest) quality, they count against your total Google Drive space. This method teaches you how to switch your photo backups from full resolution to “High quality,” which still provides great quality at a smaller file size.
Select High quality (free unlimited storage). It’s the first option on the screen.
If this option was already selected, there’s no reason to change anything.
Click RECOVER STORAGE. It’s at the bottom of the first section. A pop-up message will display how much space you can recover by switching your photo quality.
If you uploaded any photos to Google Drive without using Google Photos, those files will not be altered.
This will also compress photos uploaded to other Google products like Blogger, Picasa, and Google+.
Click COMPRESS. Google Photos will now reduce the quality of your photos. For most people, this will not be noticeable. Once the process is complete, your reclaimed Drive space will be ready to use.
Deleting Hidden App Data
Go to https://drive.google.com in a web browser. If you’re not already signed in to your account, click Go to Google Drive to do so now.
Click the gear icon. It’s at the top-right corner of your Drive.
Click Settings.
Click Manage Apps. It’s on the left side of the Settings window.

Click Options next to any app that says “Hidden app data.” If an app contains hidden data that’s taking up space, the amount of data appears beneath the app’s description.
The amount of hidden data (e.g. 2 MB) is the amount of space you’ll free up if you delete it.
Click Delete hidden app data. A confirmation message will appear.
Click Delete. You can repeat this method for any other apps that report hidden data.
Click Done.
If you follow the simple methods above, you can reclaim some space that you can use to save any other of your data.


